
It was the middle of August and time to get ready for my mountaineering course. I’d signed up for the Glacier Skills class from International Mountain Guides and had been planning a road trip to Mount Rainier. My original intent was to begin training for summiting Aconcagua and Denali. While those objectives are not really on my list anymore (more on that later), the trip was something I was looking forward to for most of the summer.
As departure time approached, I was a bit apprehensive and had lost some of my excitement. My back had been acting up since my Maroon Bells hike, and I was constantly worried about my conditioning. I’m usually a little apprehensive when embarking on something new like this with constant doubts about myself, but it was a little stronger this time. The class wasn’t cheap, so I knew I wouldn’t blow it off.
The trip ended up being a blast, and I feel like I held my own on the trek for being the oldest one in the group. Read on to get all the details!! Fair warning, it is a long post.
Outbound Road Trip to Mount Rainier
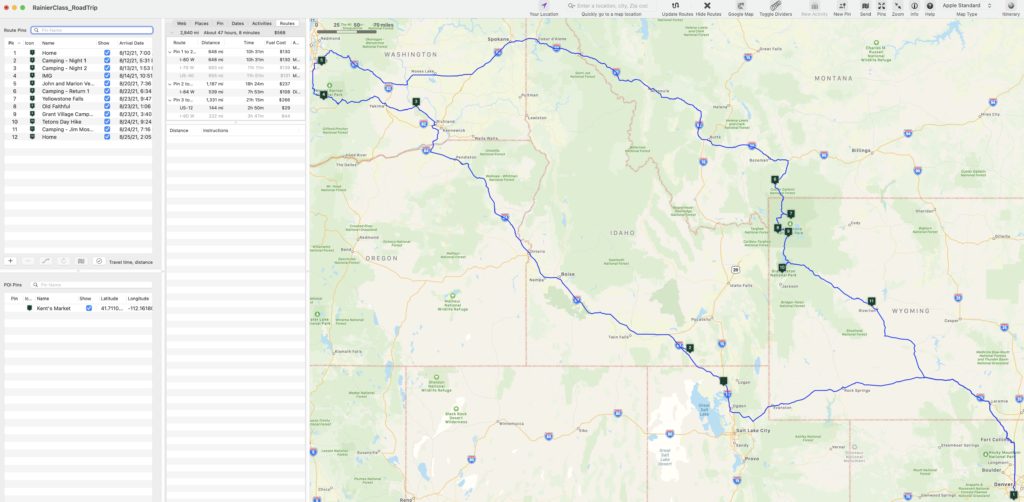
The course on Mount Rainier was 6.5 days long, so rather than fly and rent a car to sit at IMG headquarters, I decided I’d drive out. After all, I have the time. I geeked out for days researching camp spots and building a trip in Road Trip Planner. Despite my trips typically deviating from the plan, building the plan and researching spots is half the fun! This is what it looks like in the app.
Outbound Road Trip to Mount Rainier – Day 1
The first camping spot was Sublett Reservoir which I found on https://freecampsites.net/. The camp spot was over half-way there and provided some opportunities for fishing. As you can see in the screenshot, I’d even marked a place to get an Idaho fishing license. What a geek!
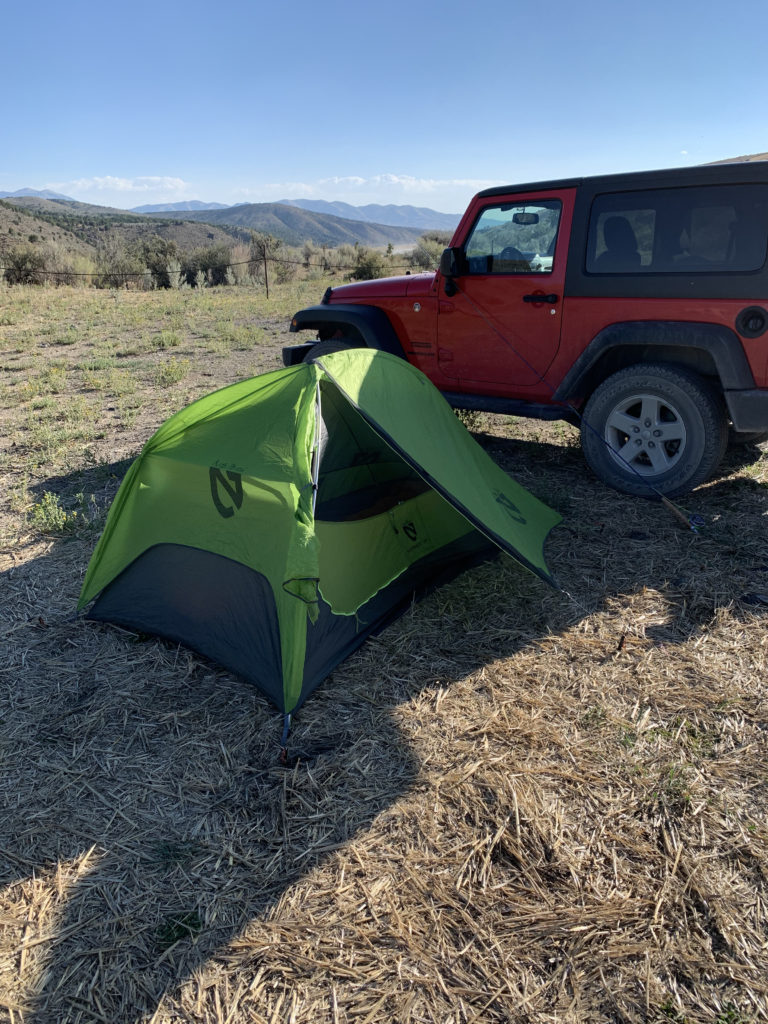
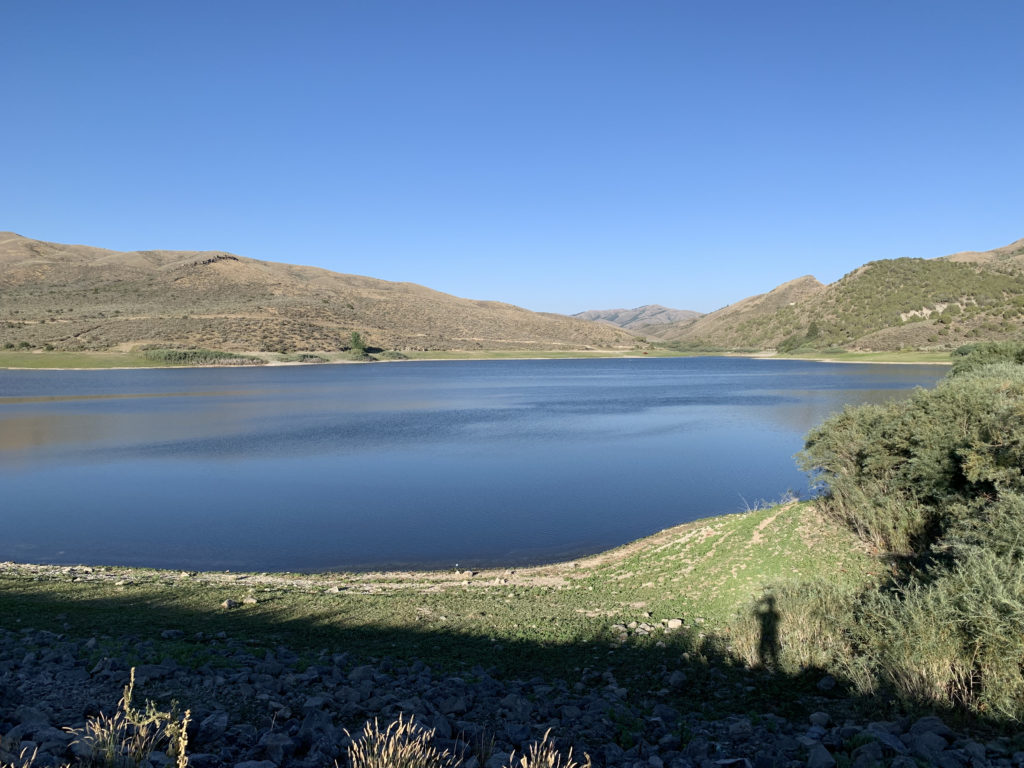
The reservoir turned out to be a great camp spot. There are lots of free, dispersed sites on the road past the reservoir. There’s even a campground a few miles down that is free to use. I wanted to fish, so I camped on the Northwest edge of the reservoir.
It was hot when I arrived, mid-90’s. A quick look at the reservoir showed several fish rising. I was anxious to get camp set up and get my fly line wet. After setting up the tent, I parked the Jeep as close as I could to shade my little tent. It didn’t make a huge difference other than to make me feel like I was doing something about the heat.
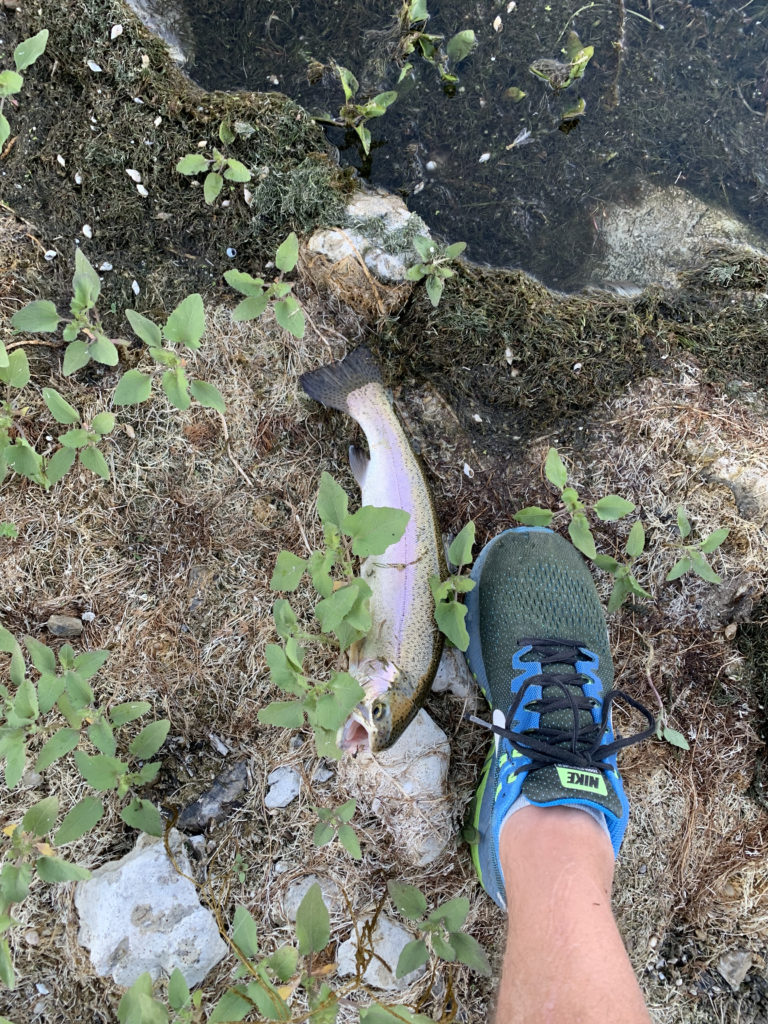
Fishing turned out to be quite good. As dusk approached, several other people starting fishing and having luck too. This reservoir seems to be loaded with fish.
Outbound Road Trip to Mount Rainier – Day 2
The next morning I was walking to my tent when I was startled by an antlered head peeking over the ridge near the lake. I must have startled him too, since he took off prancing. I was barely able to get my phone out in time to capture a little video of him. What a pleasant way to start the day!
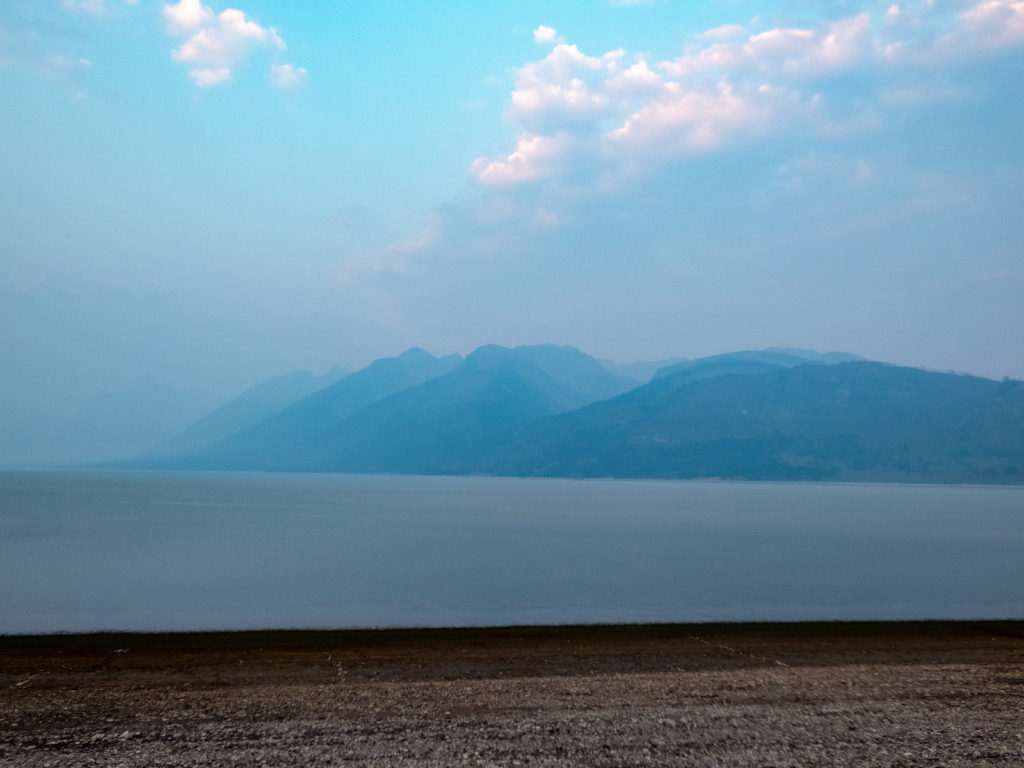
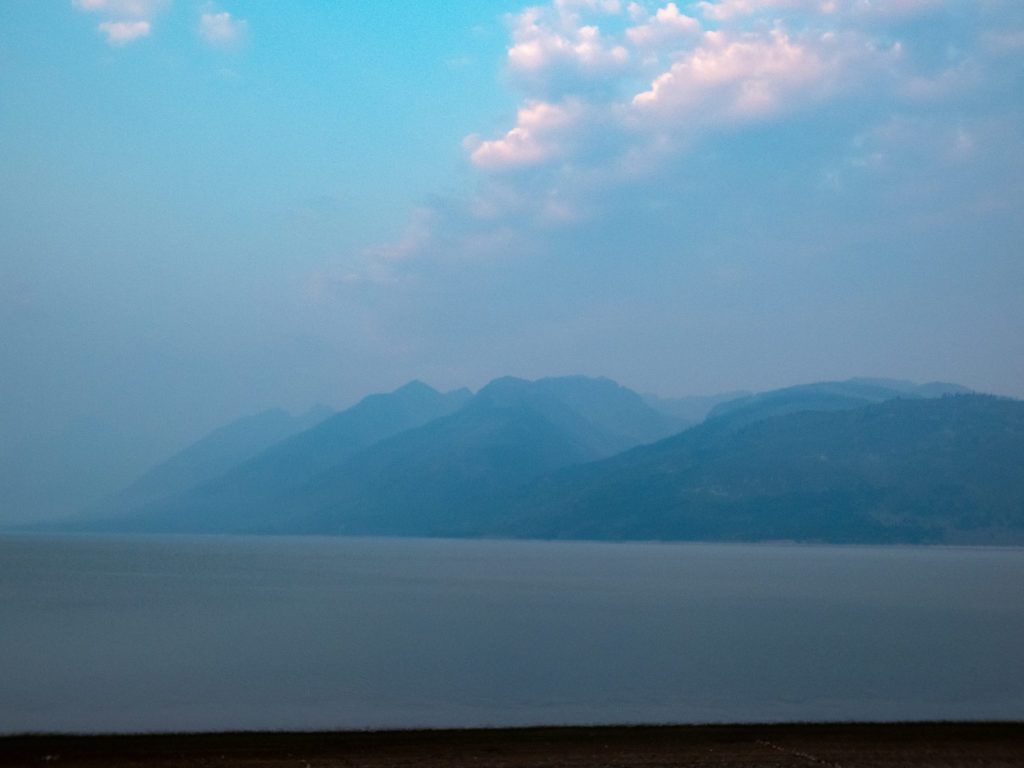
Day 2 wasn’t supposed to be as long of a driving day which is a good thing. I enjoy road trips with the caveat that multiple days of long driving can become a bit much. My detailed plan had me staying at a free camp spot near the Columbia River north of Richland, WA. When I arrived at the spot, it was an access point for fishing the river. The temp was 103, and smoke was intense due multiple, large forest fires in the state. I decided I’d bag camping that night and see if there was a hotel available in Yakima. Booking.com gave me several options, and I picked one of the cheaper ones, Days Inn. In hindsight, I should have spent the extra $15 for the Baymont Inn. Will I ever learn?
The Days Inn was clean, so that part was good. The area around the hotel was pretty sketchy. Based on Tanya’s suggestion, I moved most of my stuff from the Jeep into the hotel room to make sure it was safe. No reason to have a critical component of gear stolen just before my trek! The night was uneventful and it was nice to have AC and a comfortable bed. The “included breakfast” was pretty bad. The only acceptable food item was a waffle I made from the batter. The eggs were icky, completely dried out from sitting in a warming pan. Oh well, I enjoyed my waffle. For those of you traveling this route, the reviews look better for Baymont. Spend a few extra $$’s and get the better room. Don’t be a Rob.
Head to Ashford and International Mountain Guides (IMG) – Day 3
I headed west on Route 12 from Yakima. There were several campgrounds just past Yakima that would have been good options if the smoke and temps would have been better. Windy Point campground looked pretty vacant as I drove by.
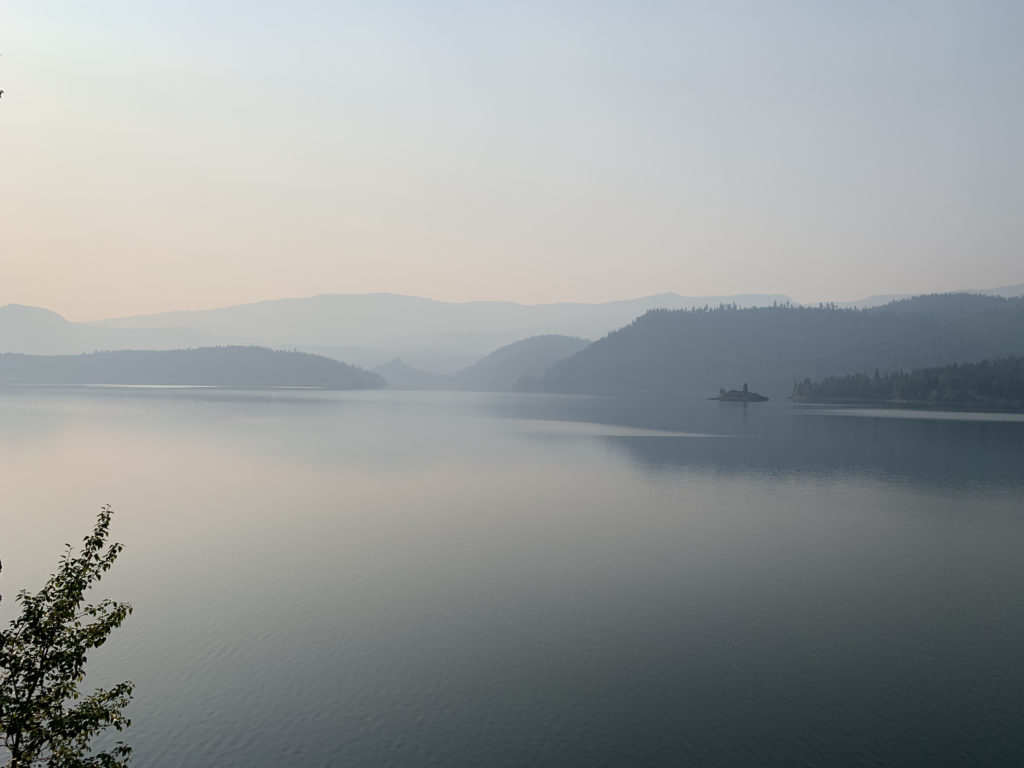
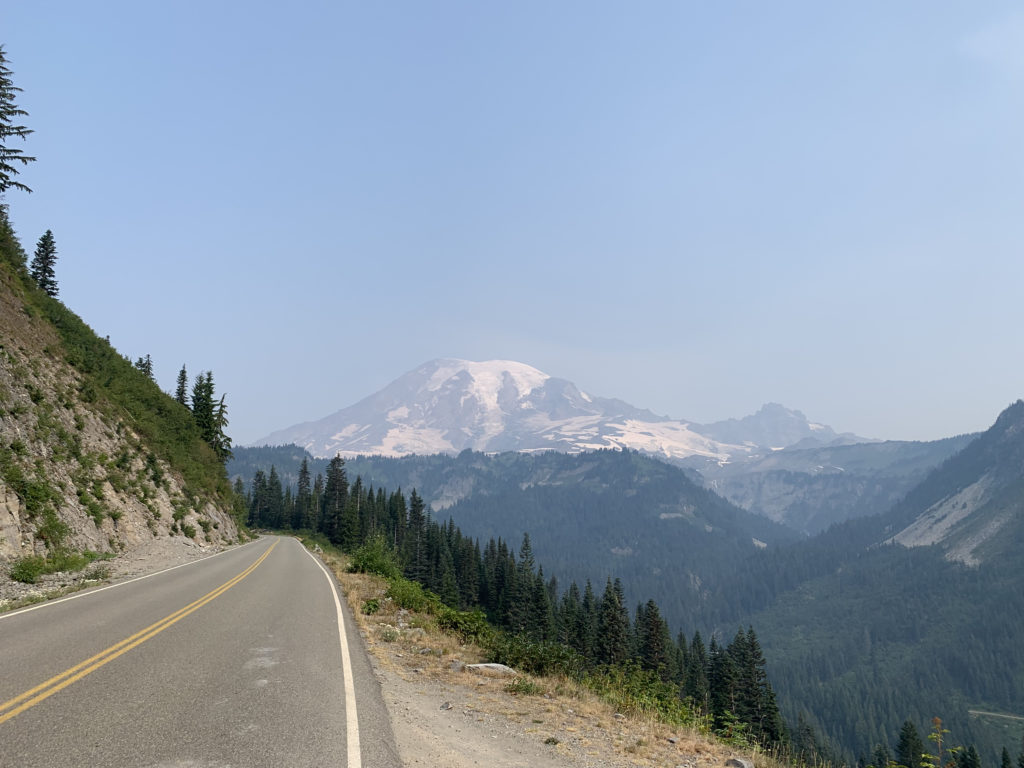
Route 12 is a beautiful drive. The smoke was heavy yet Rimrock Lake provided great views. I was in no hurry since I didn’t need to be at IMG until 2:00. One of my favorite stops along the way was Clear Creek Falls. With time on my hands, I took the road through Mt. Rainier National Park to get to Ashford. What a drive!! Washington is one beautiful state!
Arrival at IMG – Day 3
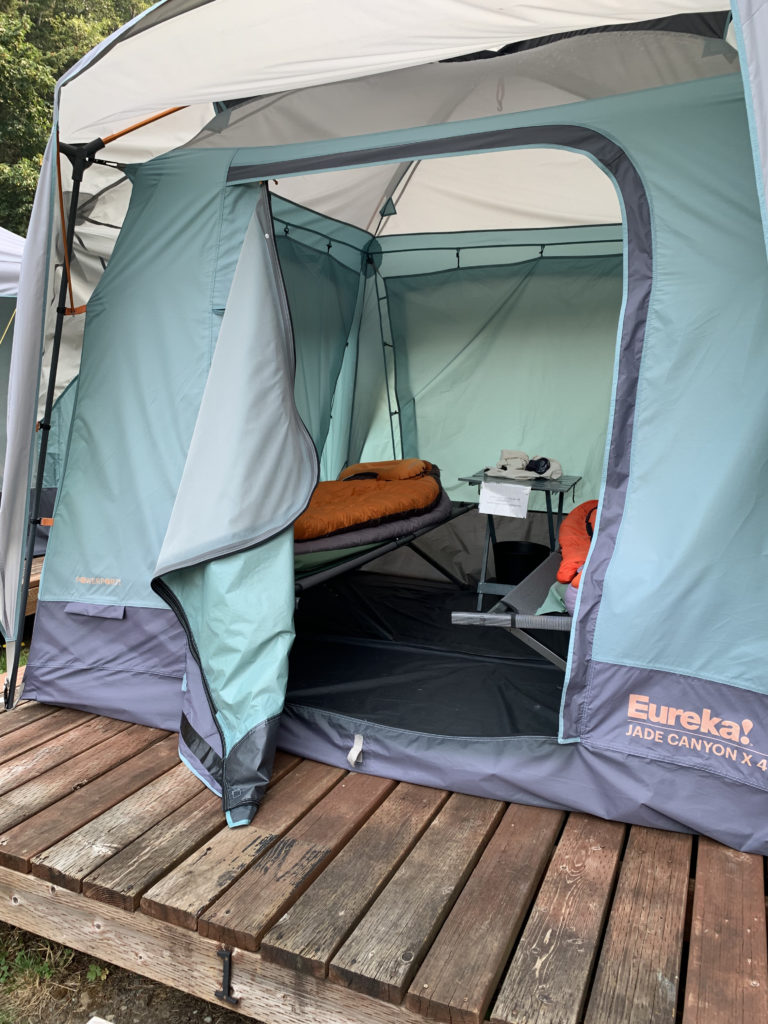
Of course I arrived at IMG early per my typical mode of operation, a trait that I’m sure has driven my kids crazy over the years. IMG checked me into my tent for the night and I headed down to RMI Basecamp for a burger. Basecamp is an interesting area of Ashford built entirely around the RMI mountaineering business. It was nice to relax in the sun and enjoy some good food.
The afternoon was spent meeting our Lead Guide, Nicole Sims, and the rest of the people taking the course. Nicole is an energetic and sociable guide. Eventually all of us would learn she’s also an incredibly strong climber and athlete. Justin, our other guide, would also impress us with his stamina and good nature. The weather was supposed to be pretty good so we were able to eliminate some layers, although my pack was still pretty full. We also received our allotment of shared gear. Amazingly, it all fit within my pack but WOW, it was heavy (for me anyway). I’d guess my pack weighed in around 60 pounds. I’m sure Nicole and Justin’s packs were pushing well over 75 pounds. A little bit of nervousness was creeping into the back of my mind. OK, maybe more than a little.
Glacier Skills course – Mount Rainier
Day 1
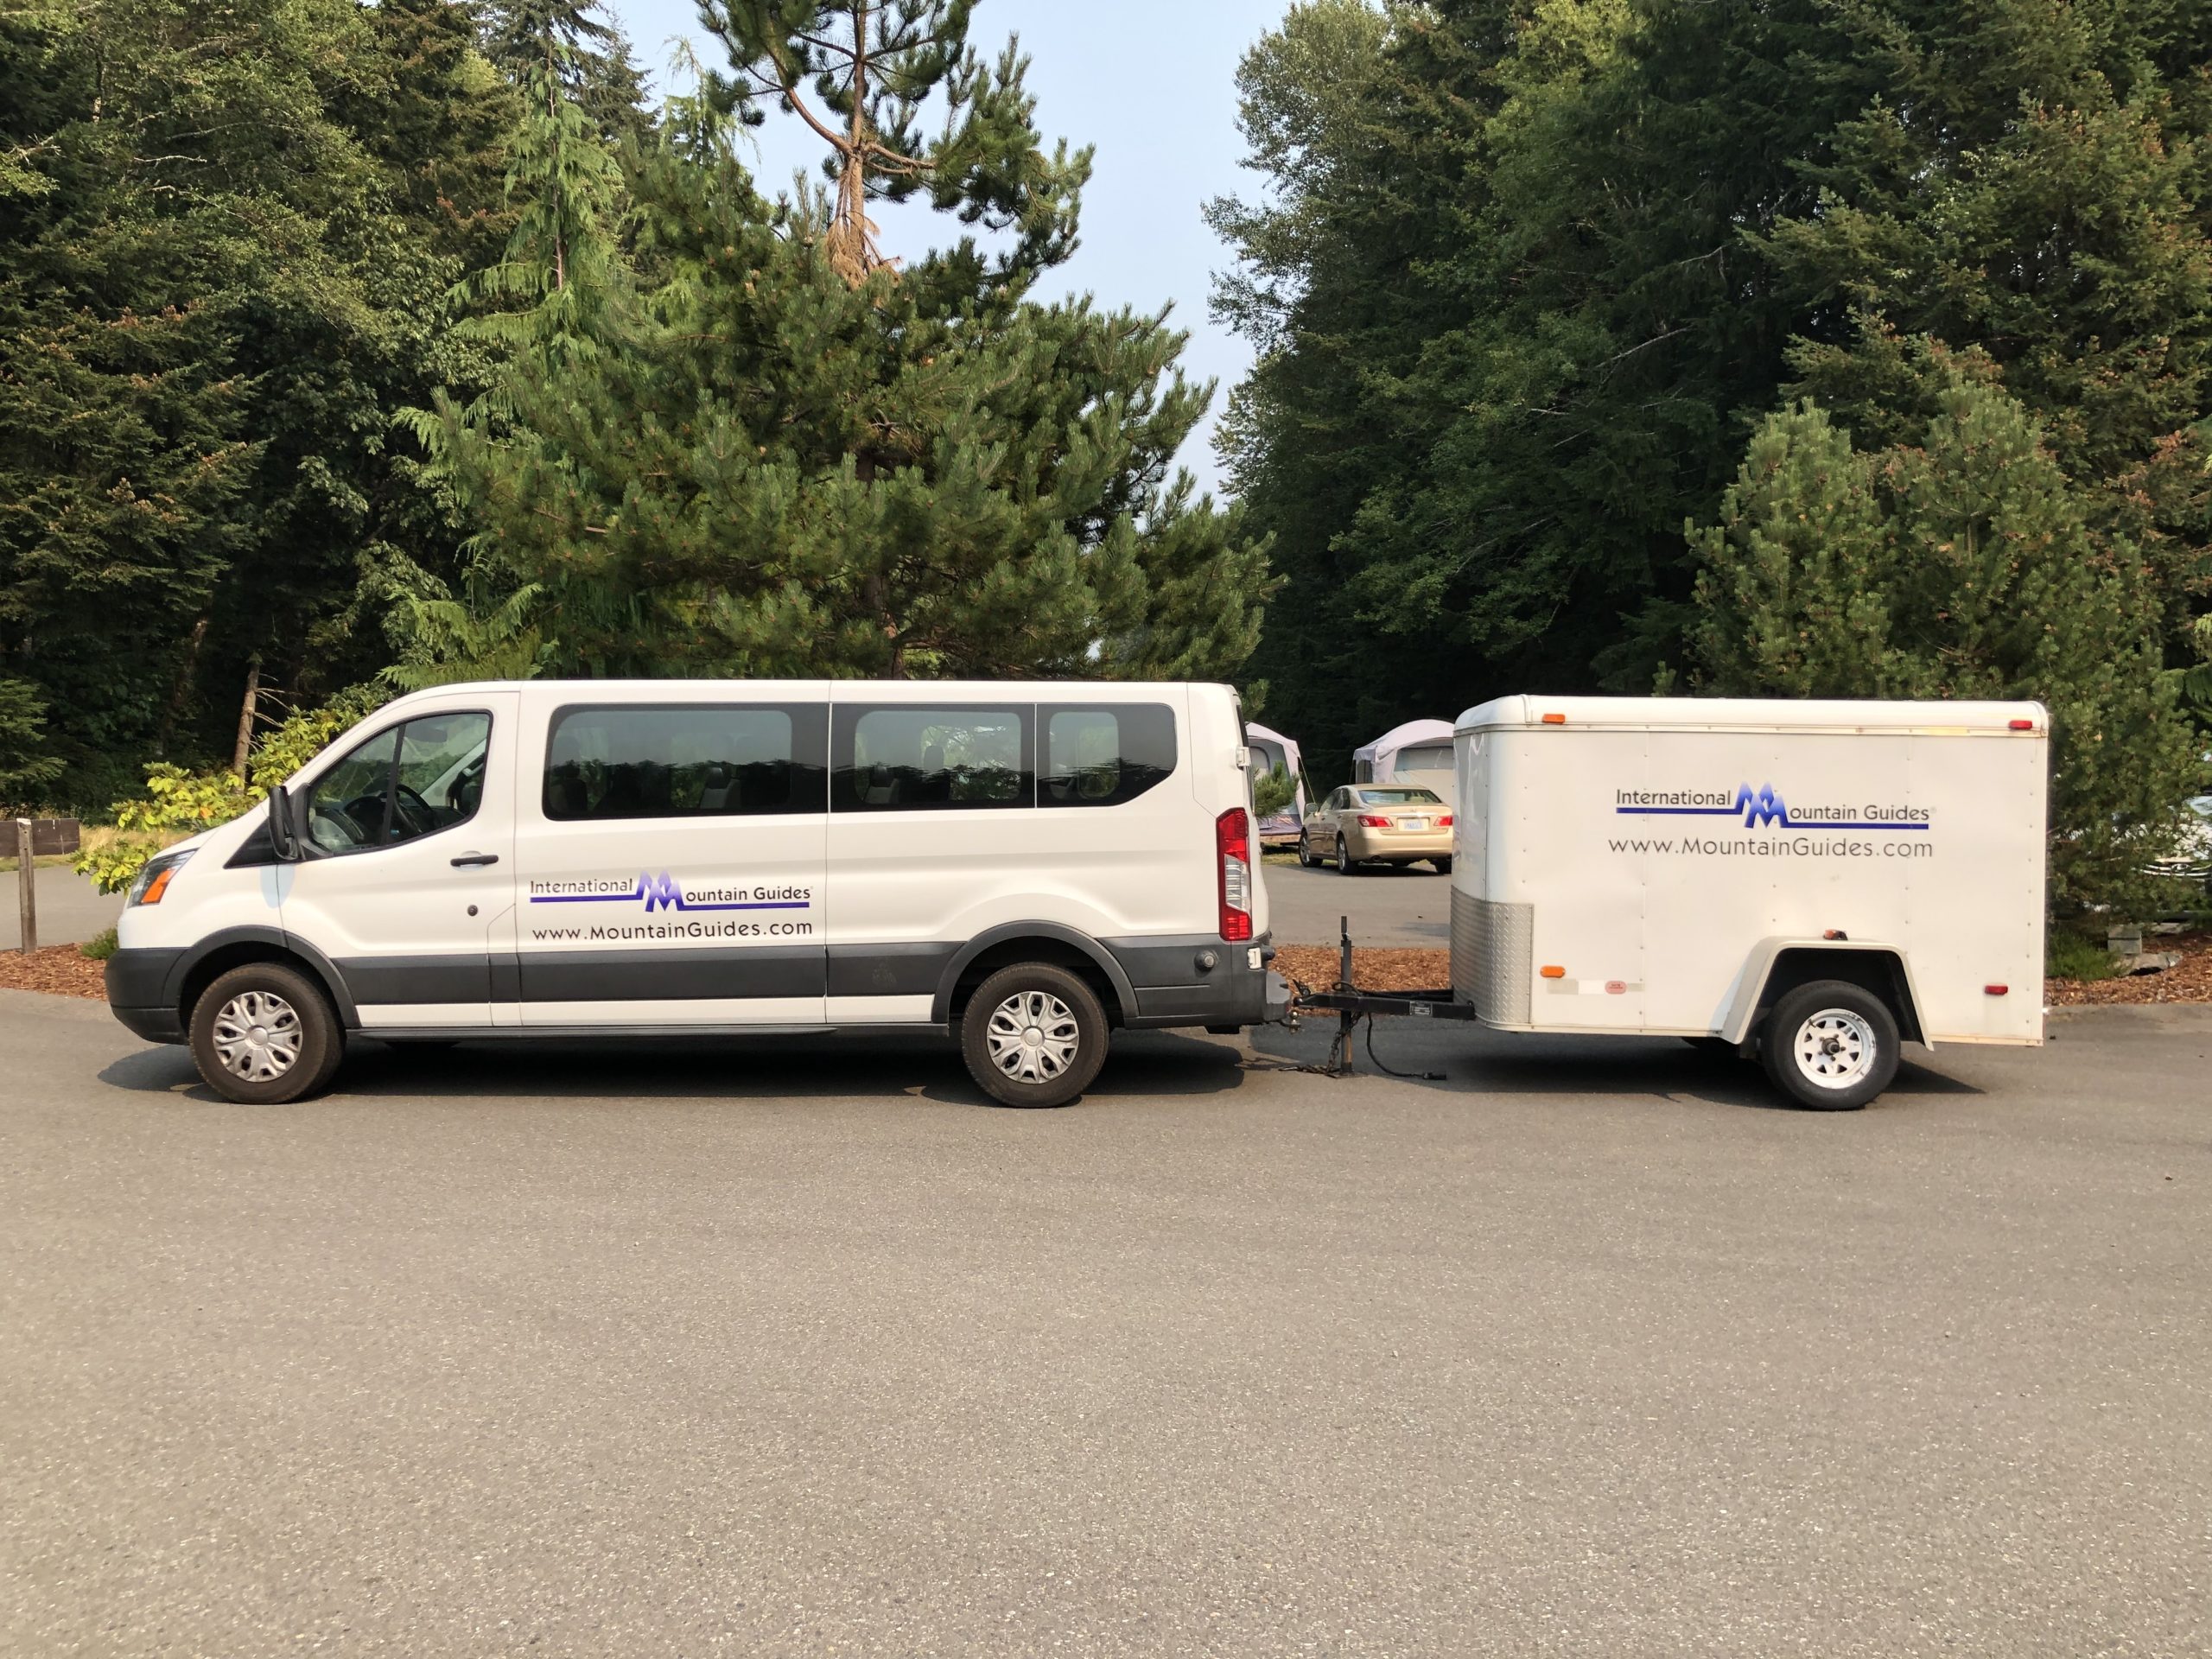
Our first day consisted of three parts, review of the itinerary, ascending rope with prusik knots and then hiking up to the Paradise Glacier. We did the first two in the pavilion at IMG headquarters. It took a while to get everyone up the rope so it was late morning when we headed out. Loading all the packs into the trailer made you realize how much weight the team was hauling!
IMG drove us up to Paradise. Justin went to park the van while the rest of us took one last trip to a real restroom. 🙂 It was hot and sunny. We all knew it would be a tough trek, and we weren’t wrong. Upon Justin’s return, we put on our packs and headed up the trail. Nicole mercifully set a slow pace so the team wouldn’t all leave day 1. I think we took Skyline Trail up to Pebble Creek. It’s possible we took Alta Vista. Honestly, I wasn’t looking around too much. I was too busy making sure my pack didn’t kill me. OK, it really wasn’t that bad. I was a bit surprised my body was adapting to the weight. The temp was the hardest part.
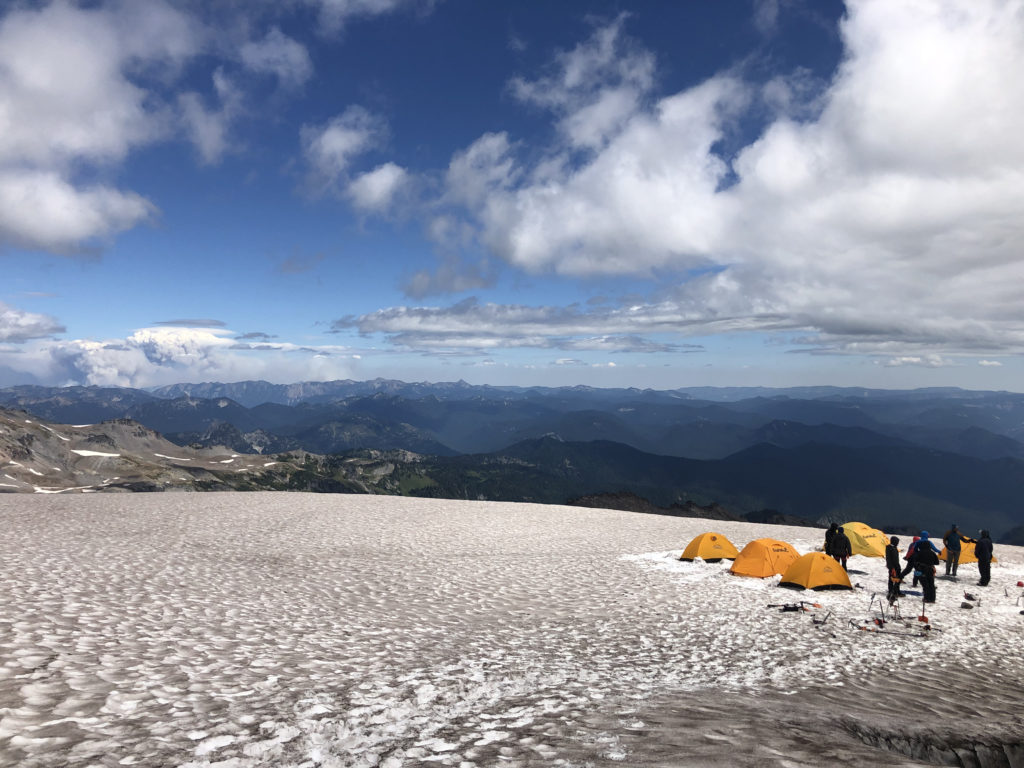
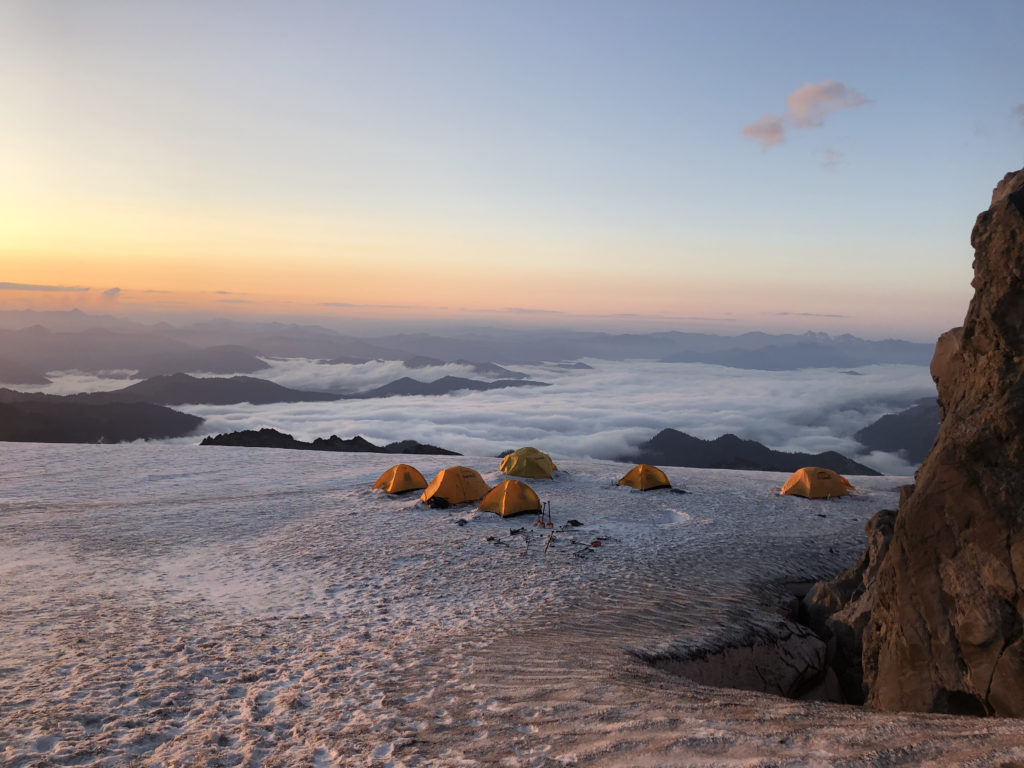
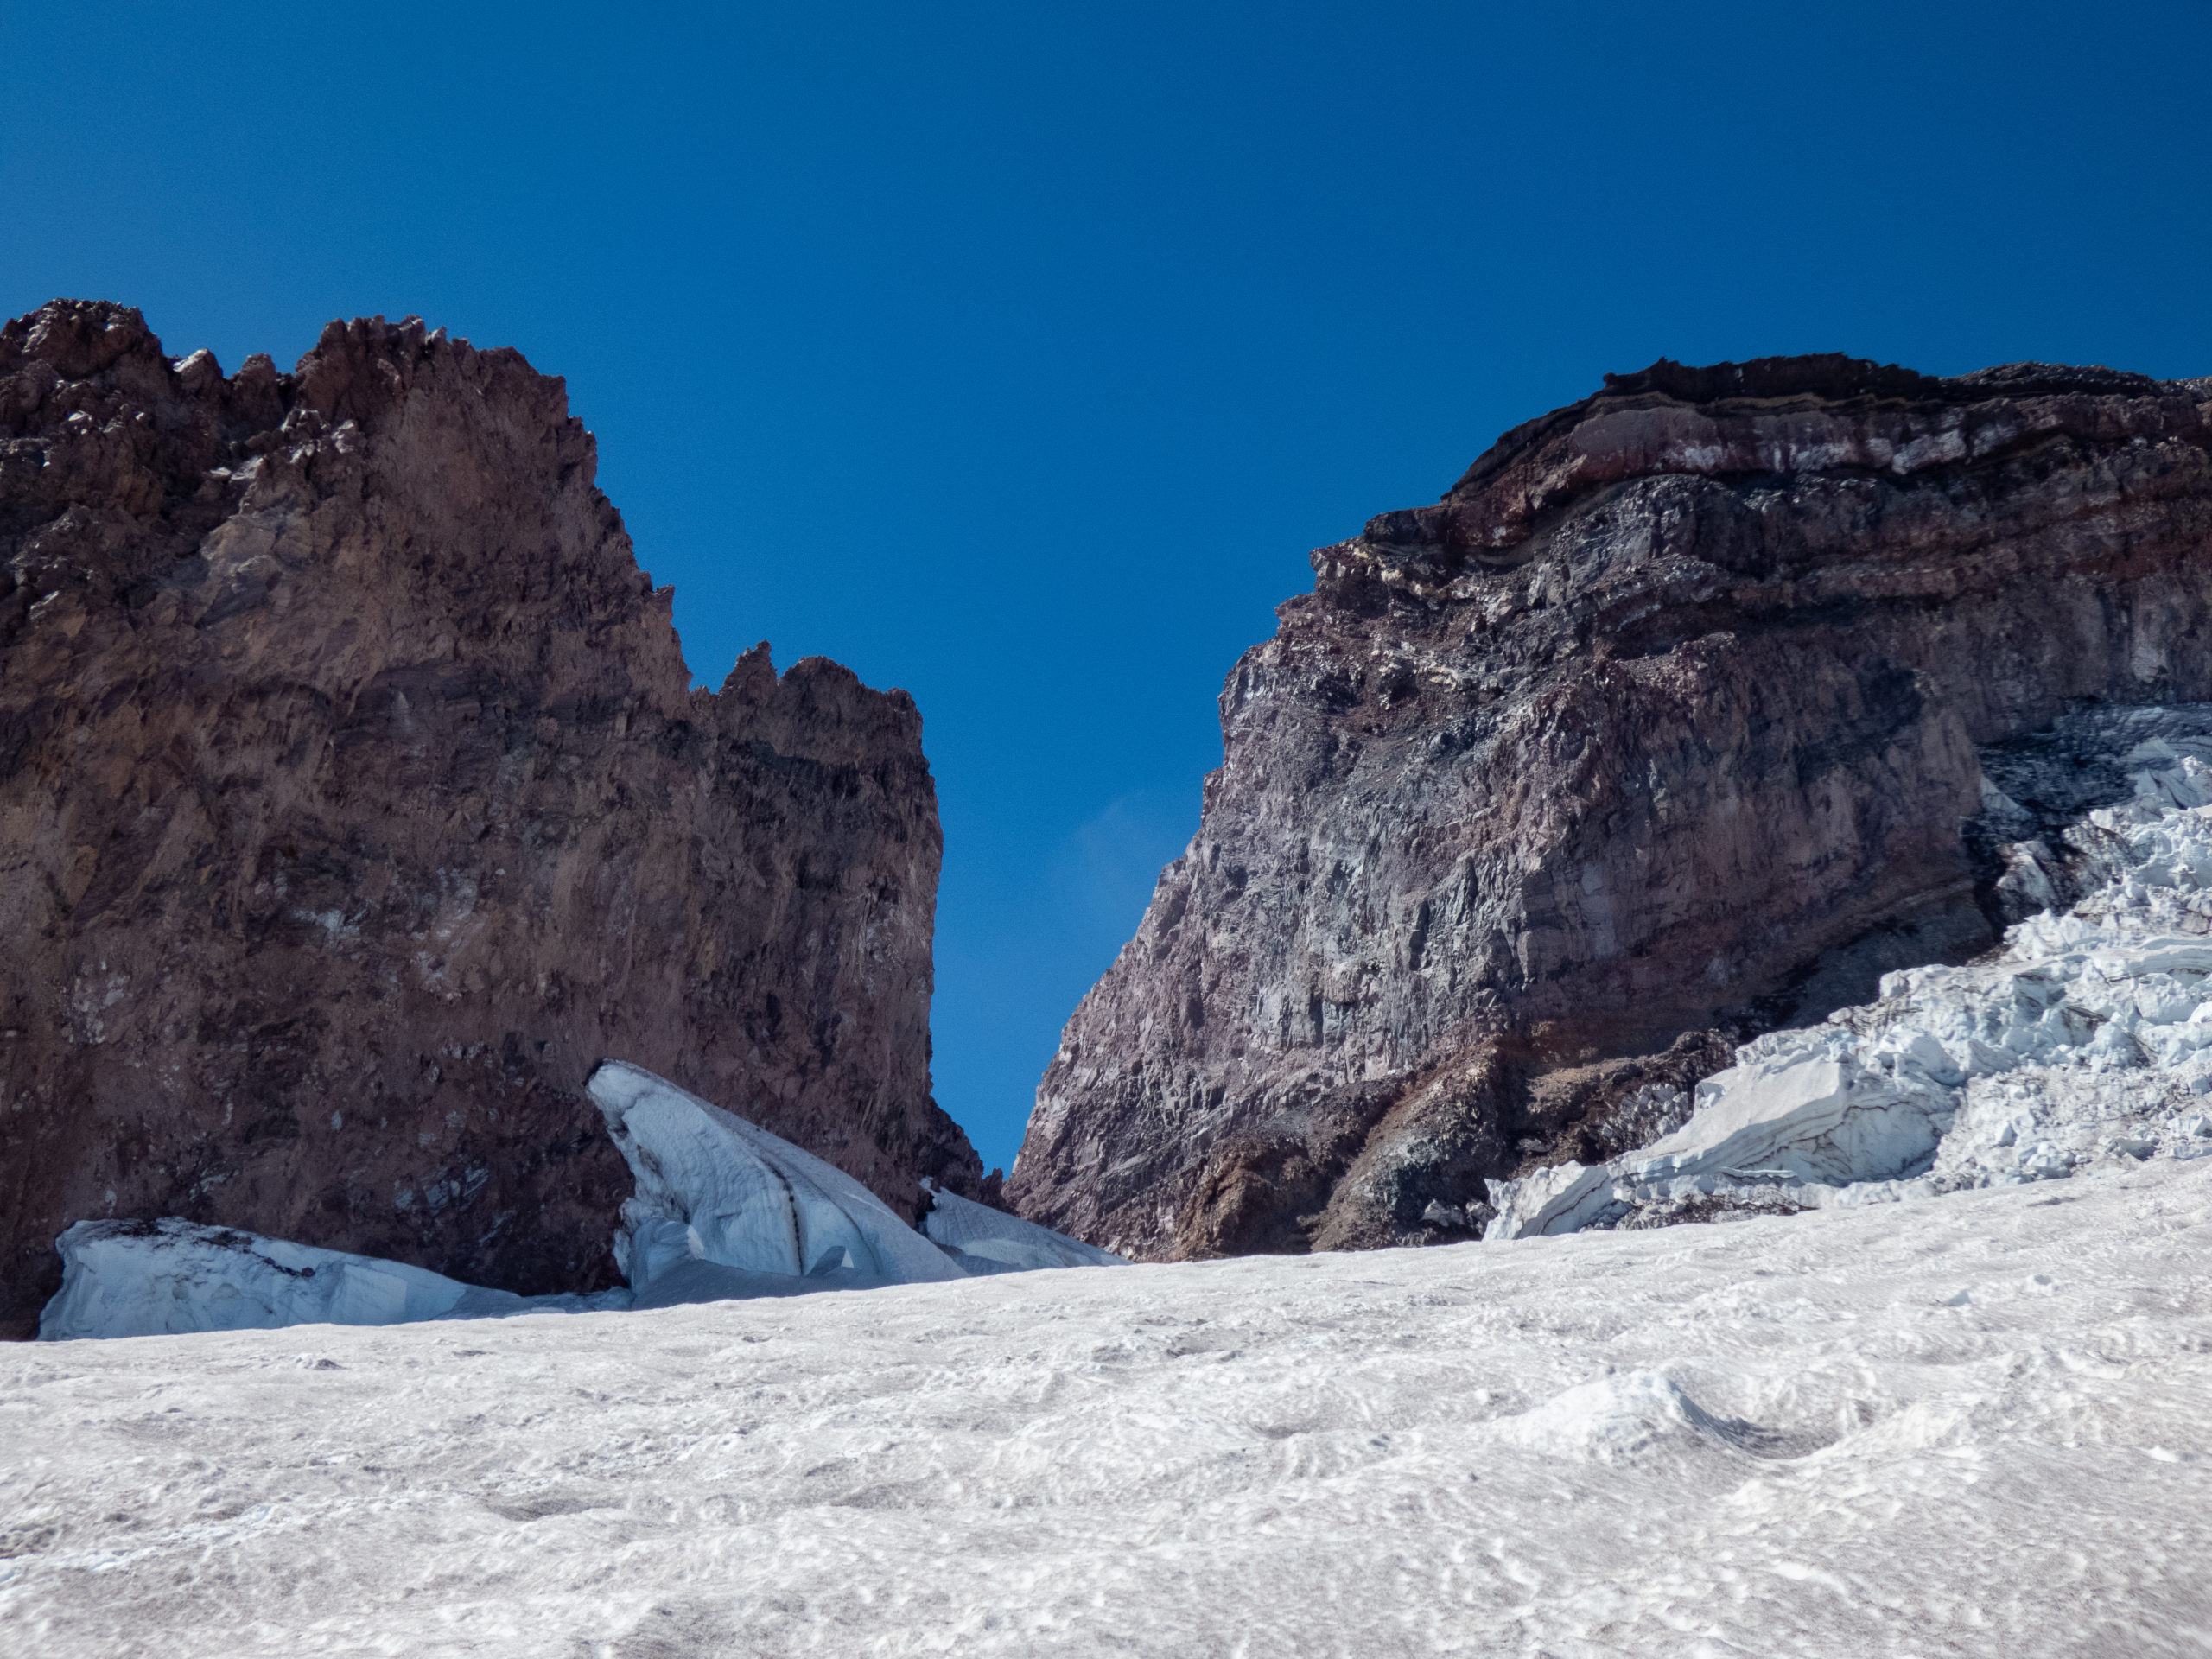
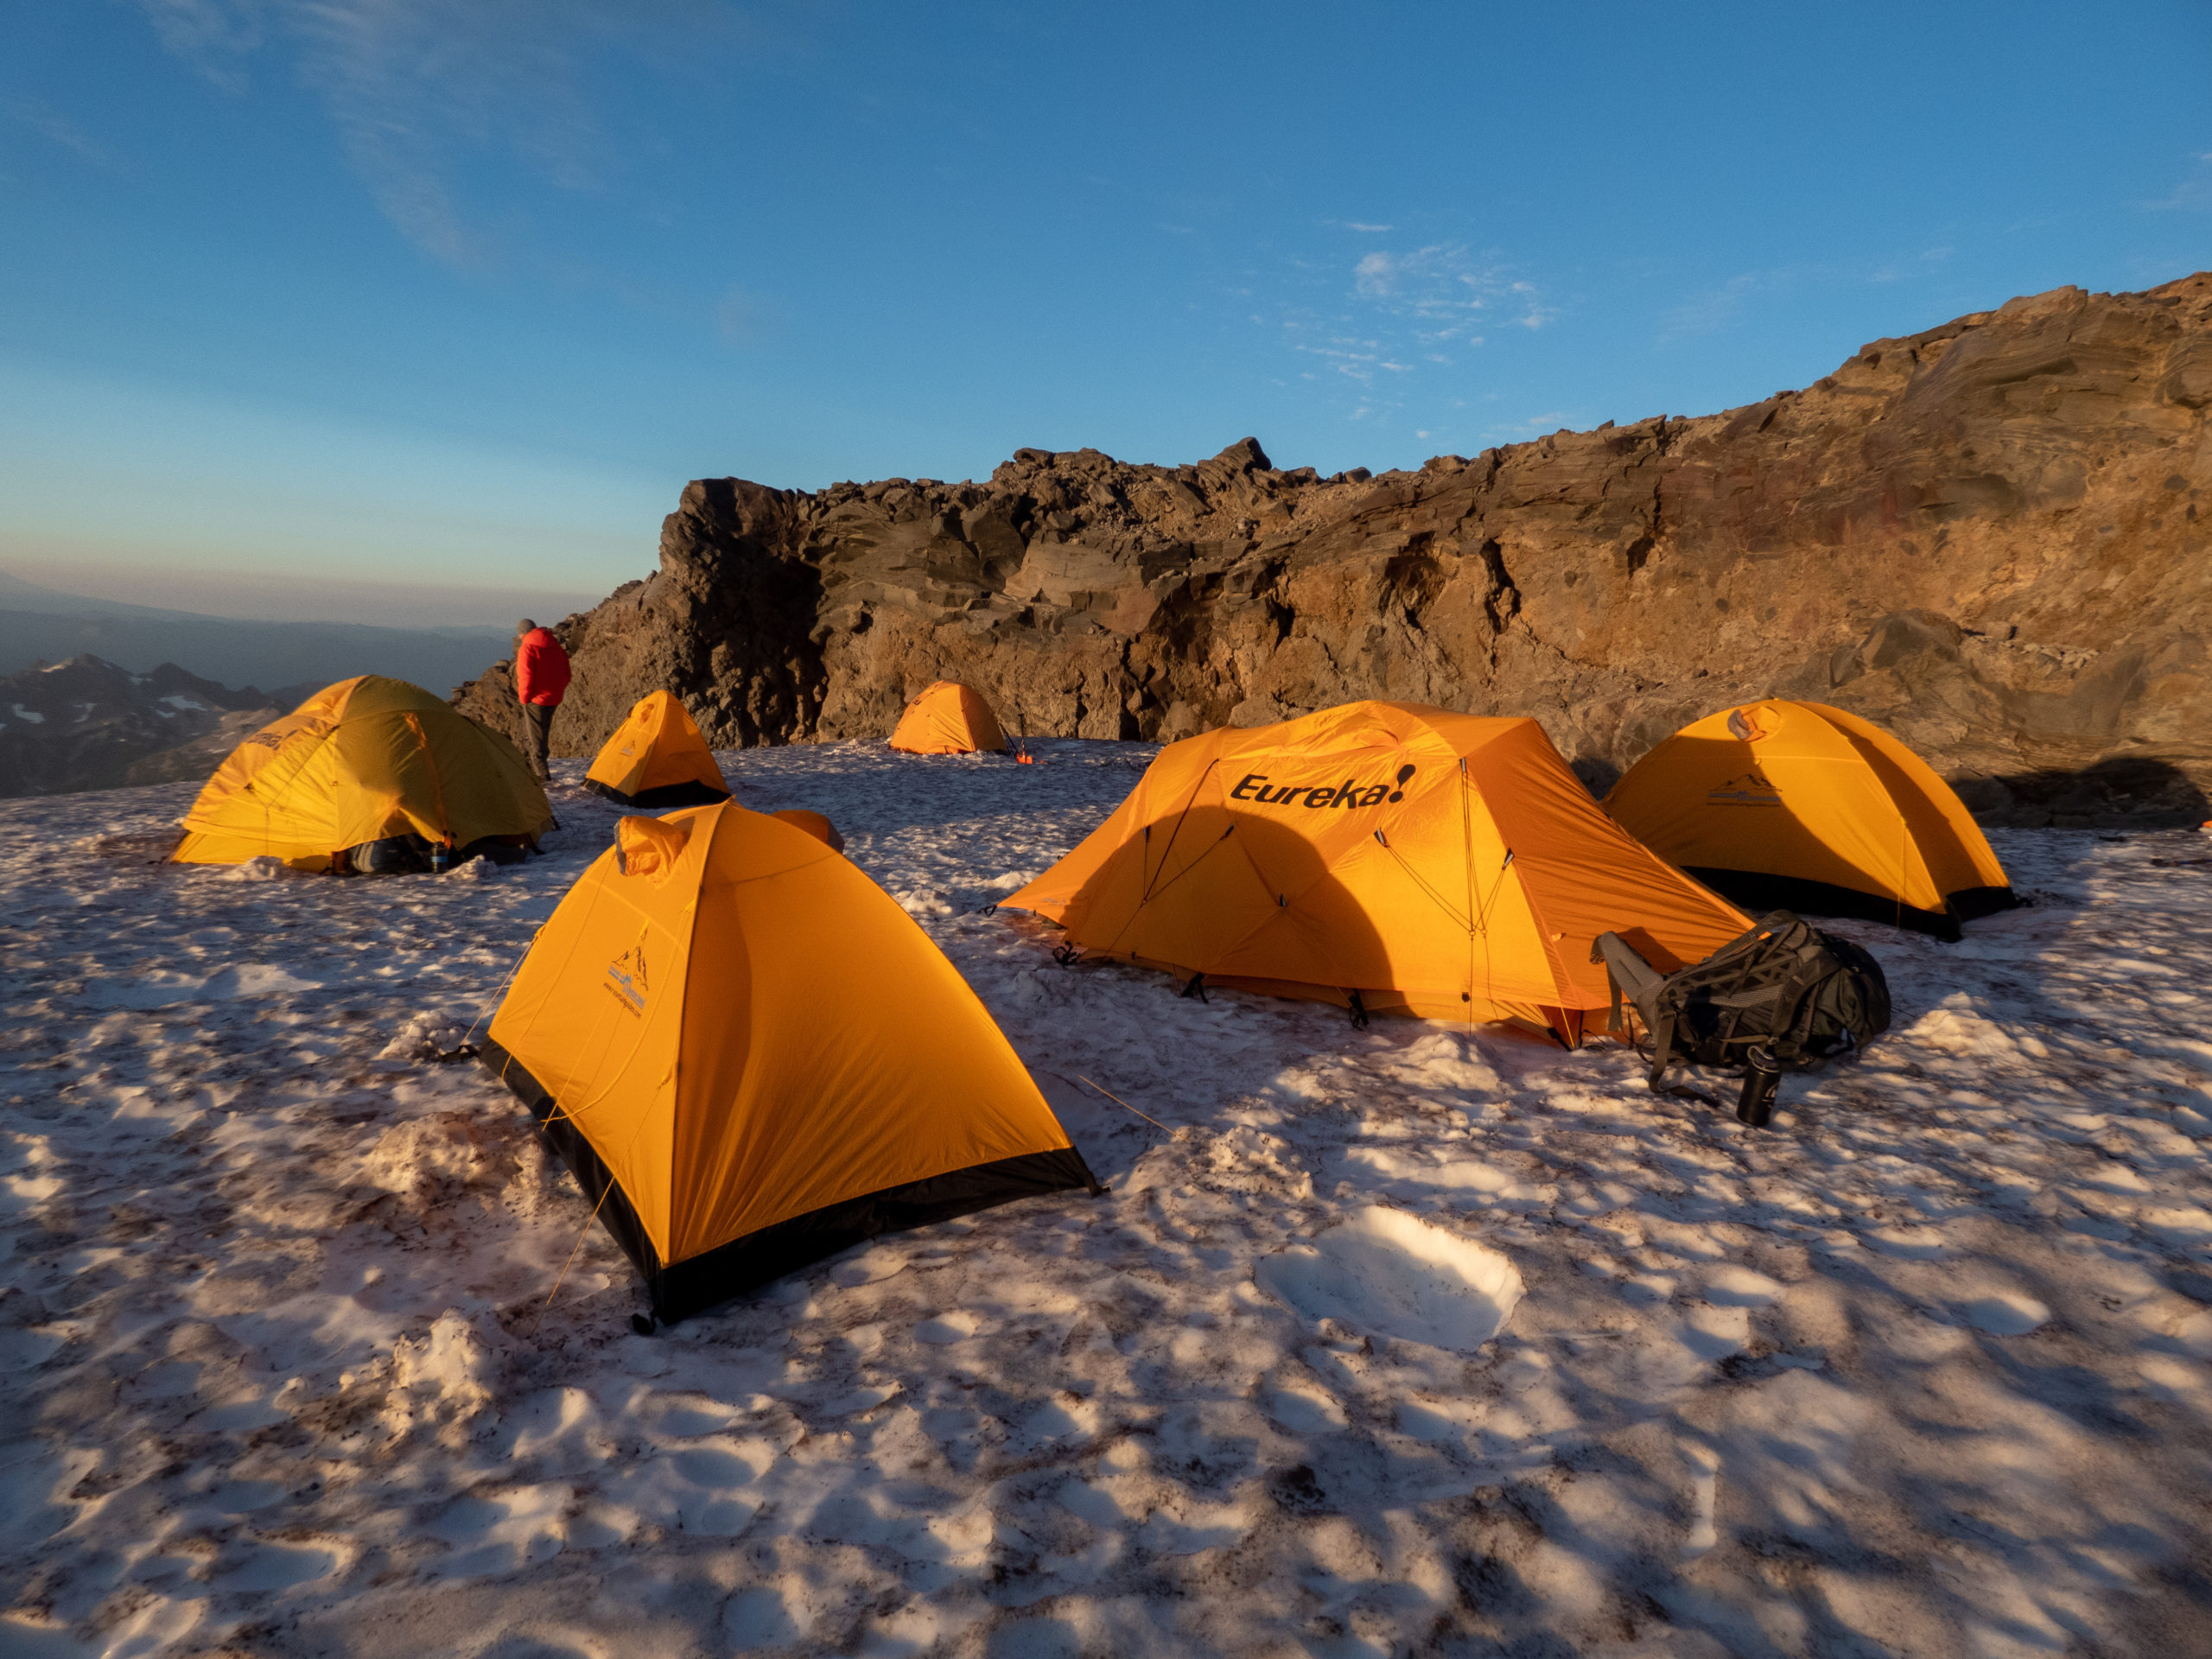
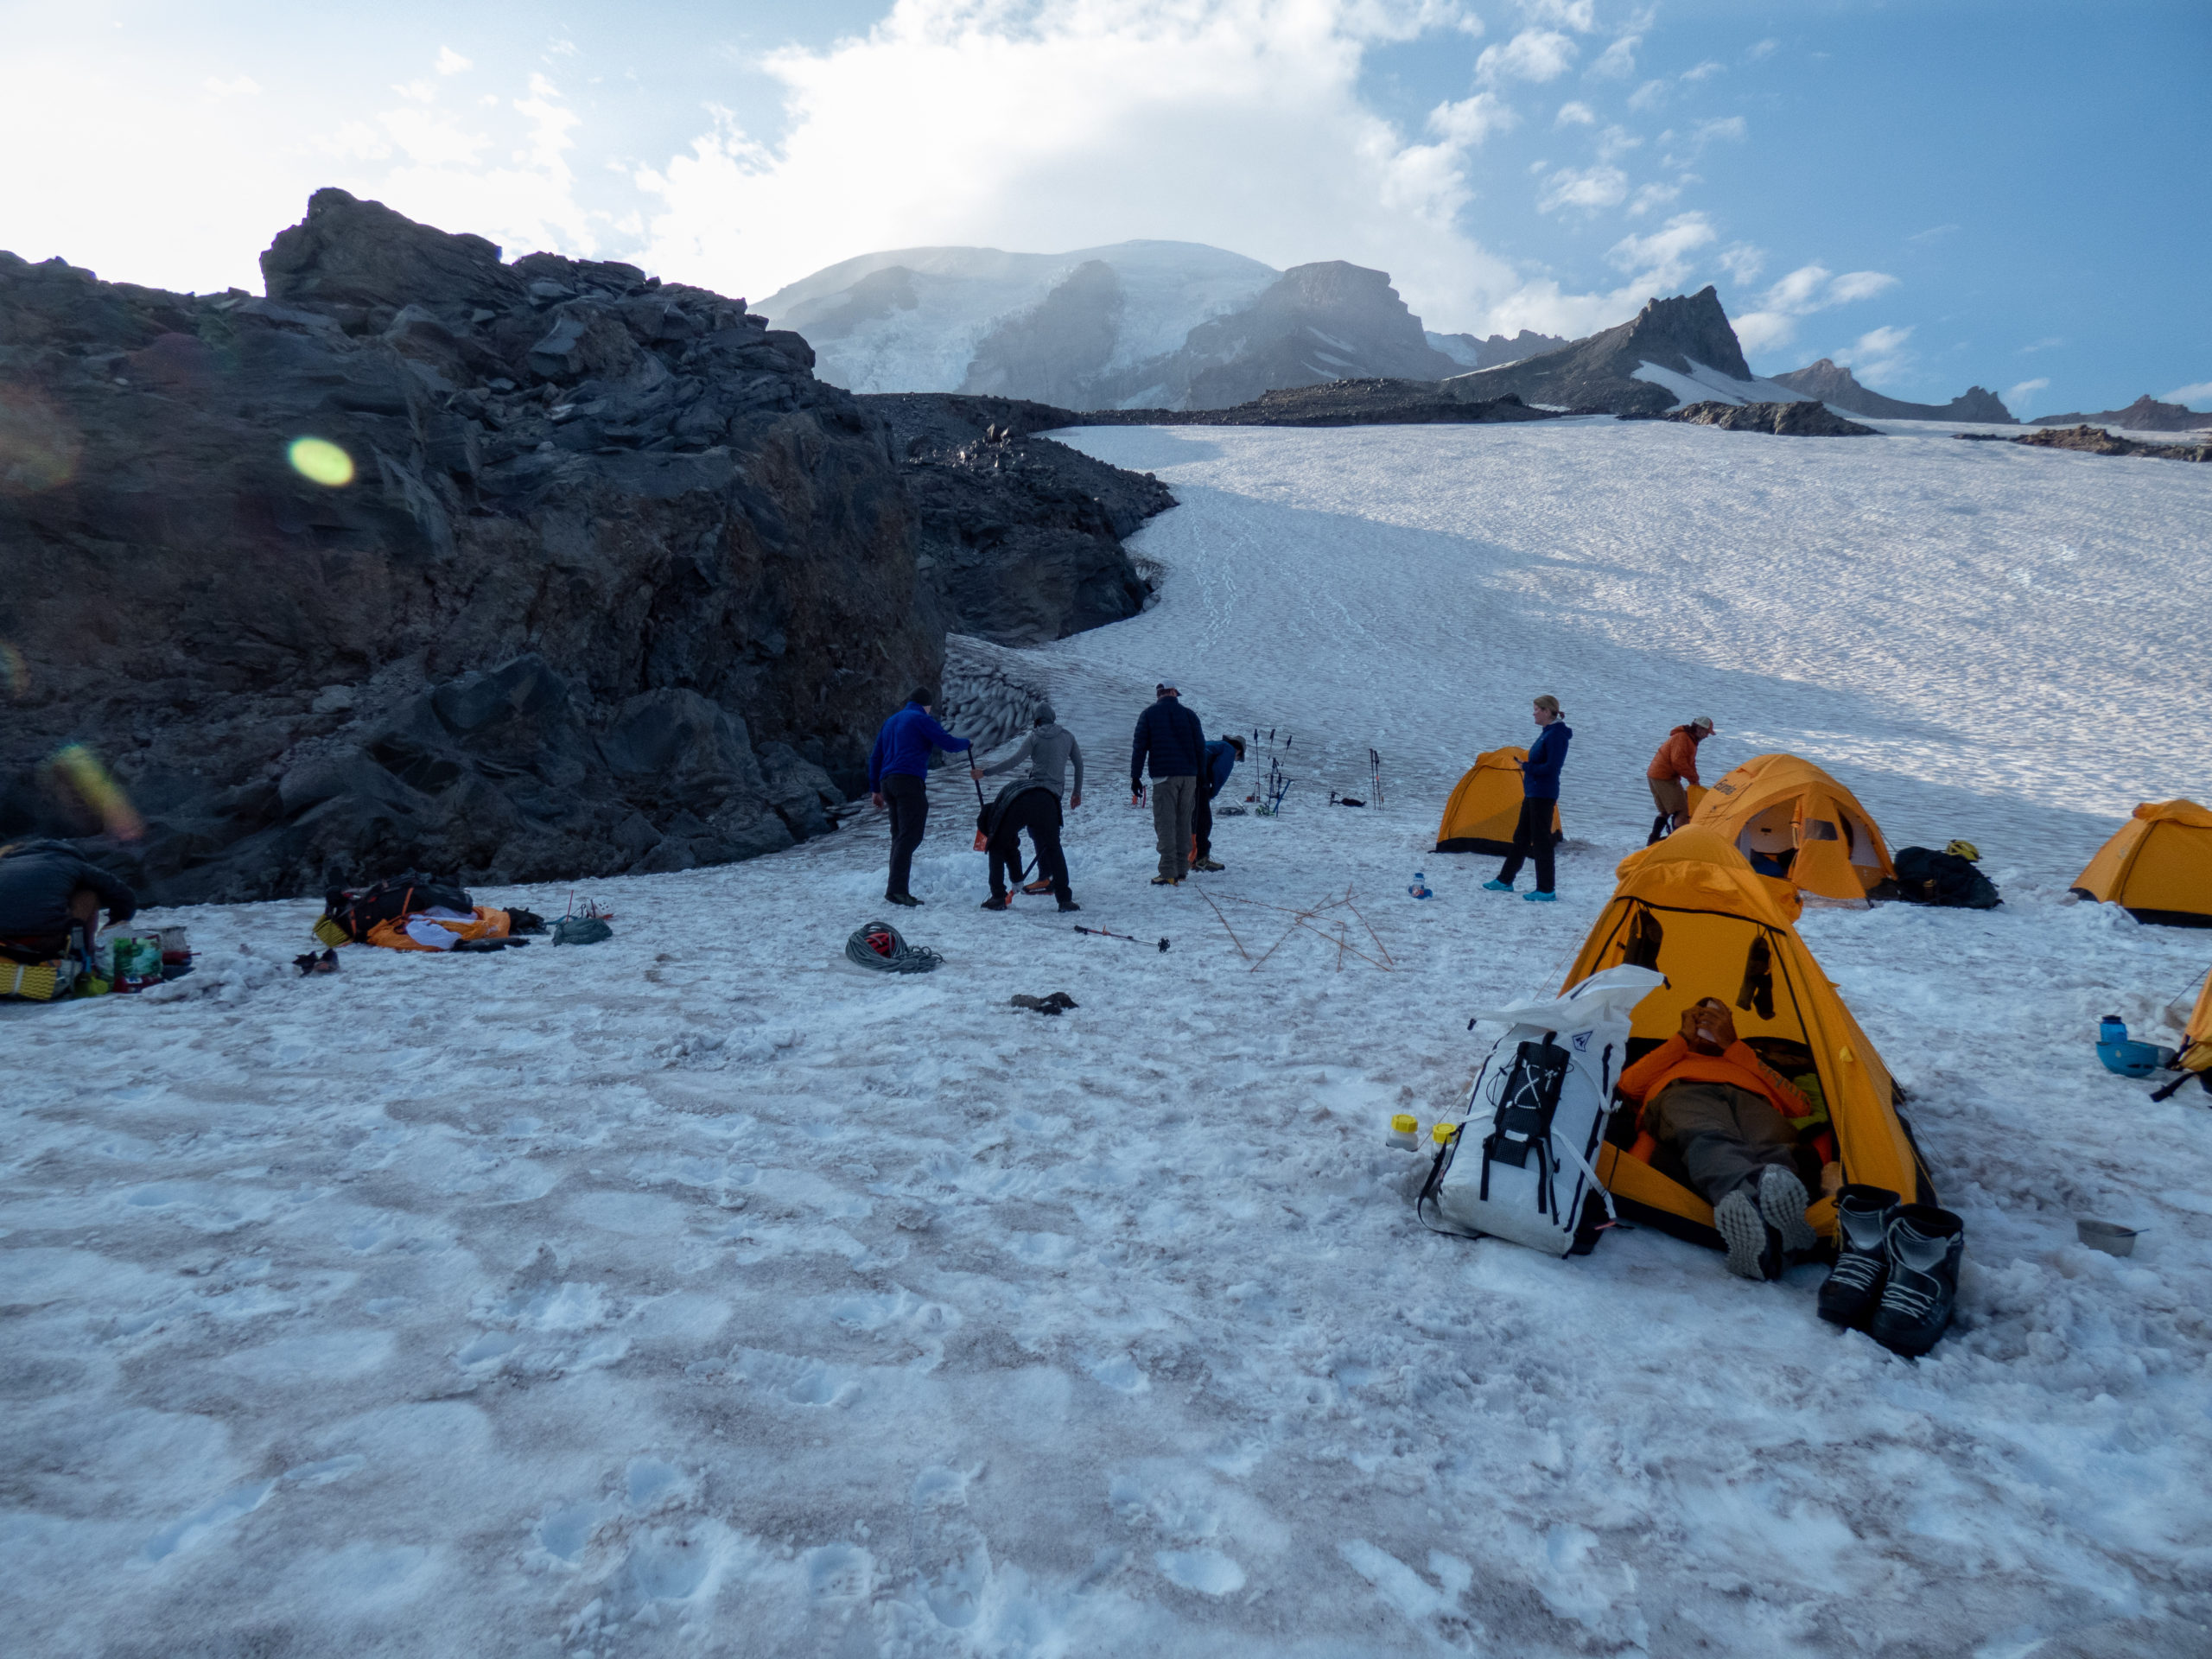
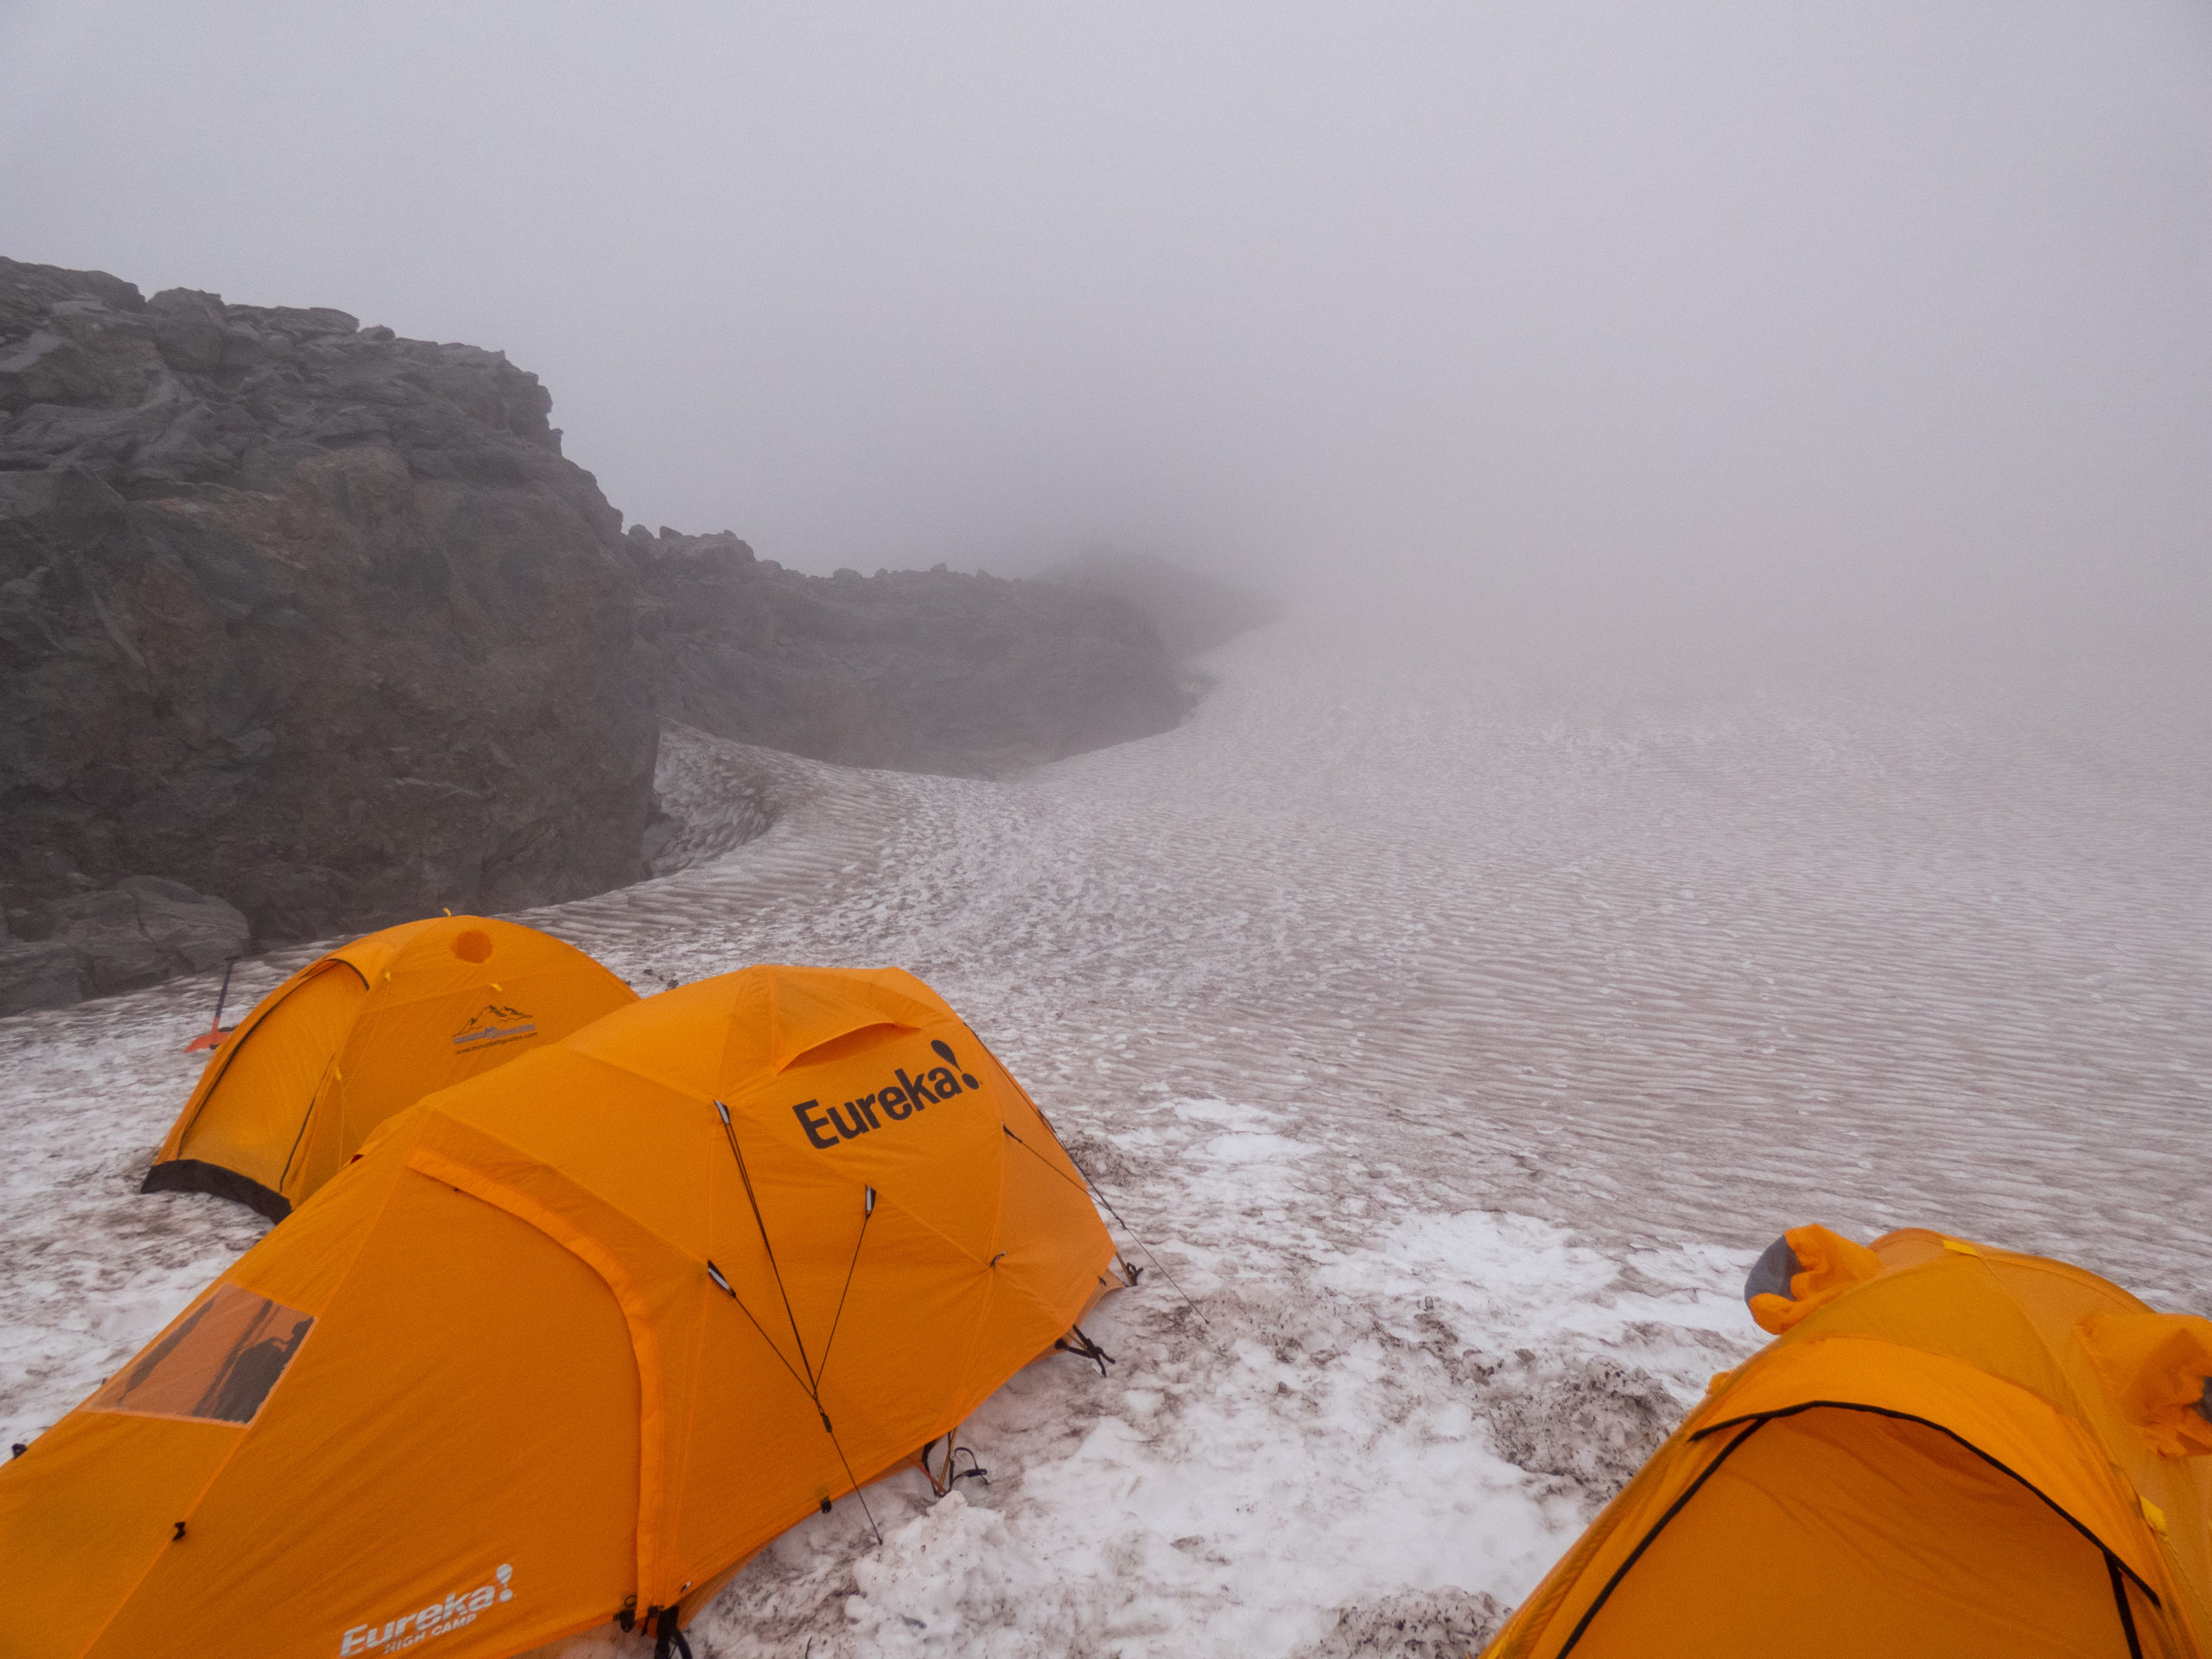
At Pebble Creek, we transitioned to mountaineering boots and headed out onto the snowfield. We eventually crossed over an outcrop of rock and made it to a great camping spot Nicole had scouted out for us. It was nice to be in cooler temps as we set up the tents. What a time for a newbie like me, camping on a glacier!!


Day 2
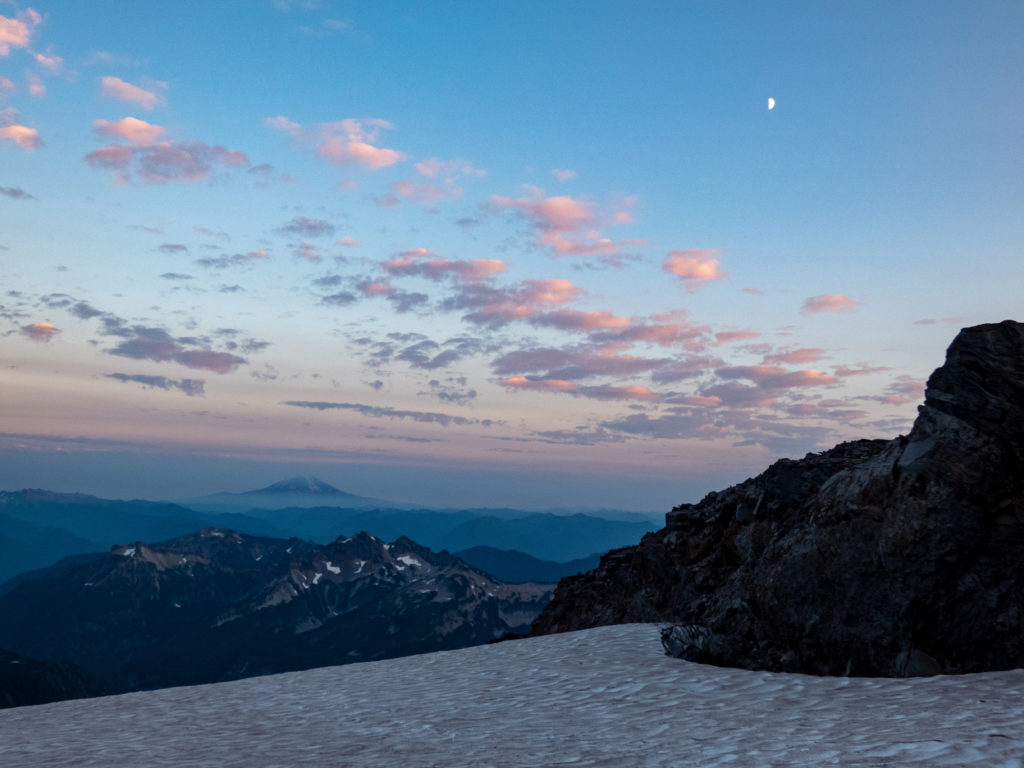
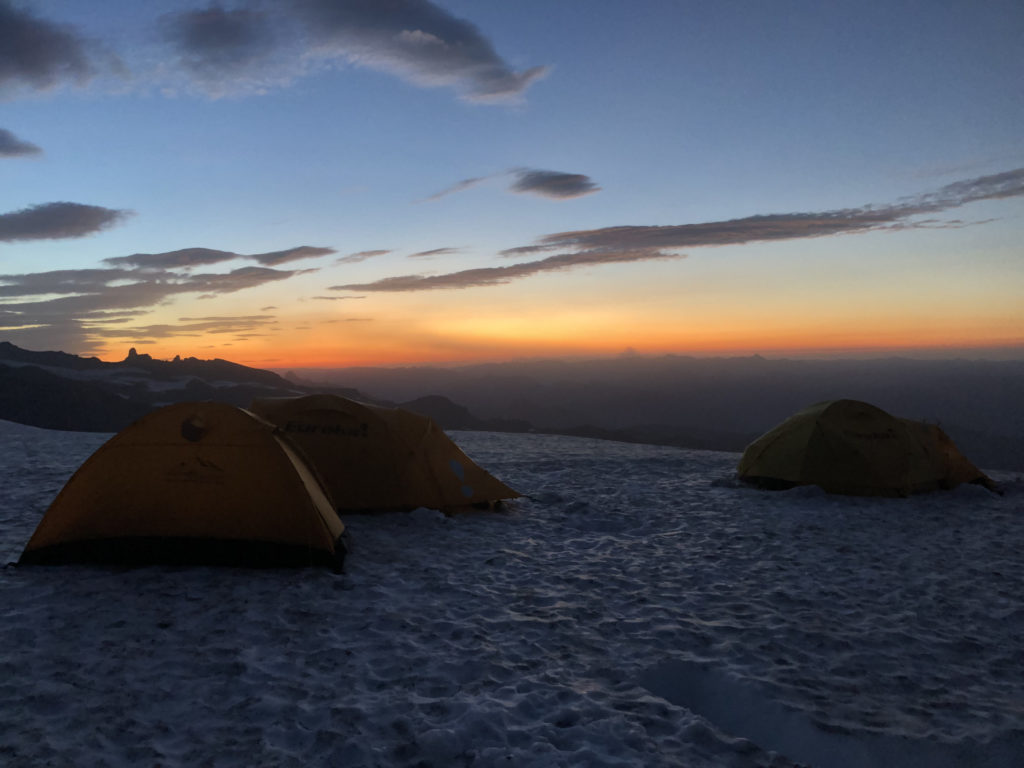
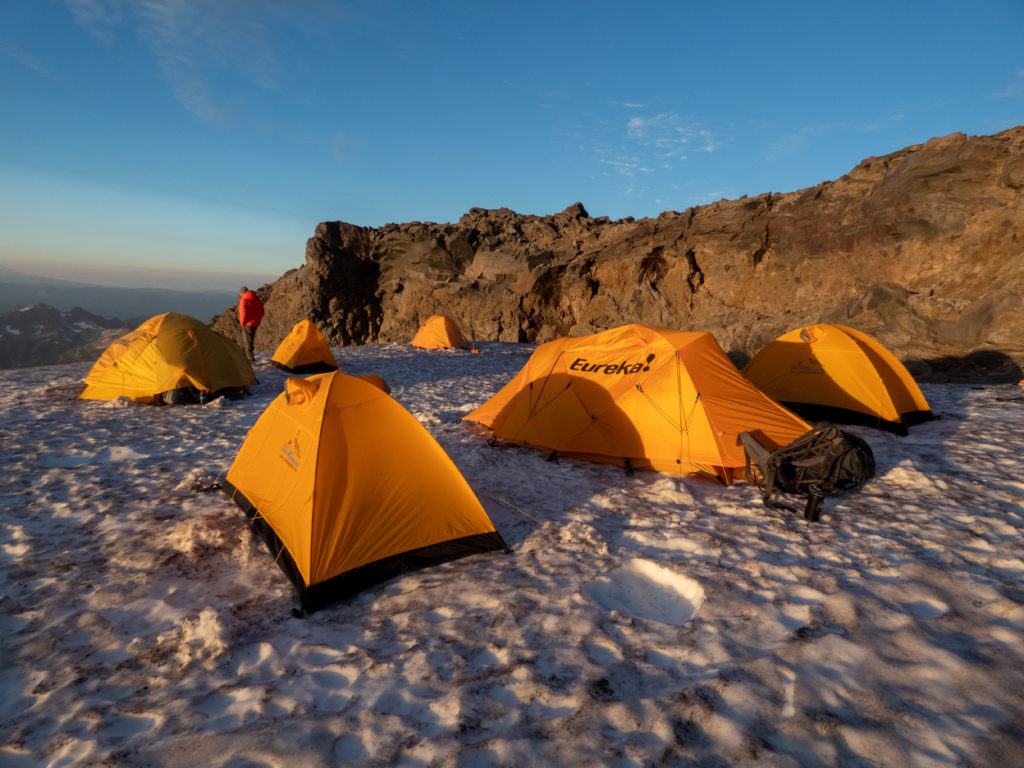
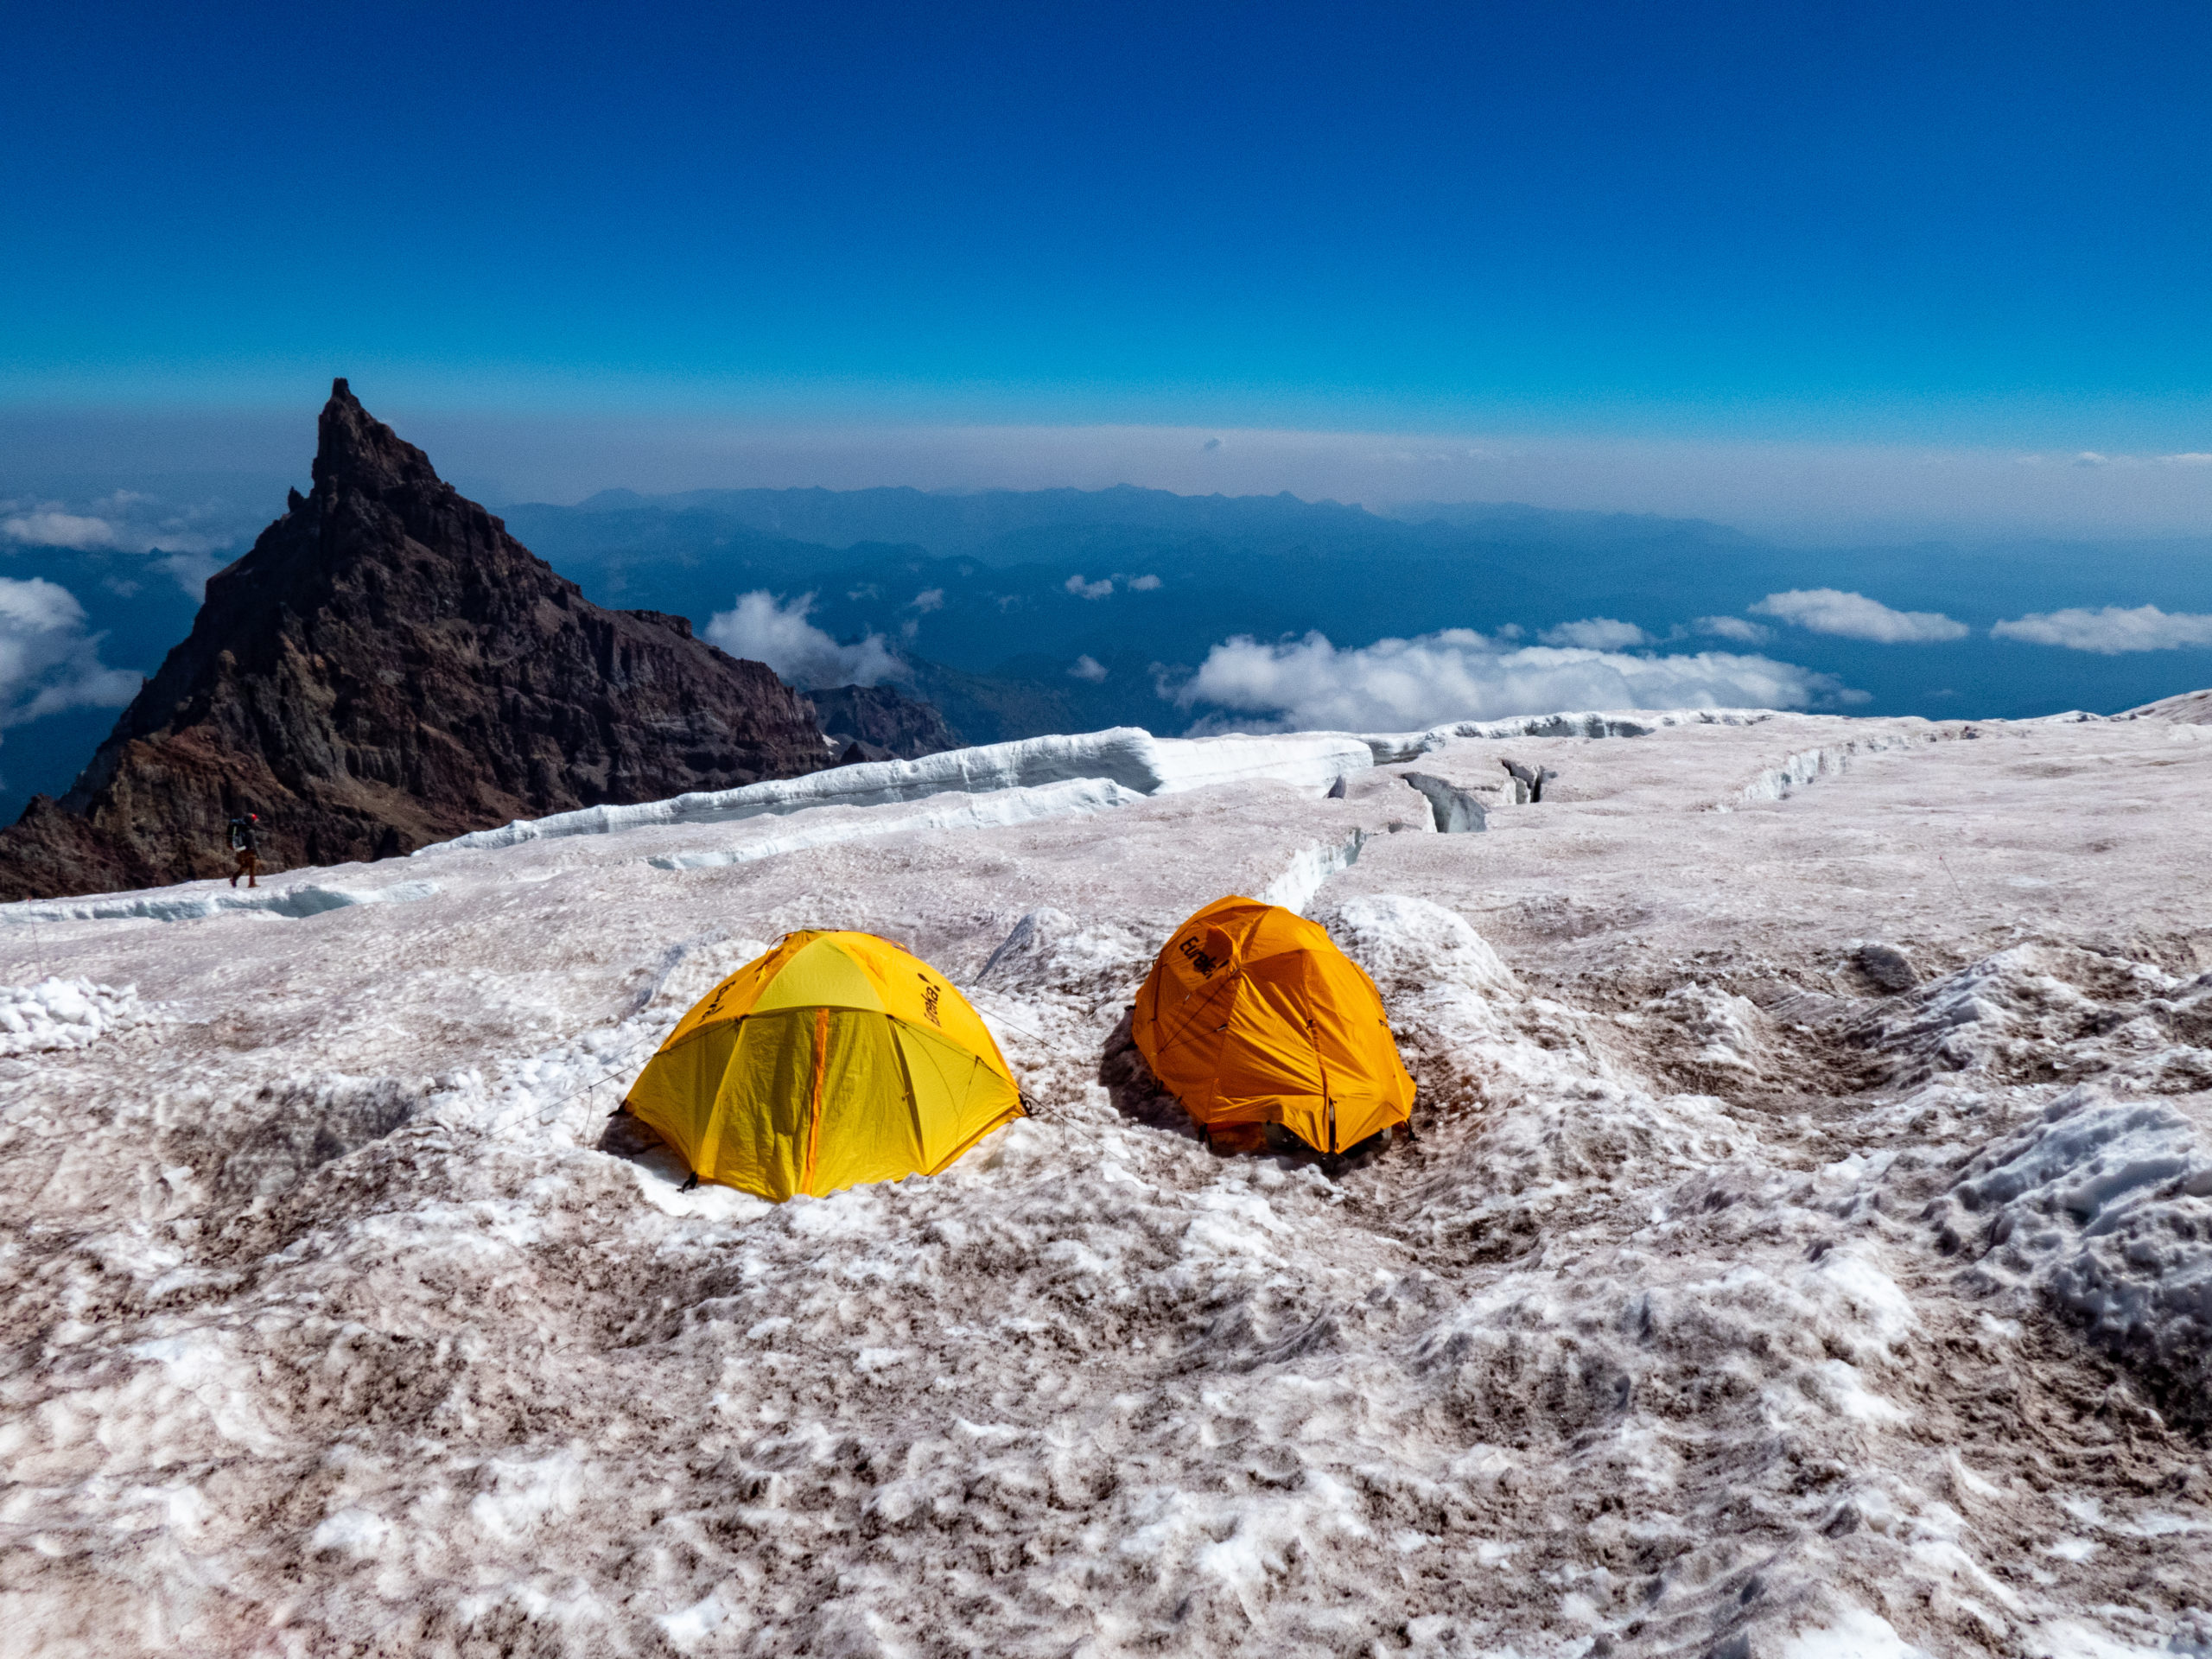
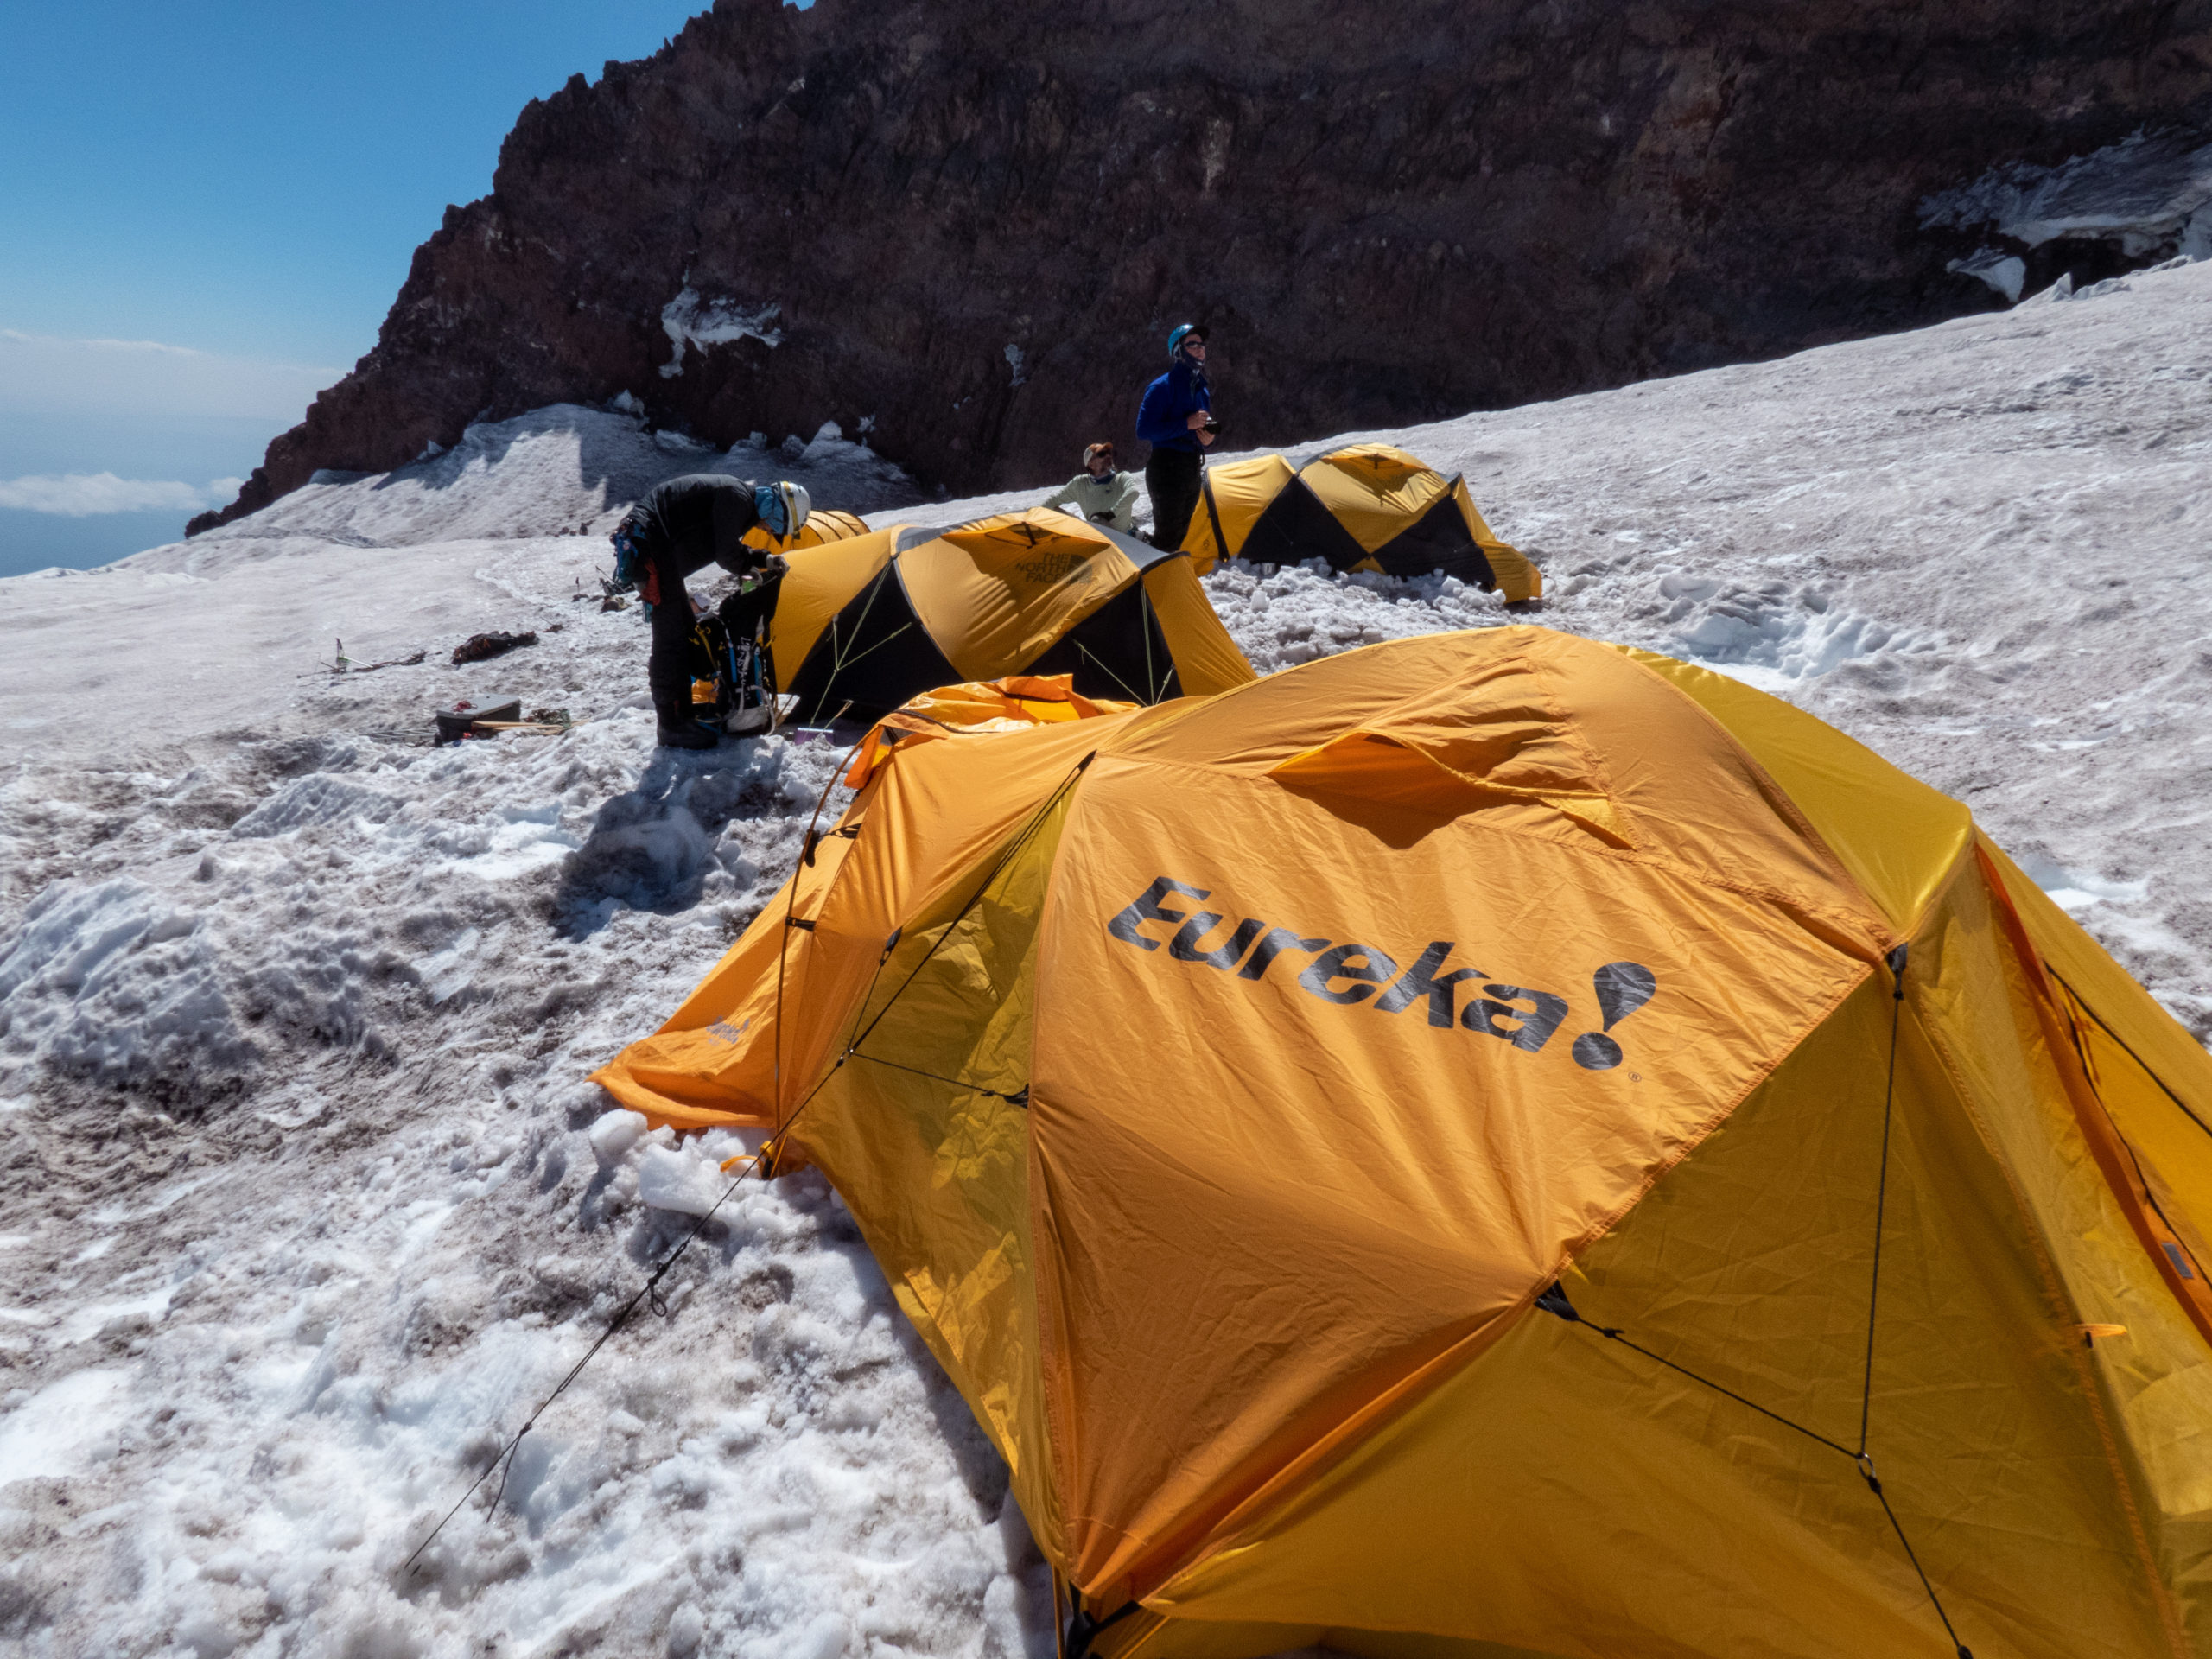
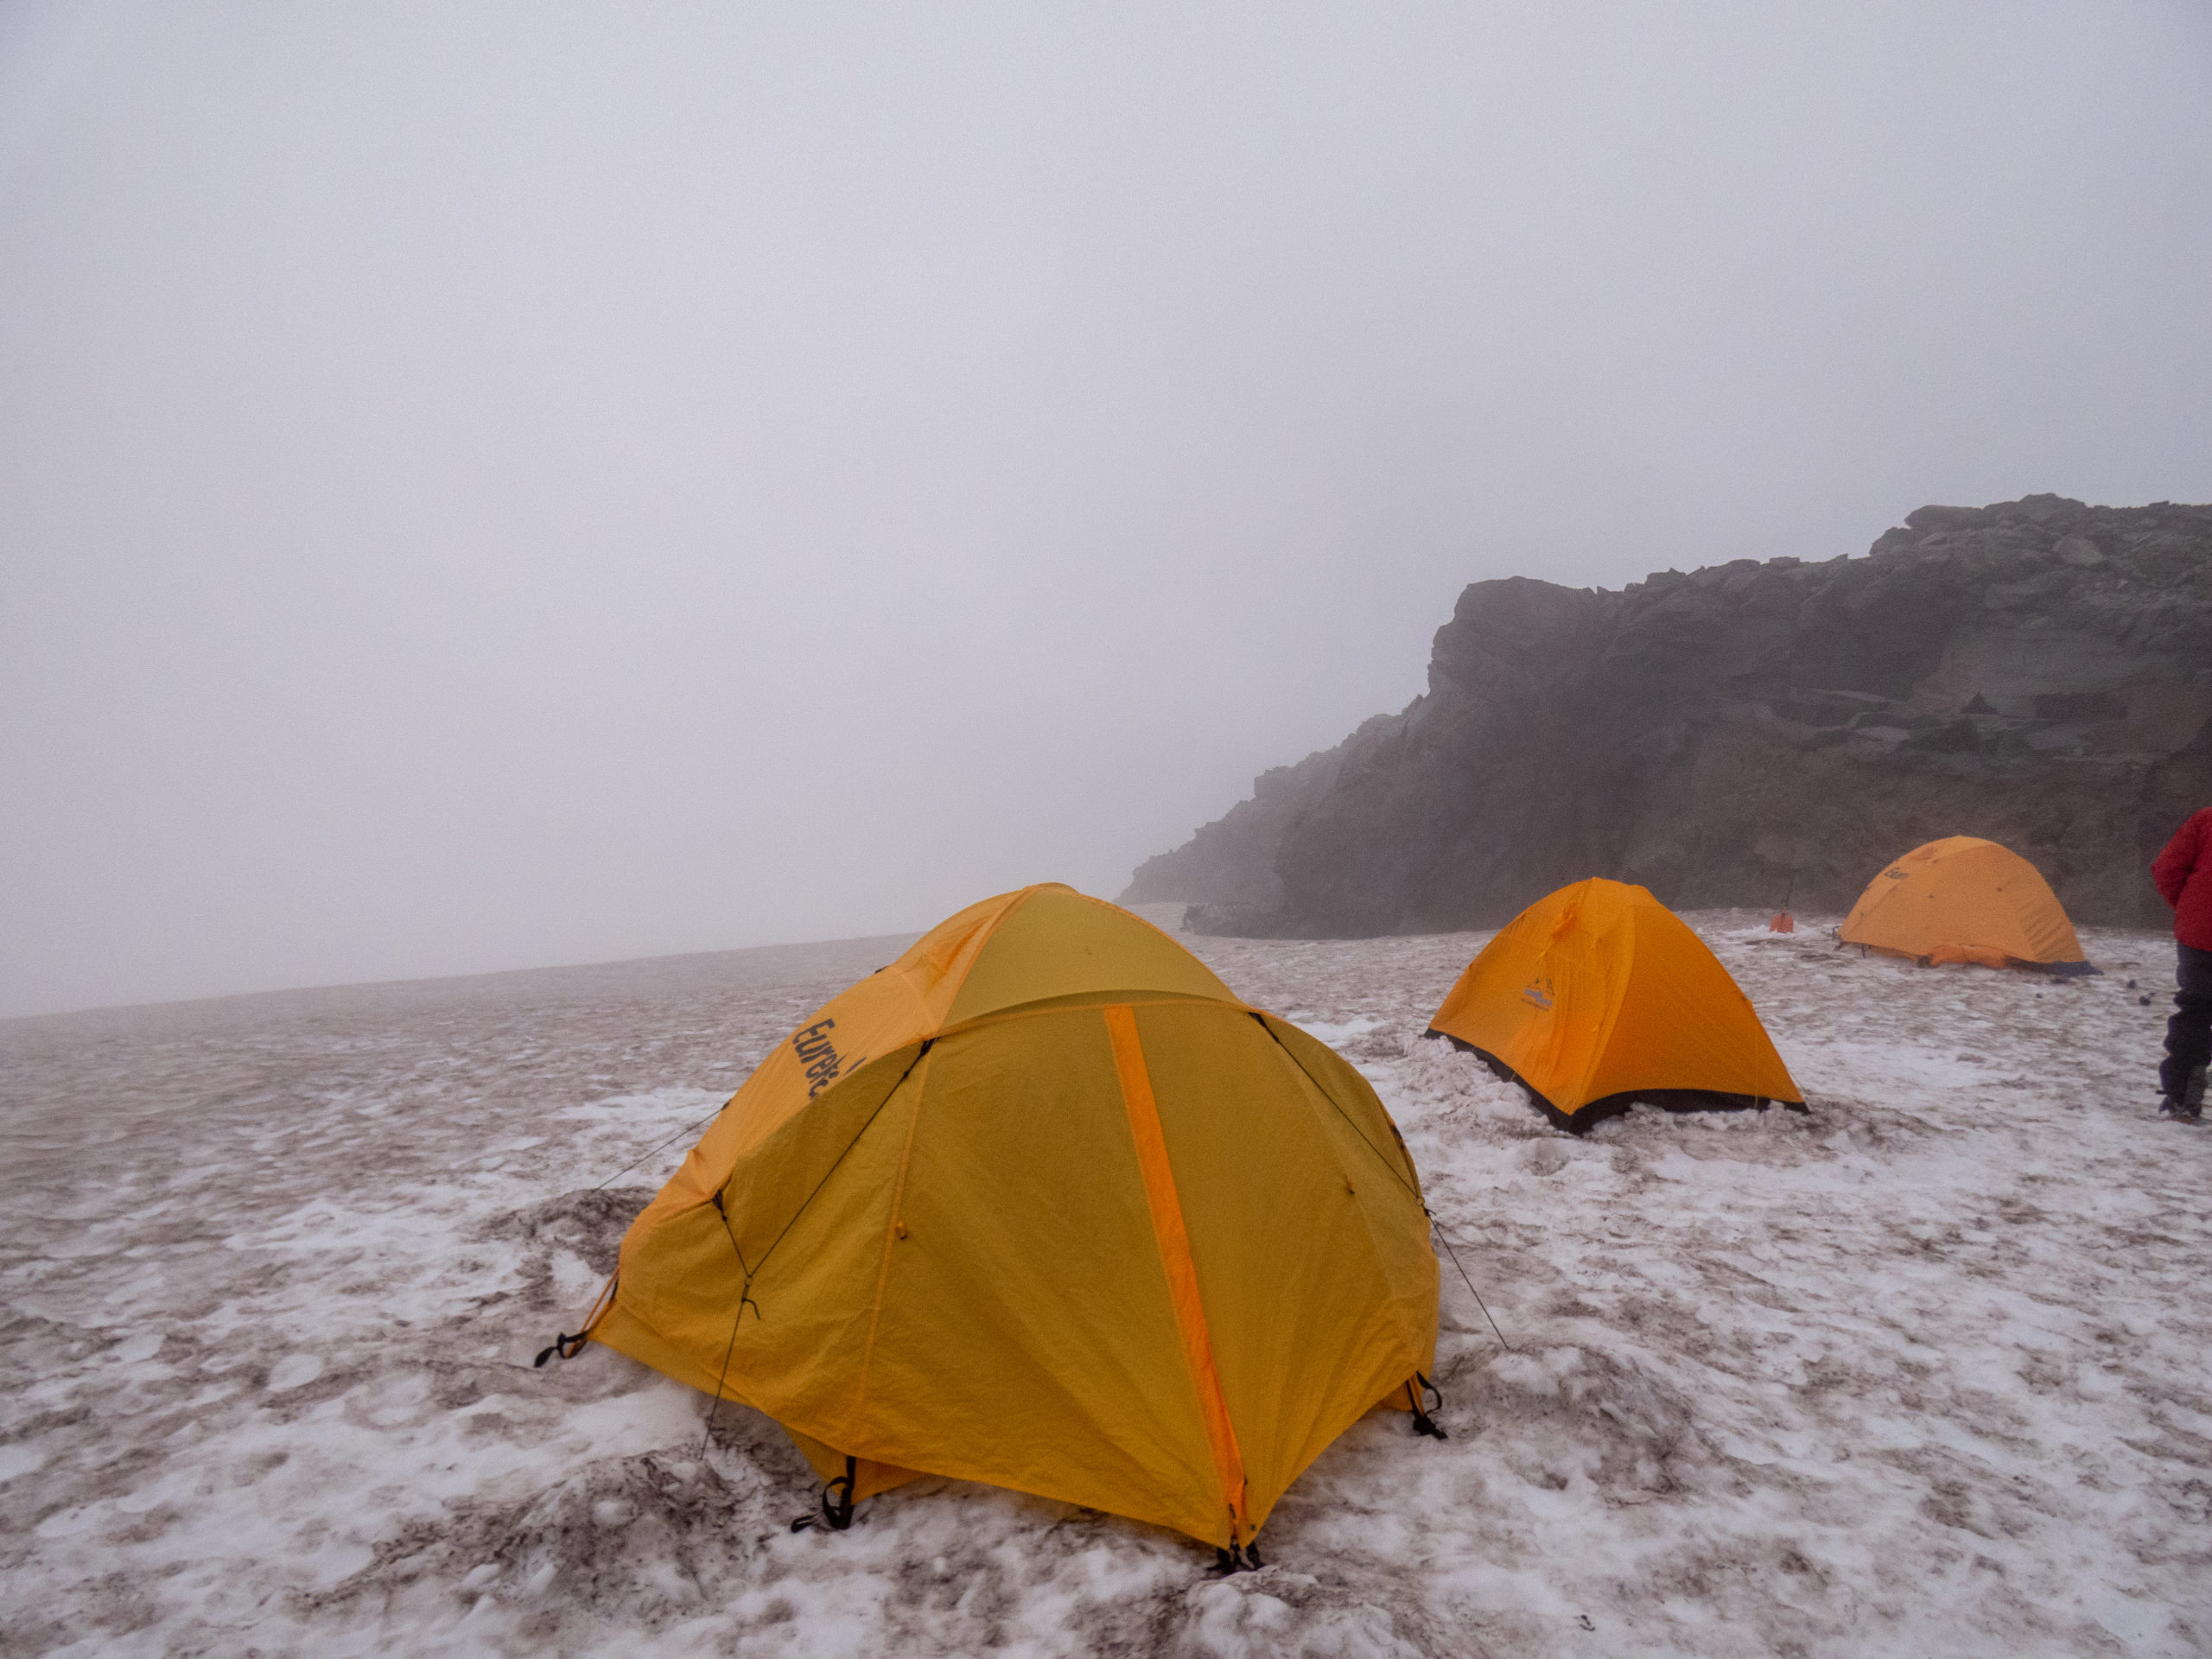
The second day started out warm and sunny. Camp looked amazing in the morning sun. The sunrise pictures are from Josh, one of the team members.
Most of us didn’t sleep that well which was to be expected. Based on some snoring, there were a few that got a good night’s sleep!
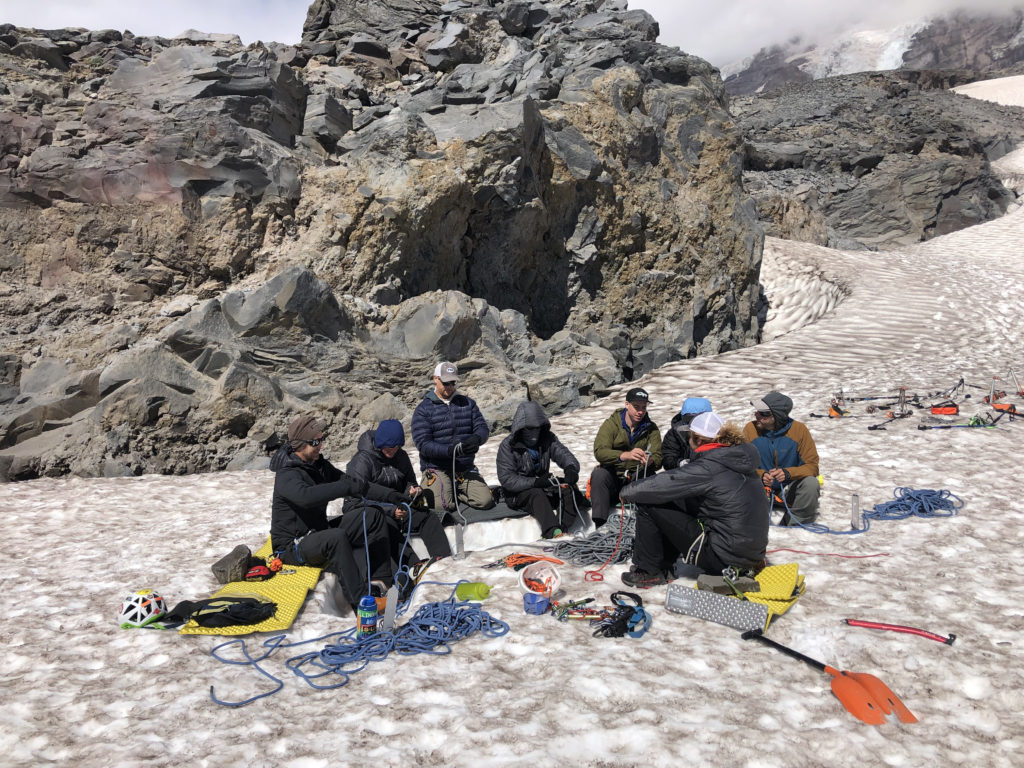
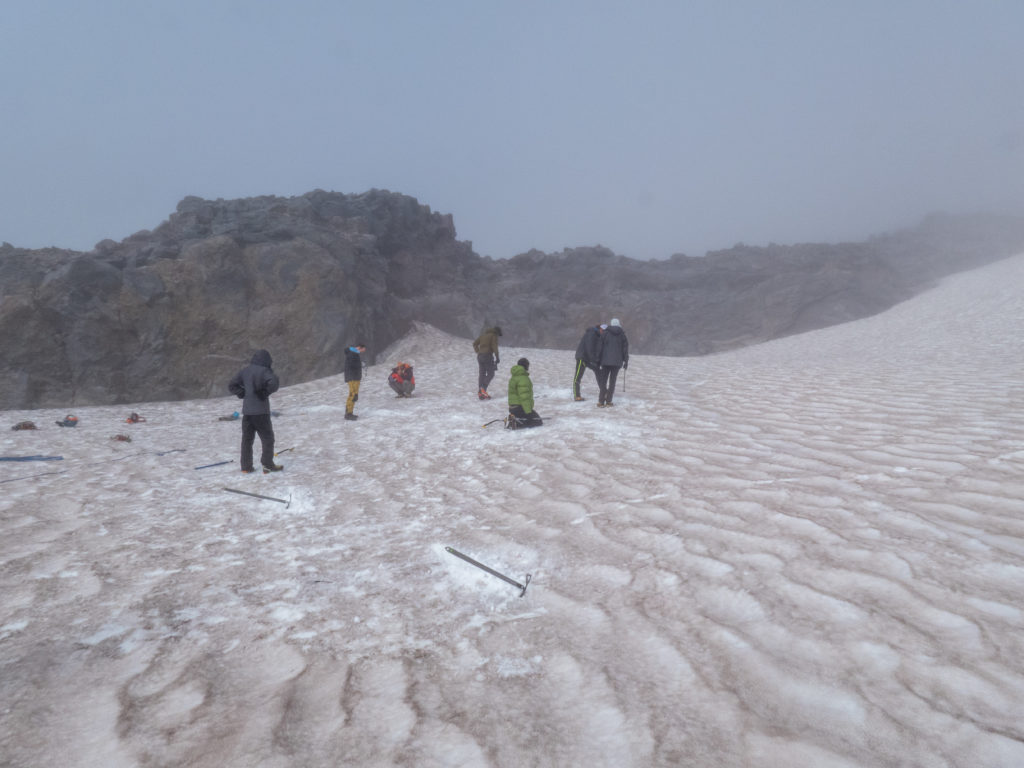
We started the day with knot school. We learned a variety of important knots that we would use during the rest of the trip. The course is interesting since the guides show you several things that we then apply in our activities. These activities range from basic things like ice axe arrest to live crevasse rescues. Little did we know how important these knots were at this stage.
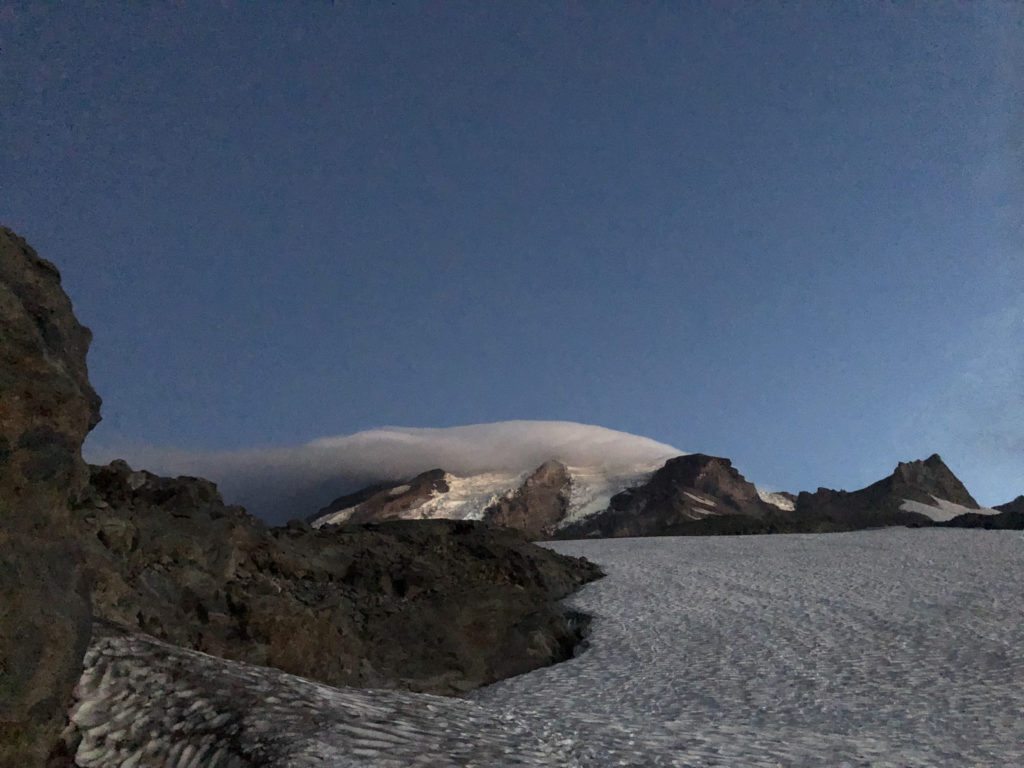
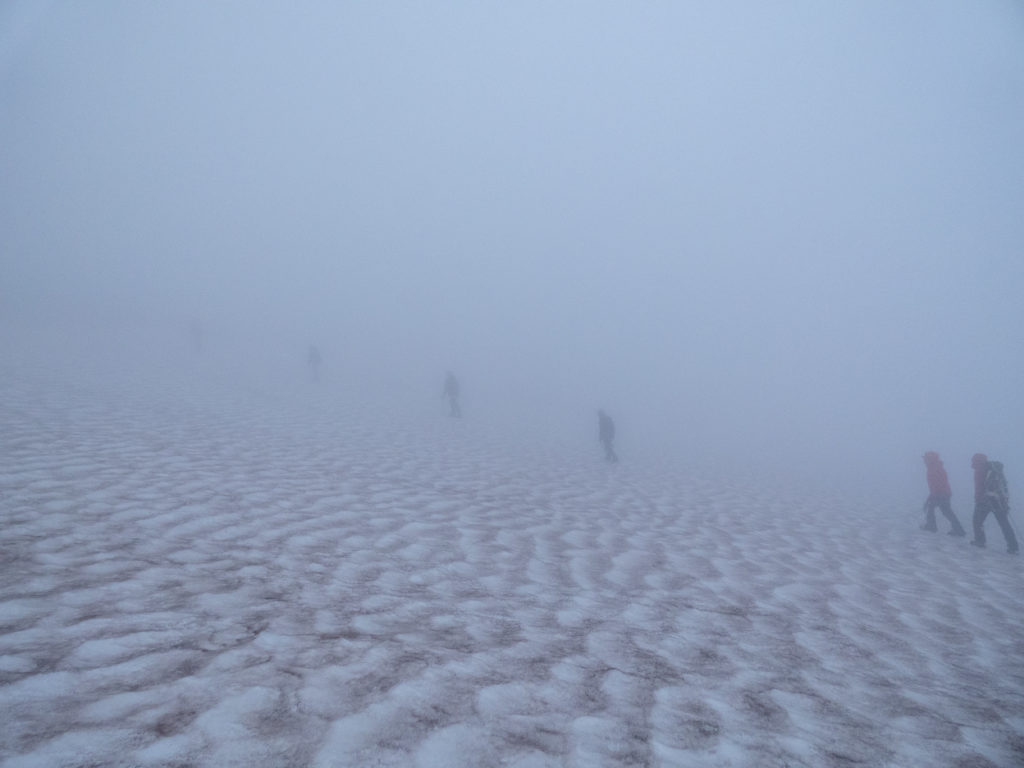
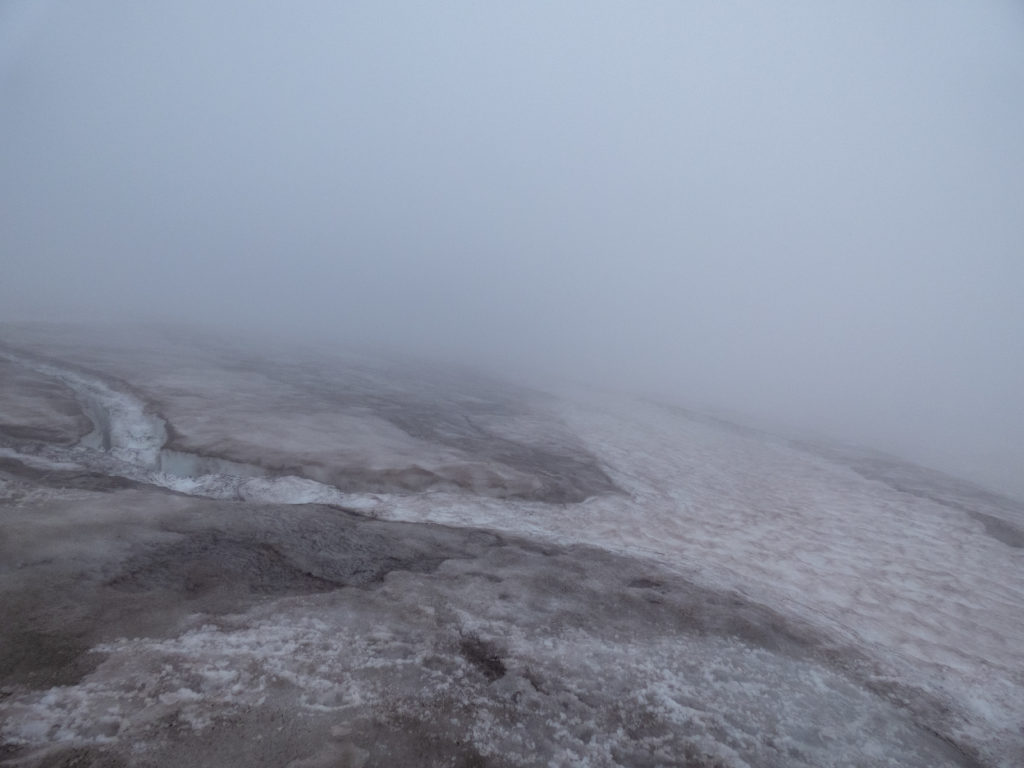
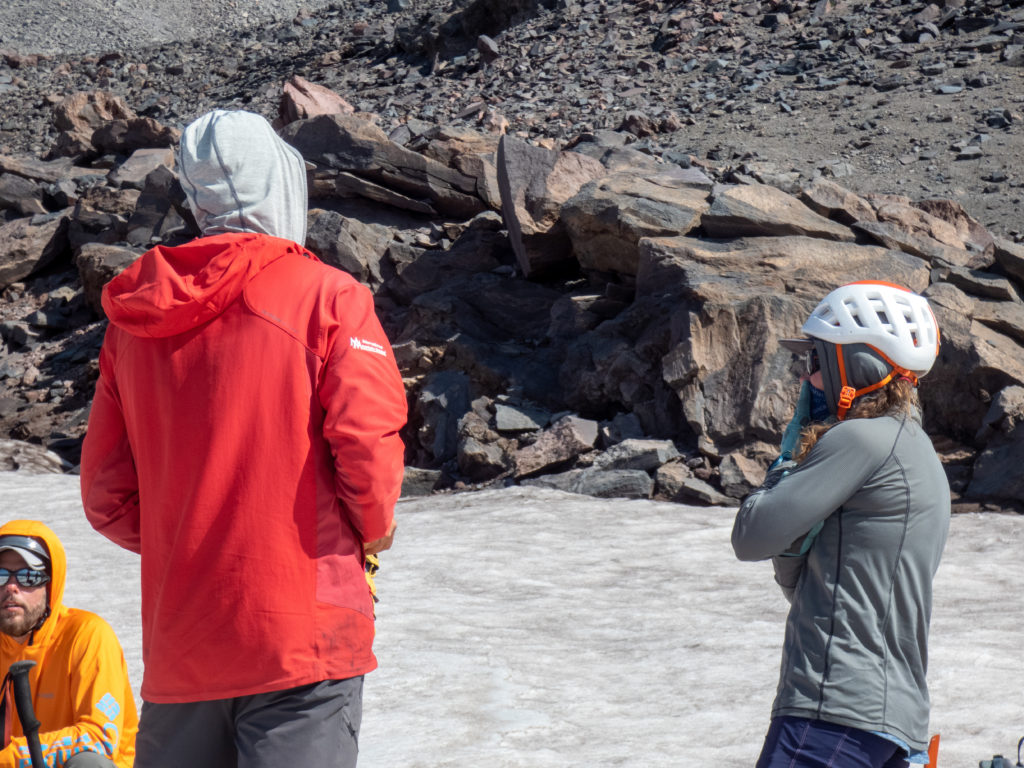
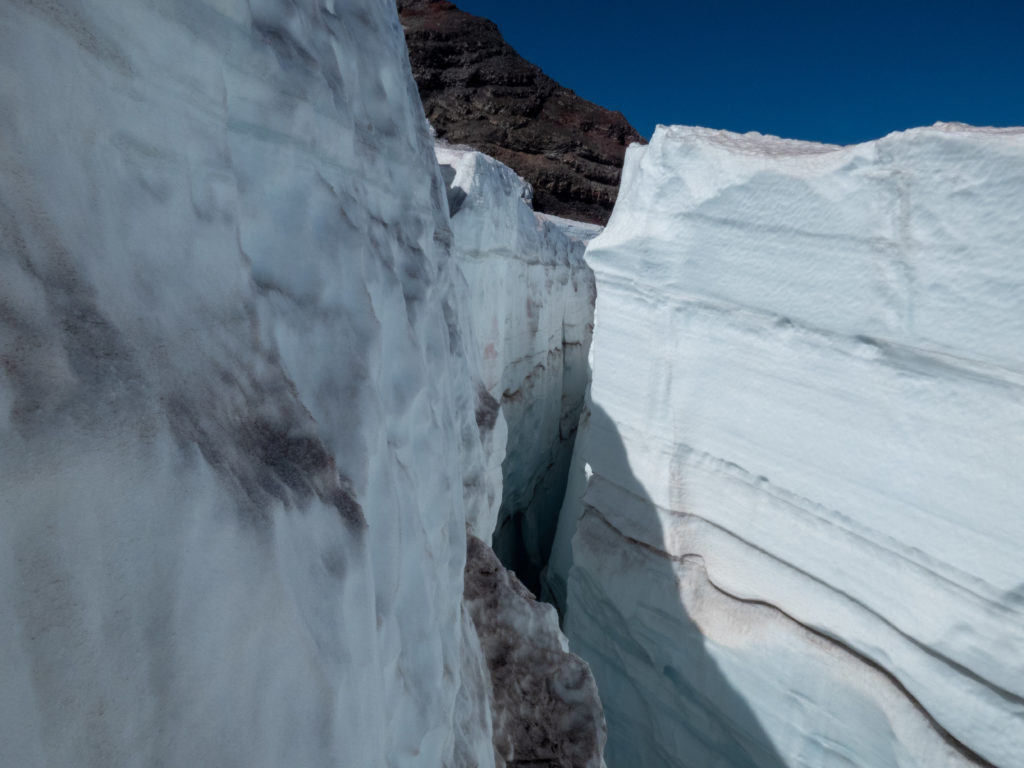
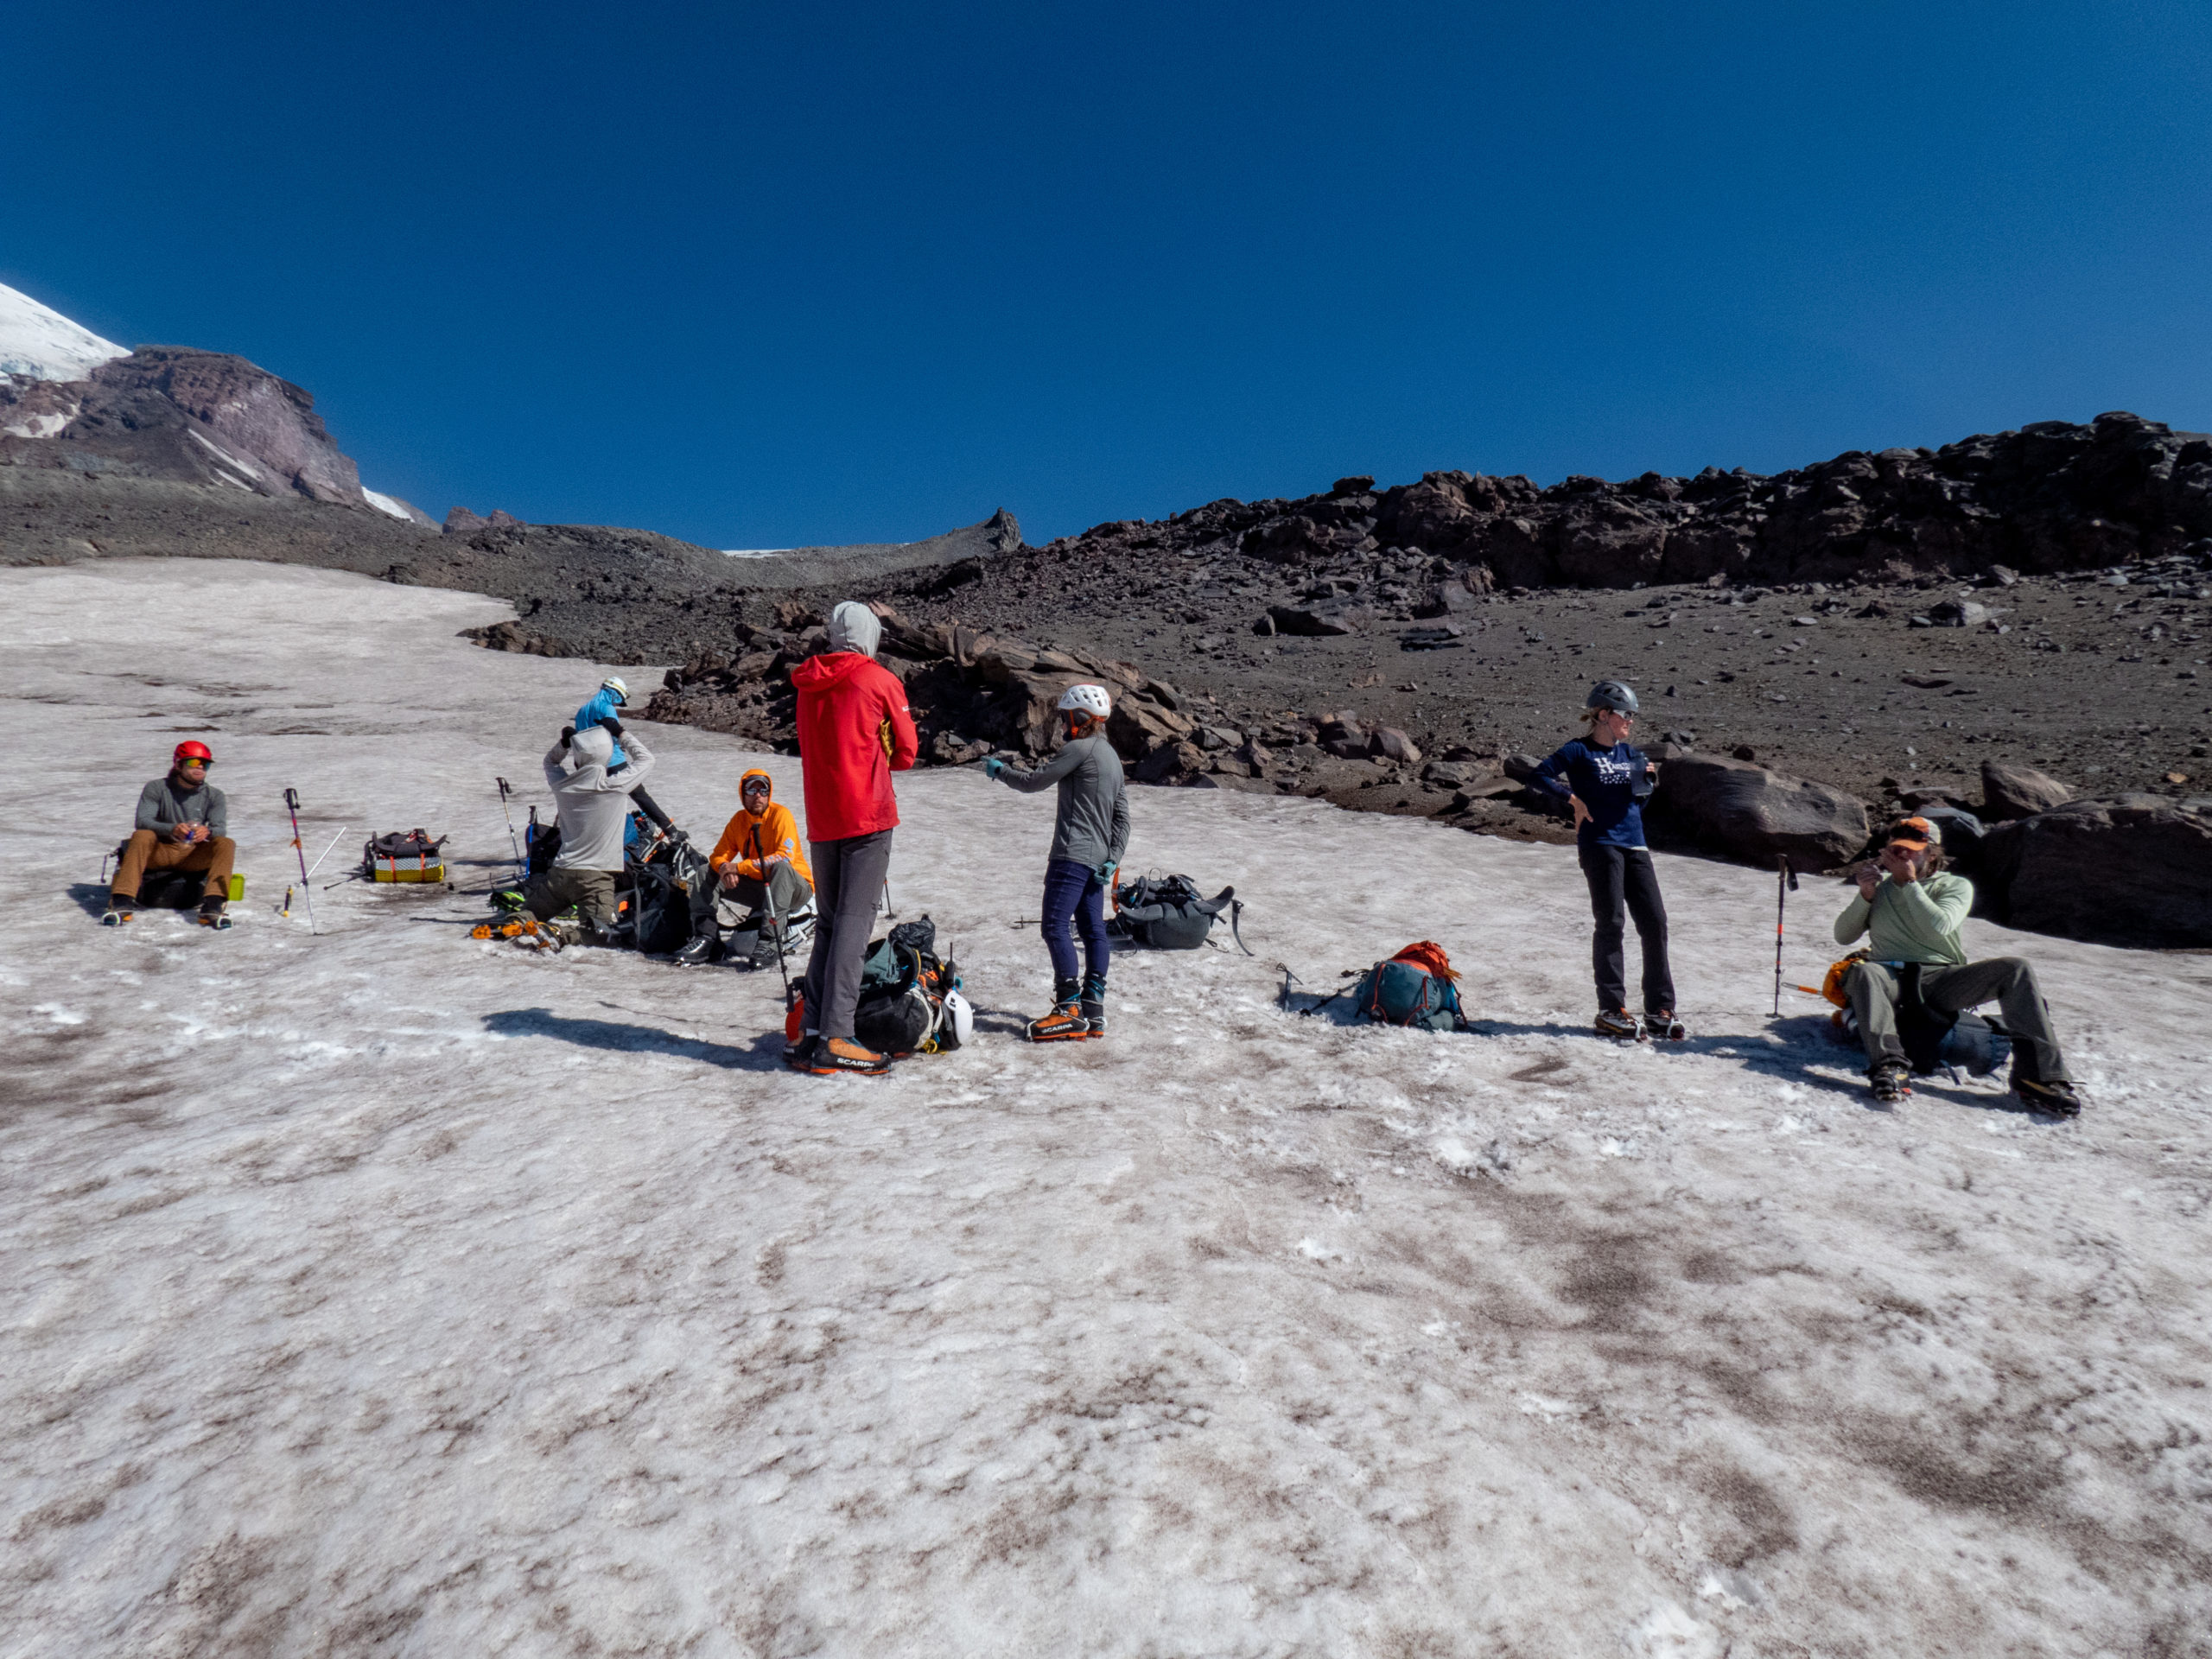
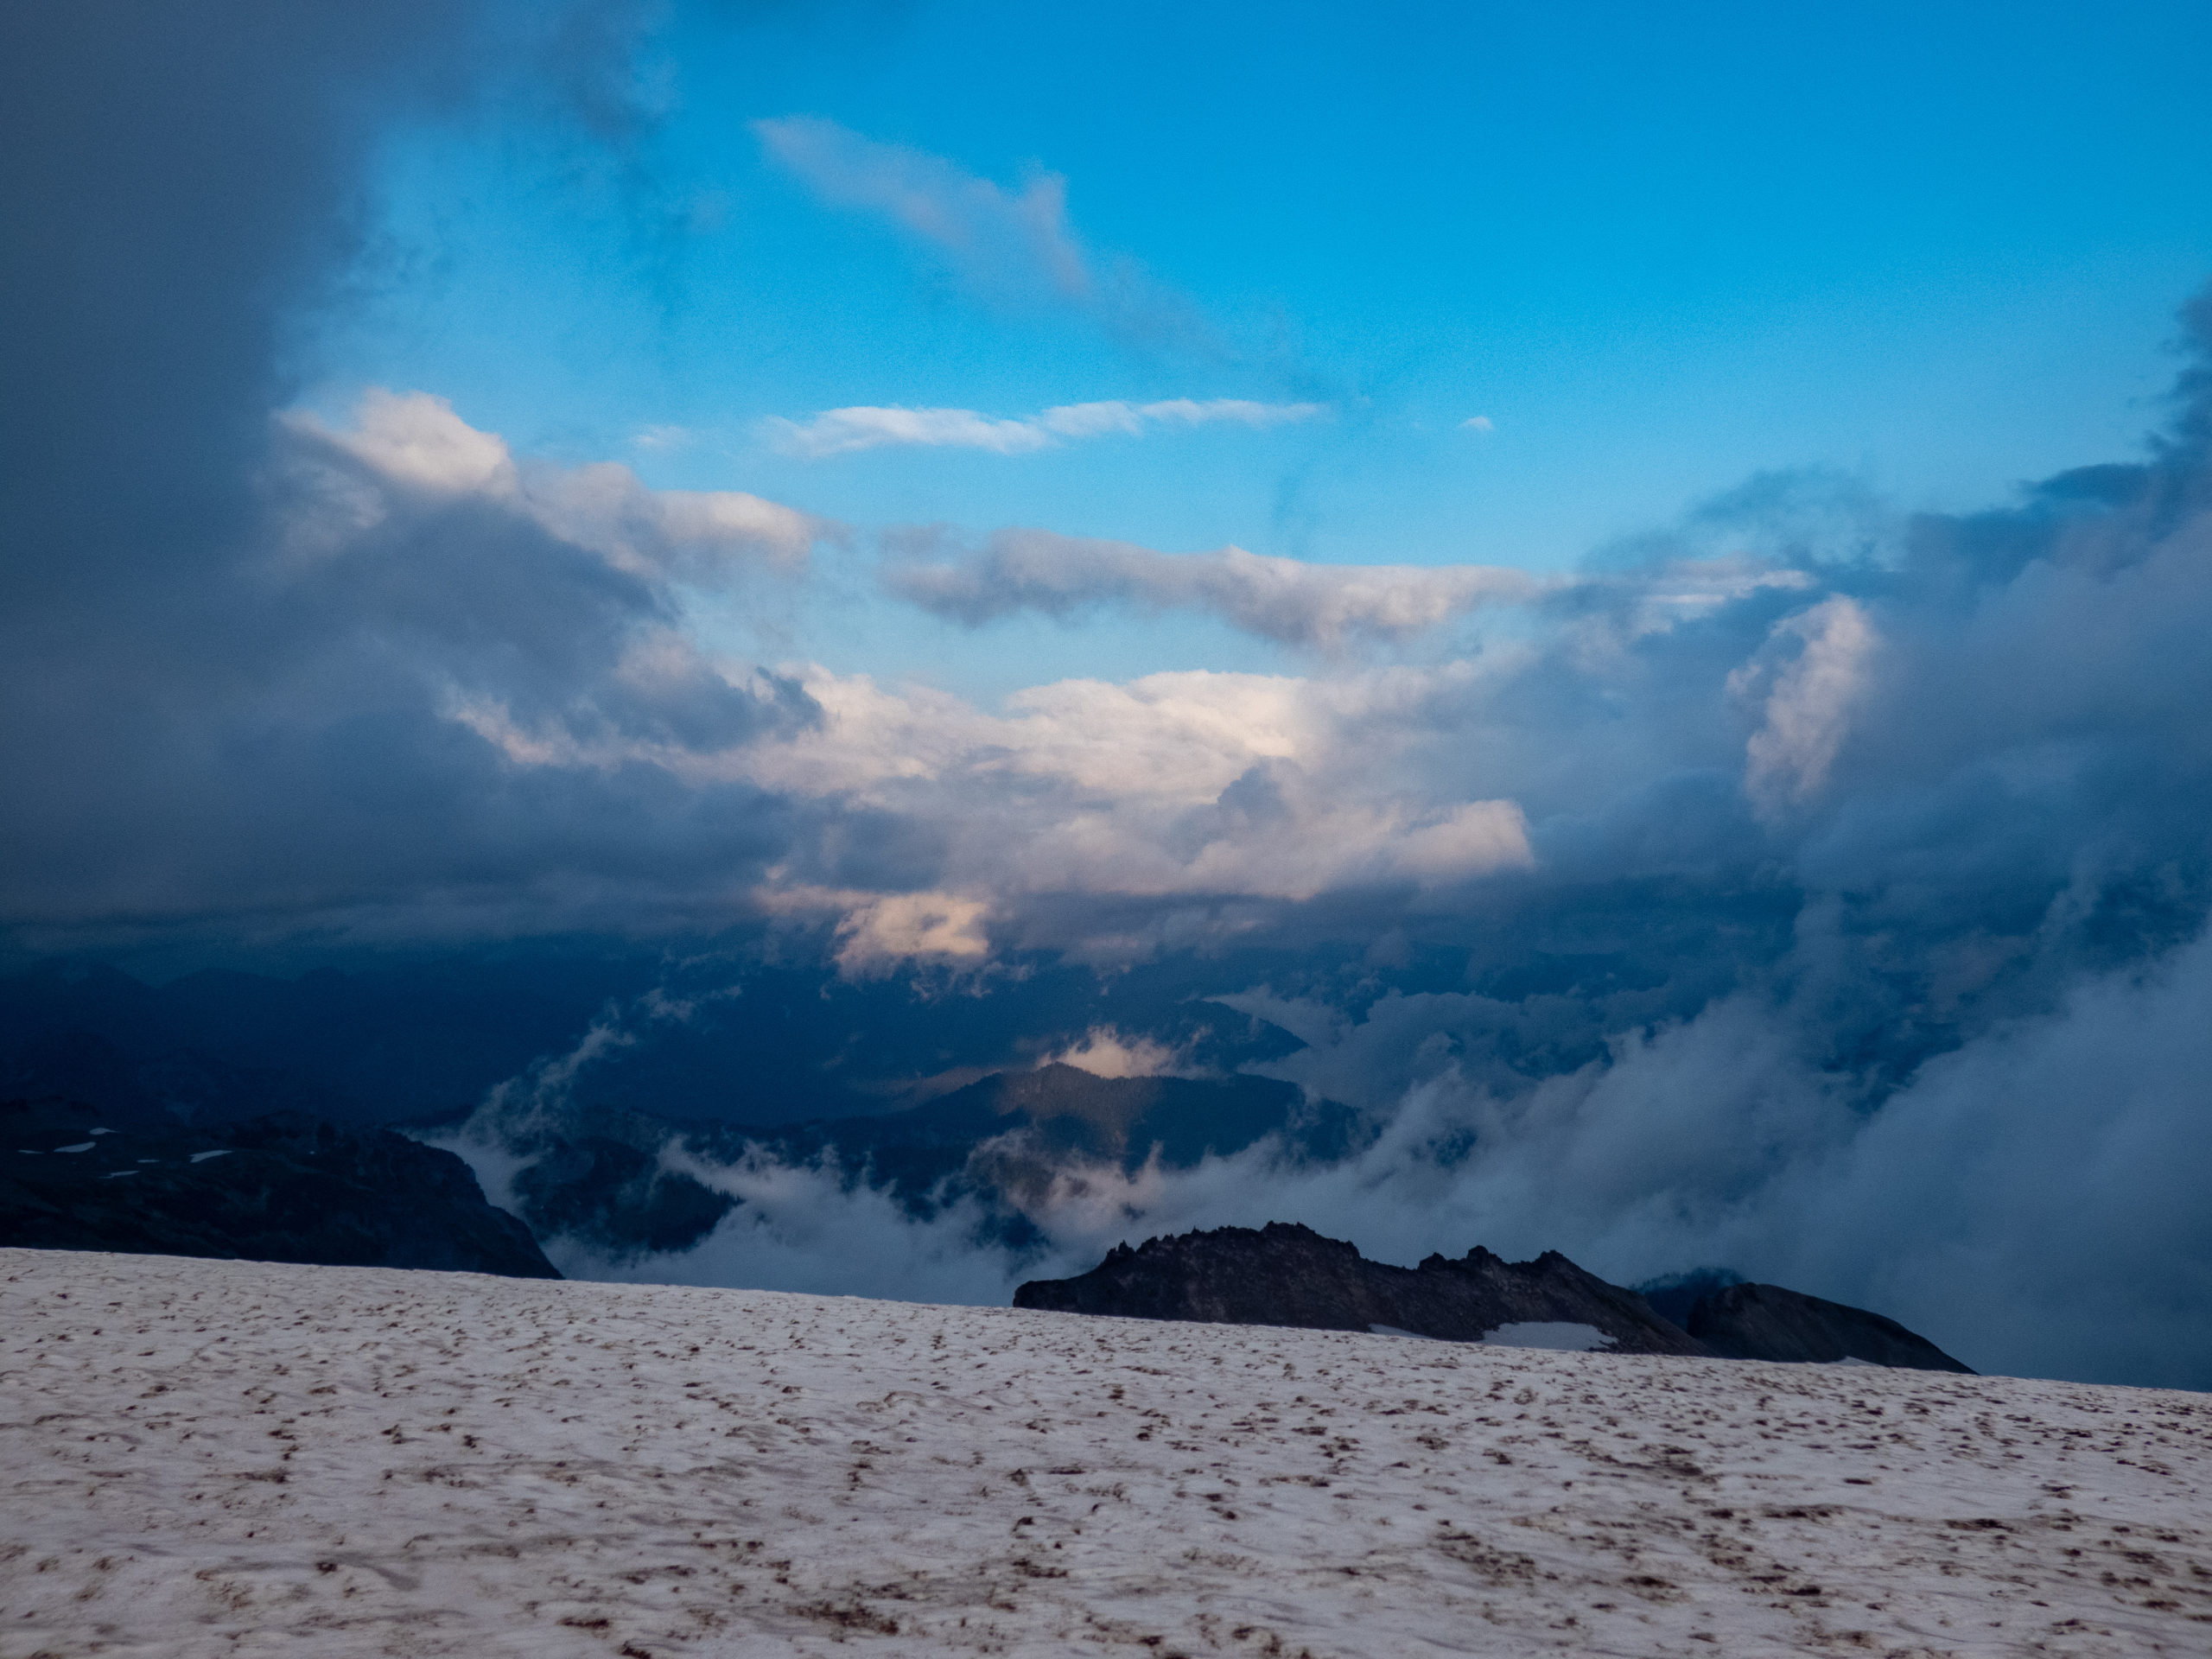
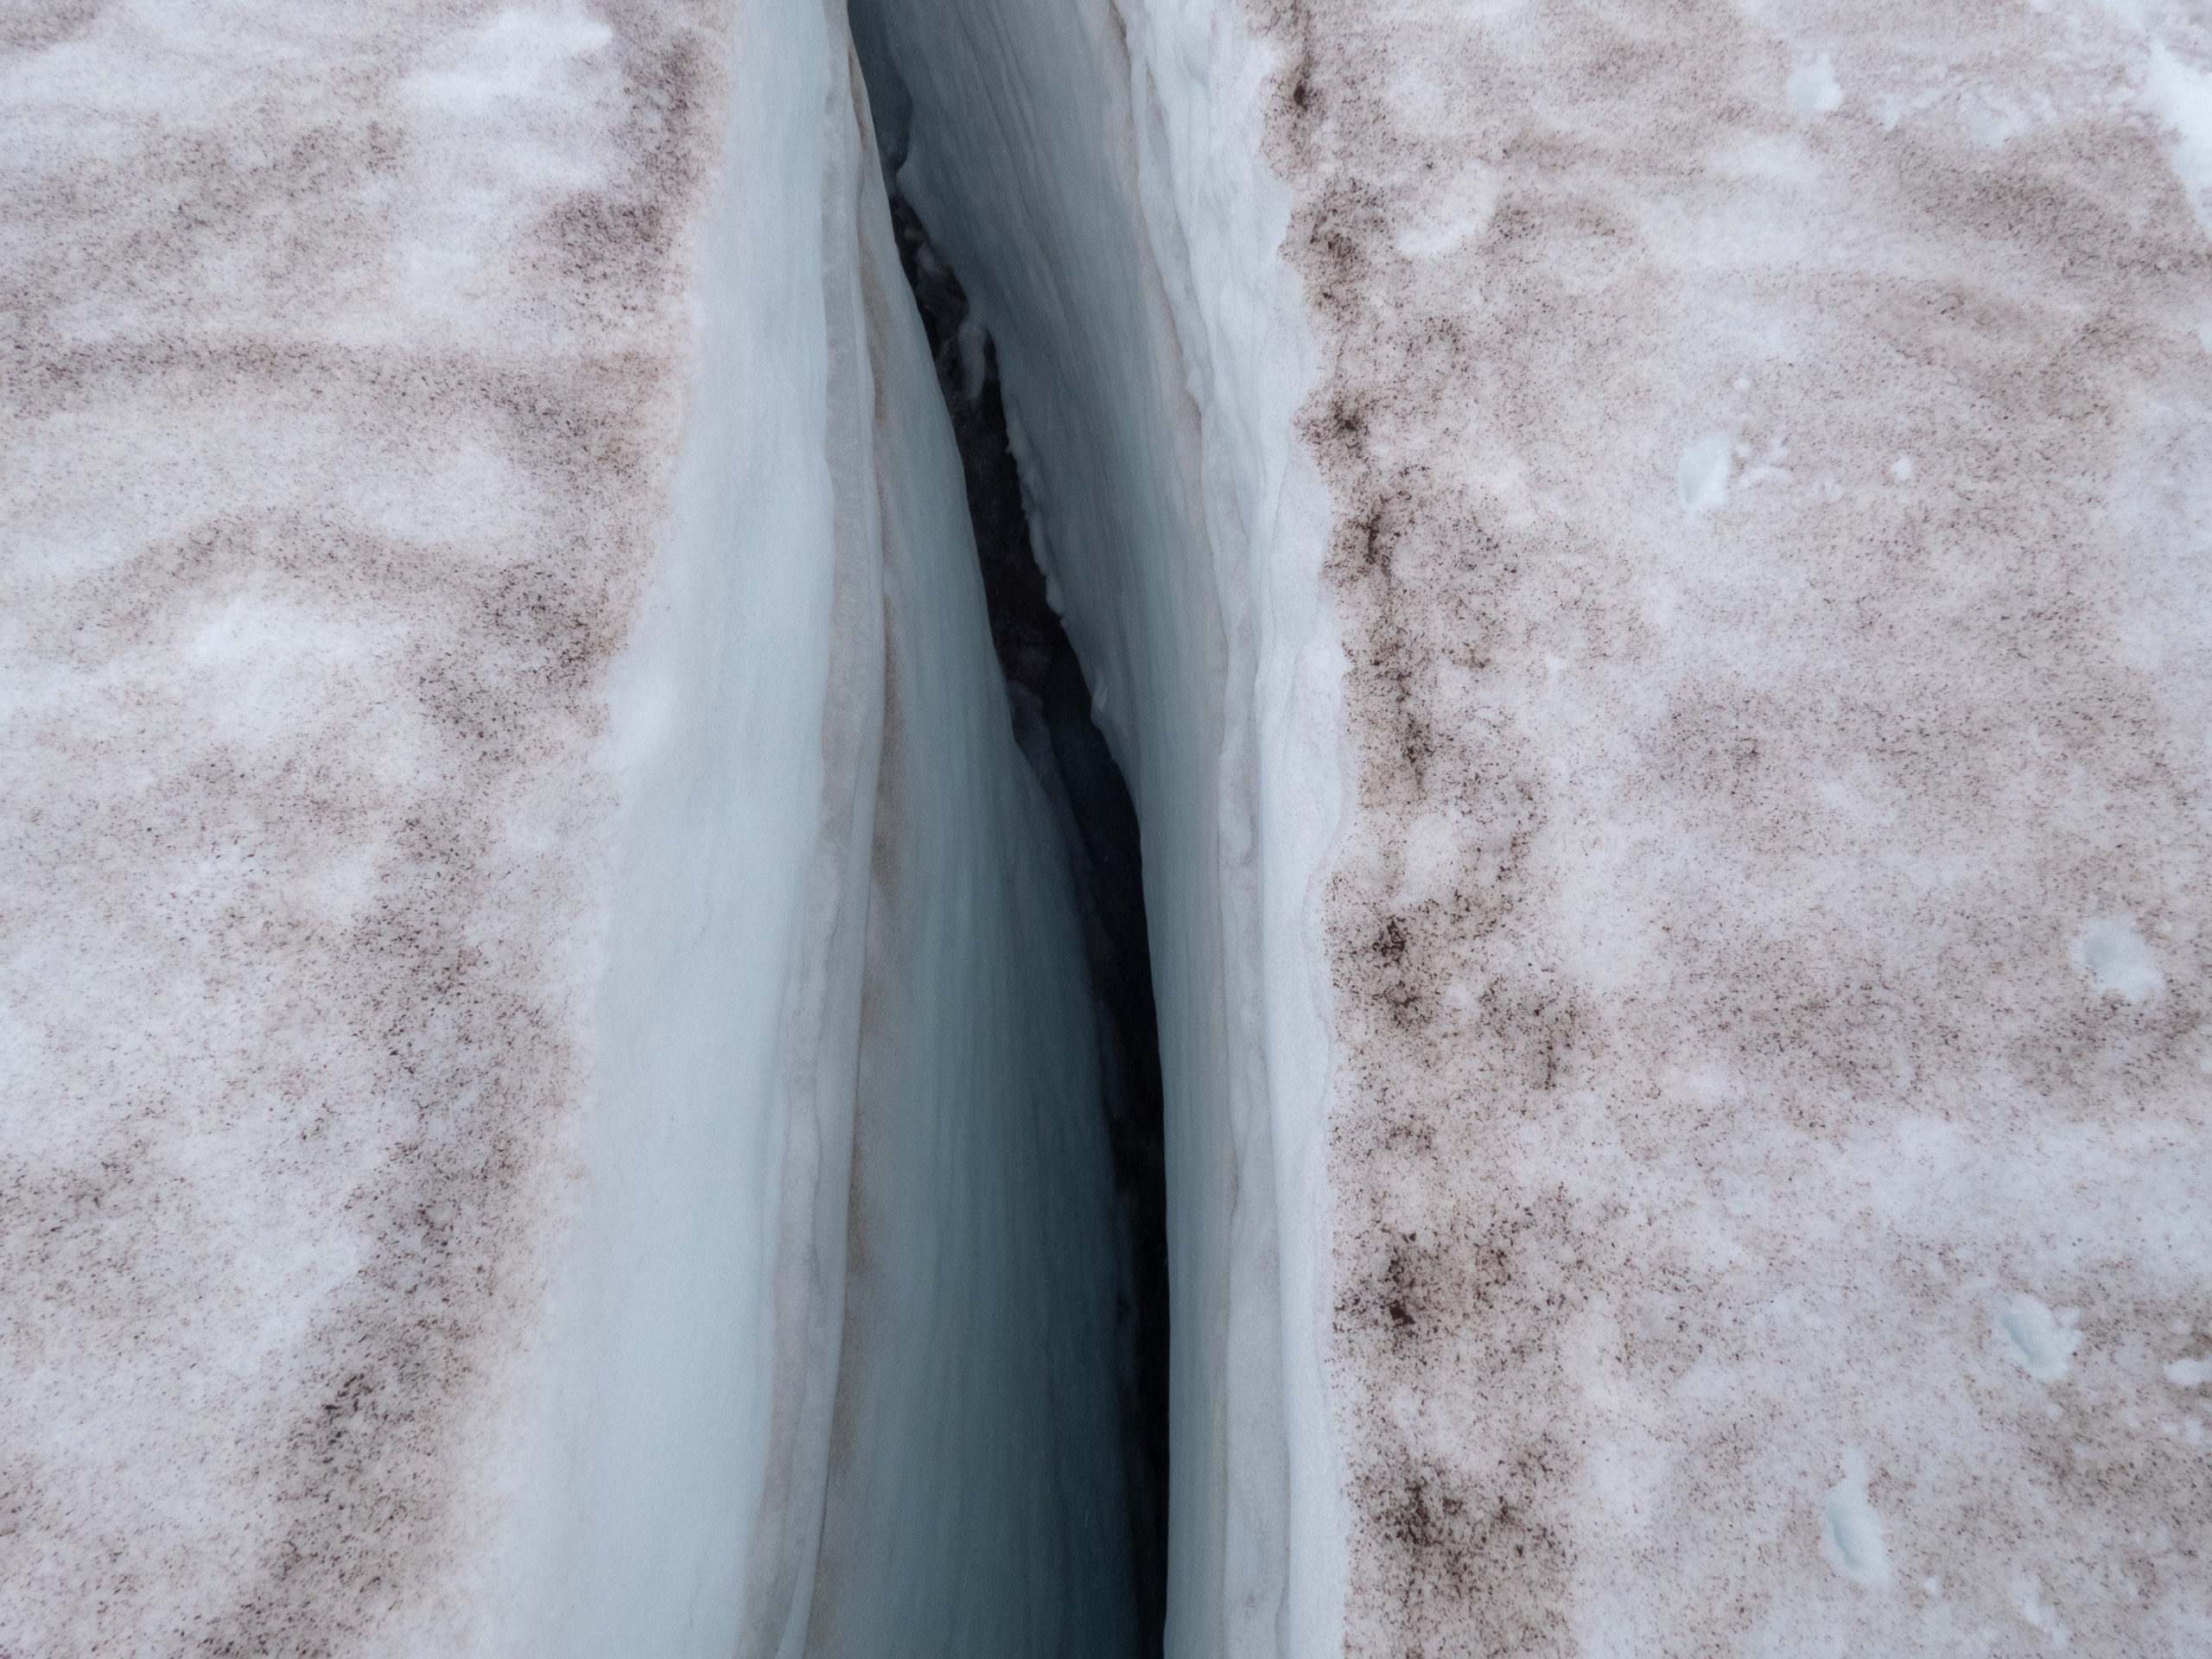
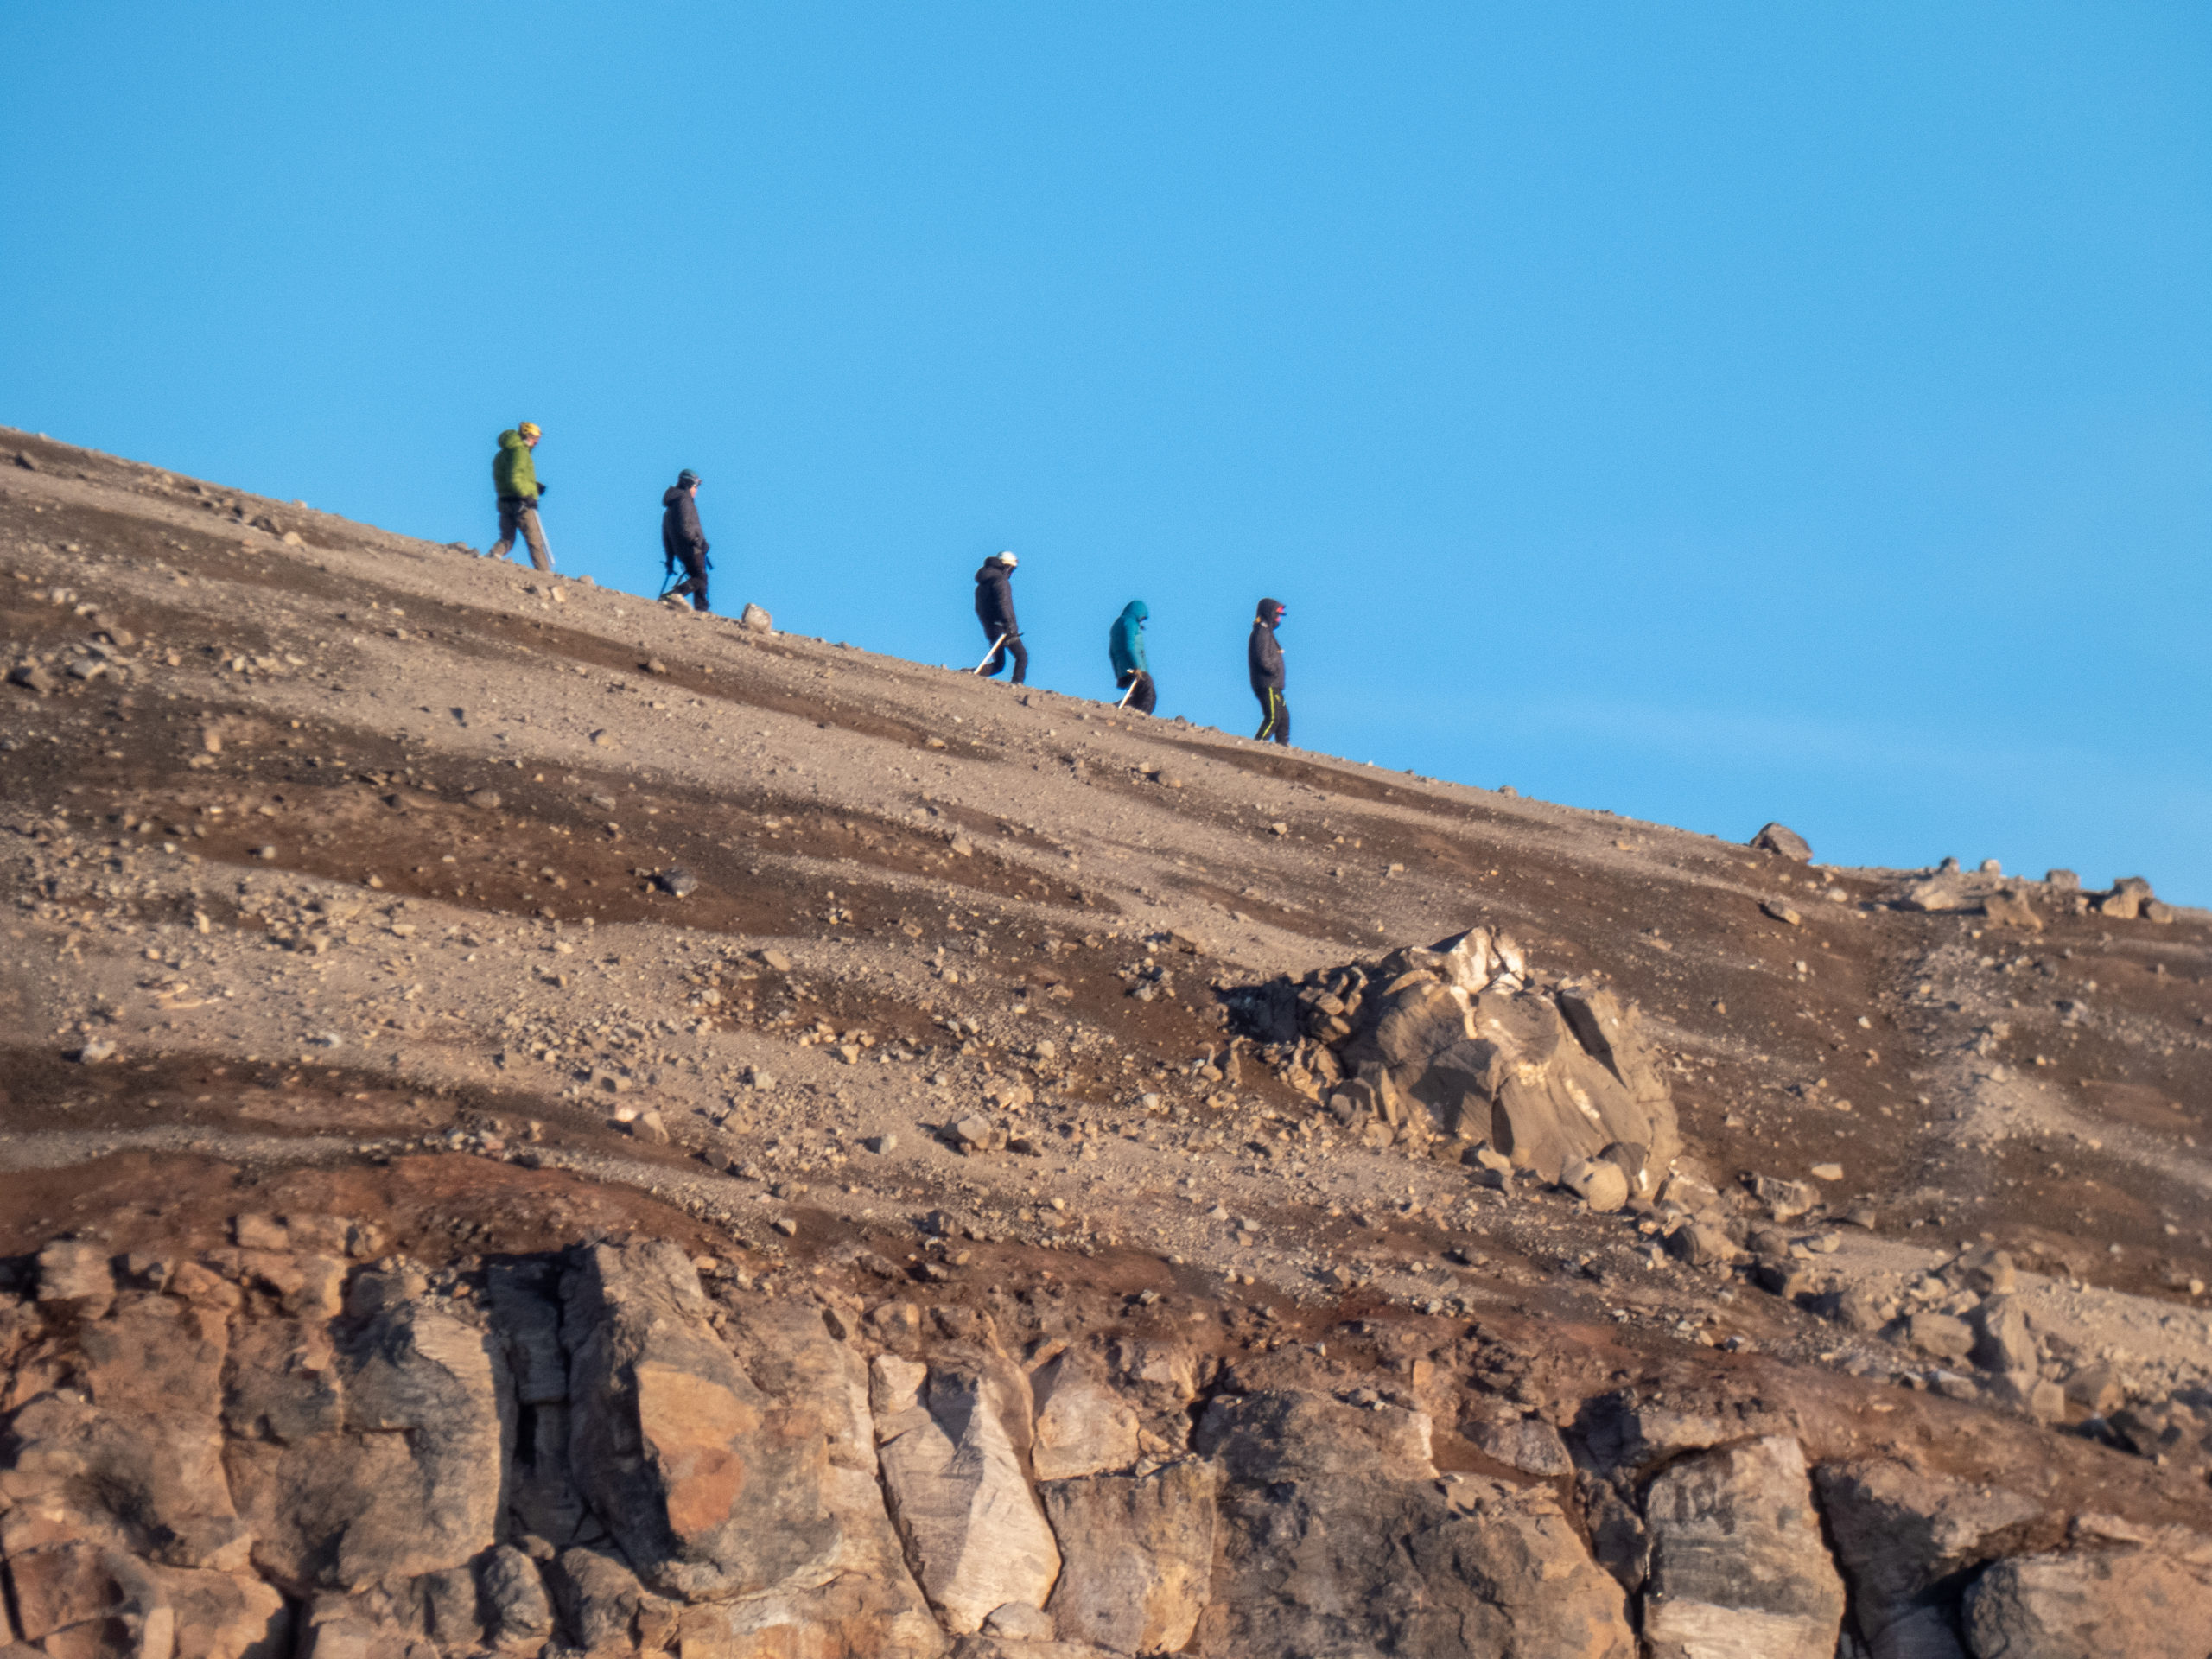
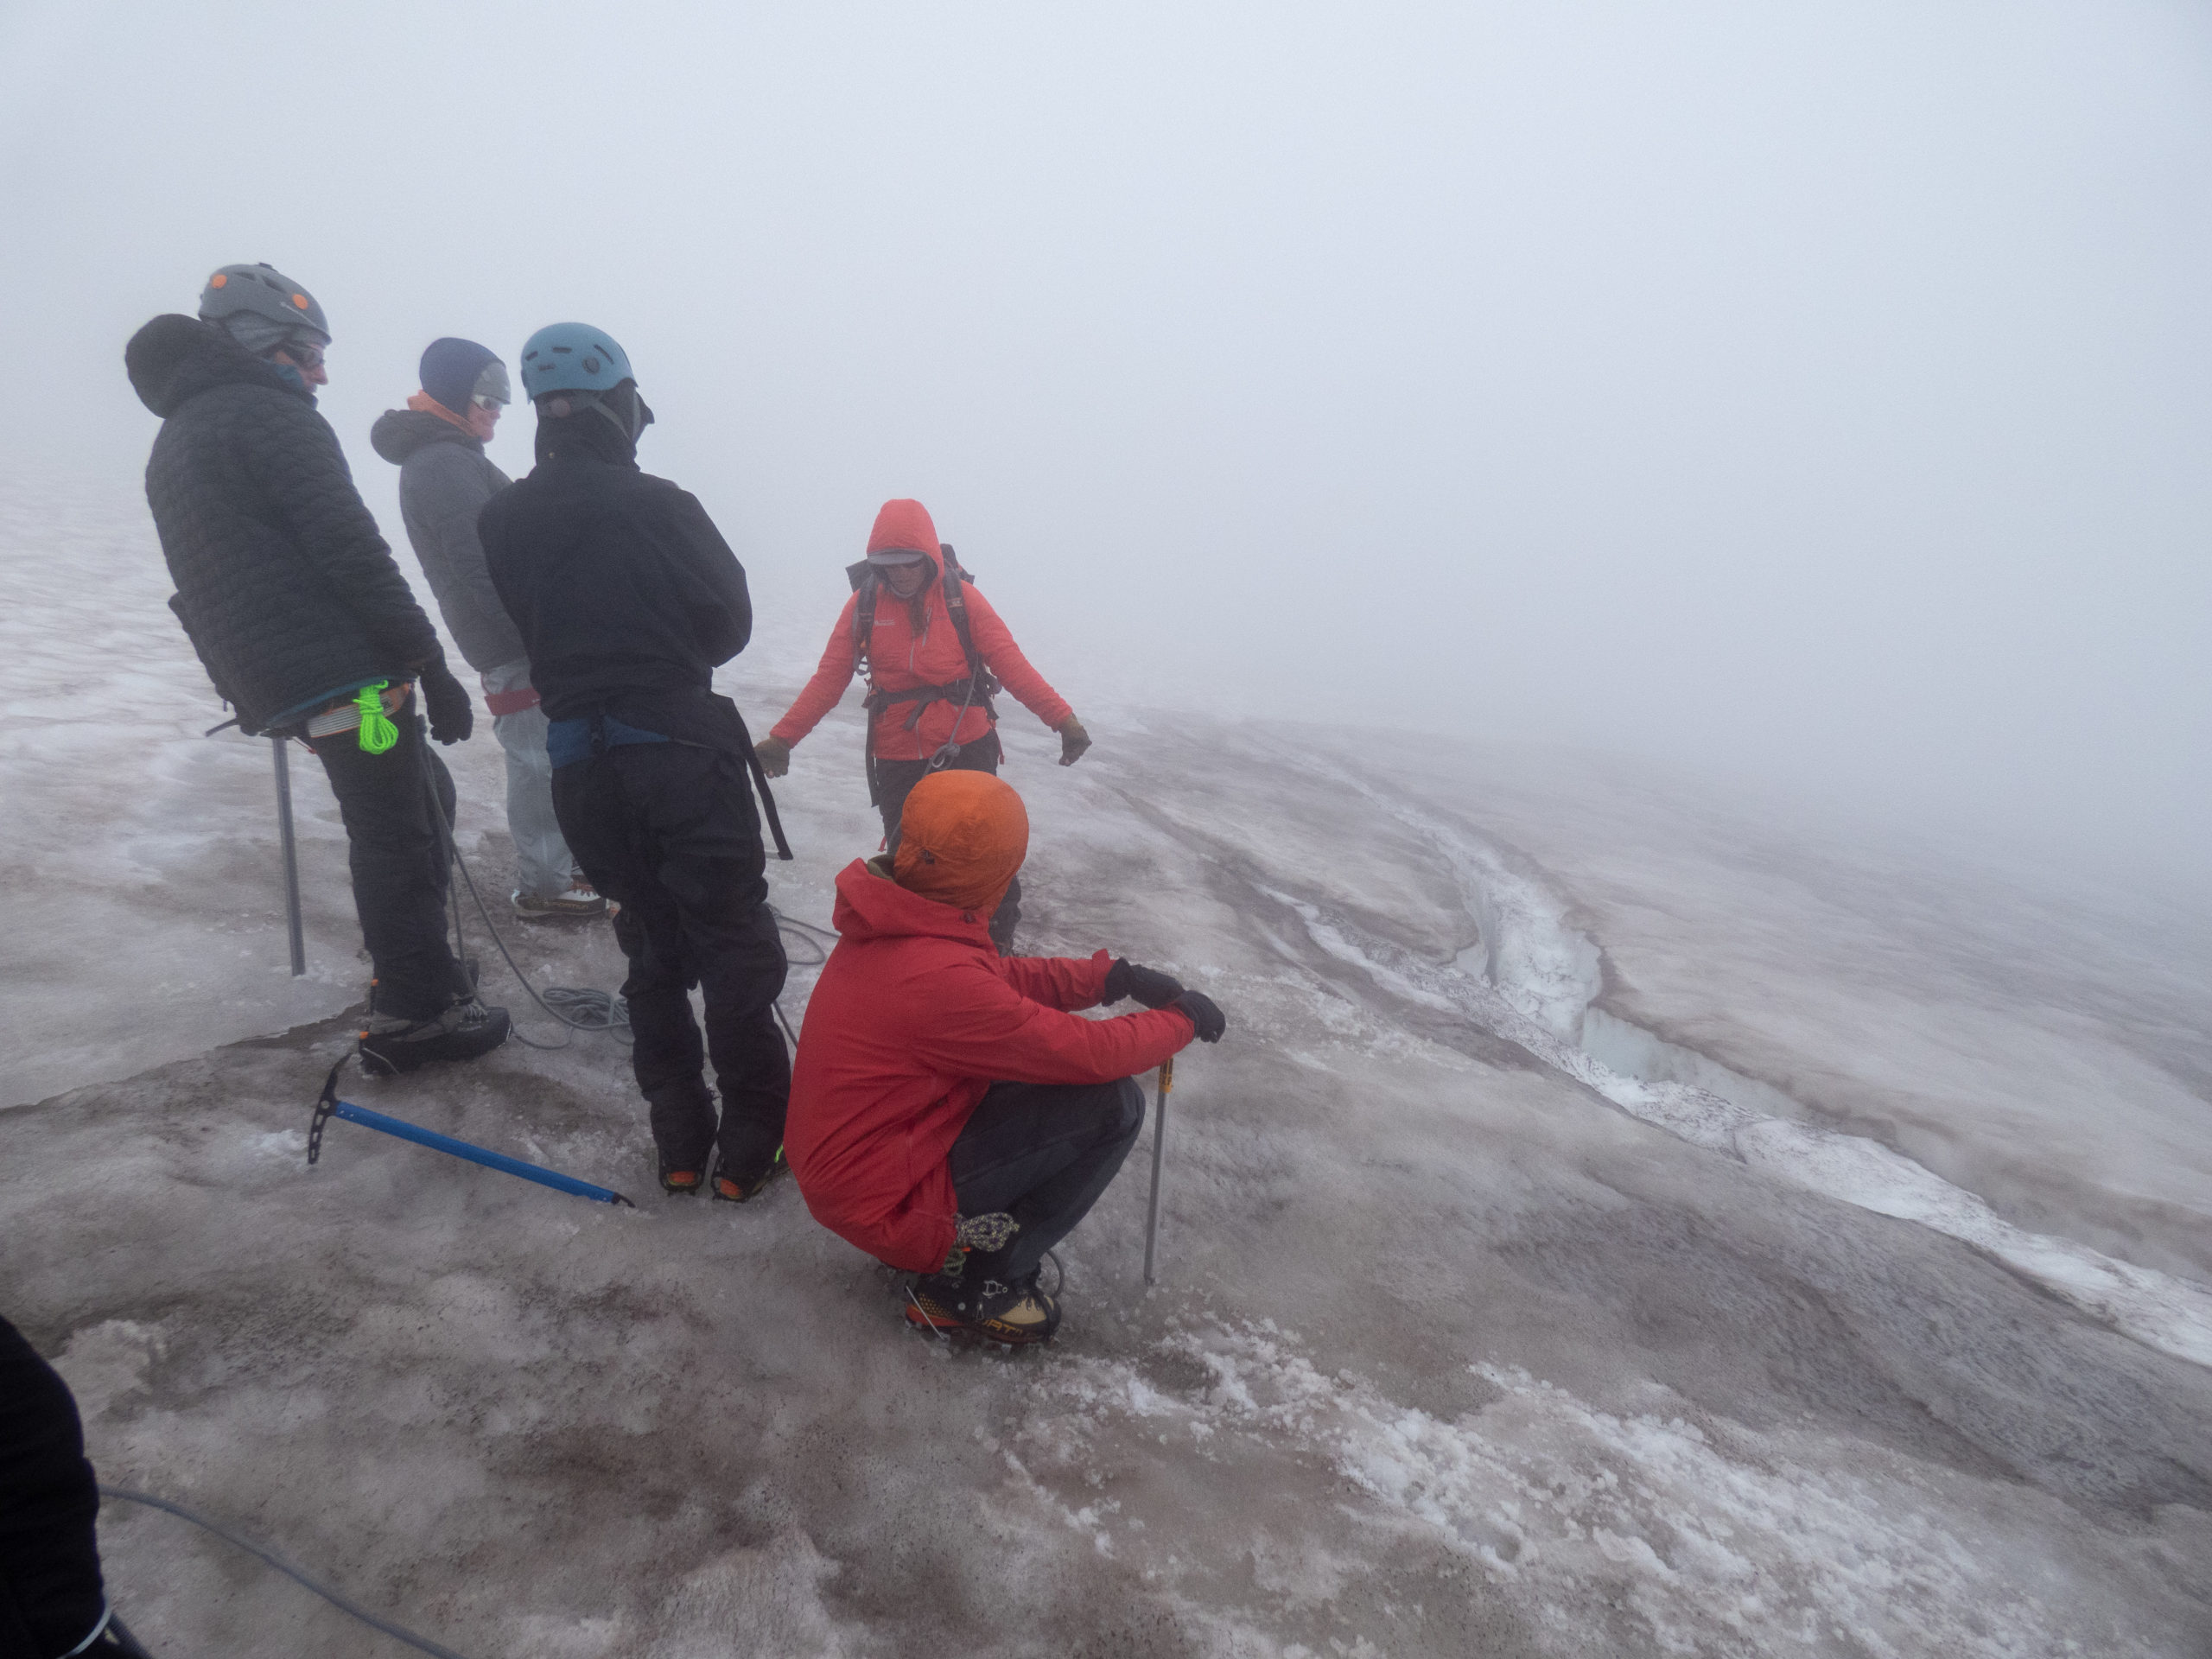
After knot school, we spent time practicing ice axe arrest, walking with crampons (first time for some of us), and rope management. At the end of the day, we roped together and went exploring around the glacier to find our first crevasse. It was a spooky walk since clouds had moved in as part of a change in the weather. The temperature was dropping and clearly it wasn’t sunny anymore! It was pretty exciting to see cracks in the glacier for the first time. I know it’s dull for those of you that have been out on mountains like this for years. It was all new to me.
The day wrapped with us hanging around camp and eating dinner. When we all headed to bed, I made sure to get out my ear plugs this time.


Day 3
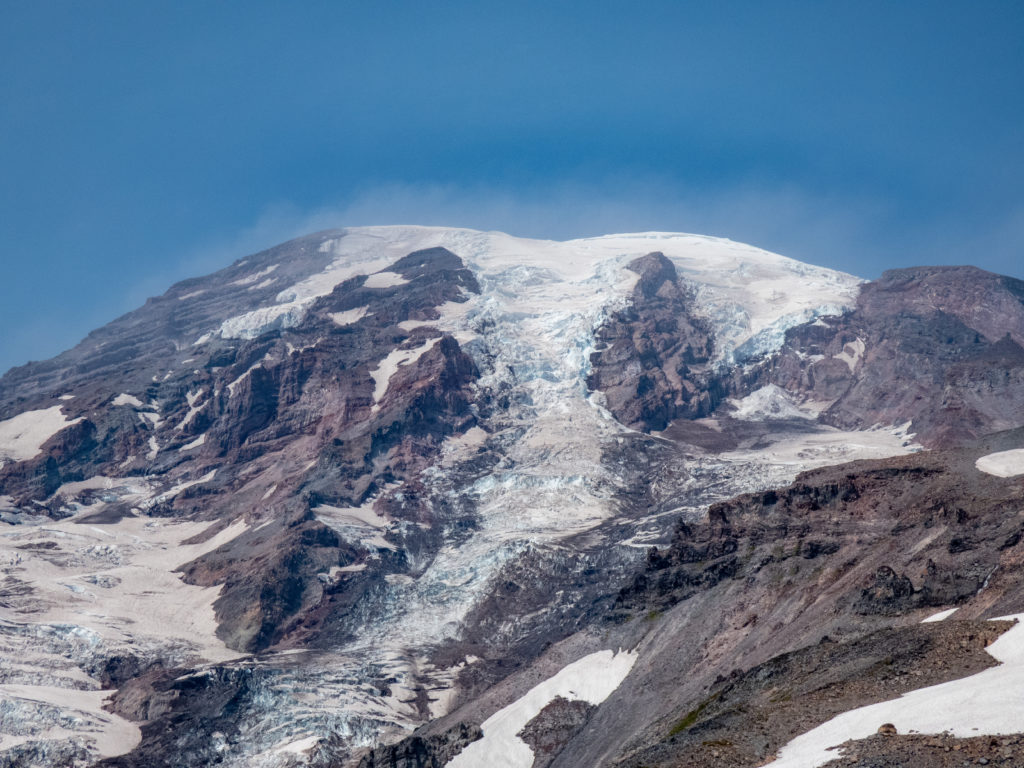
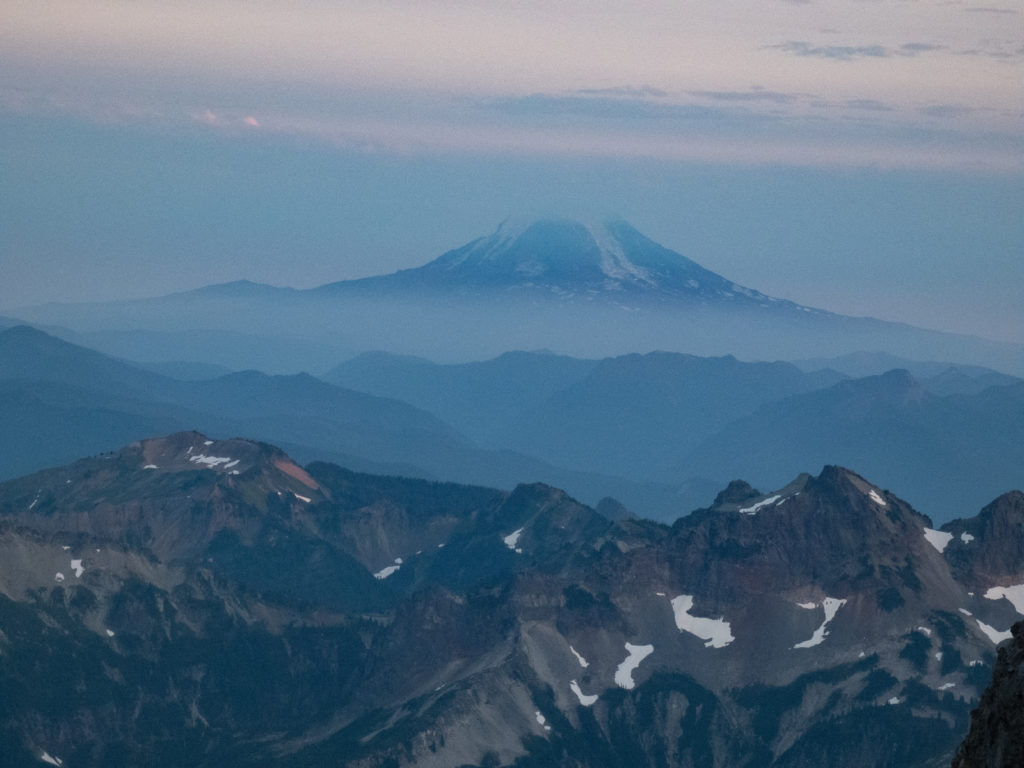
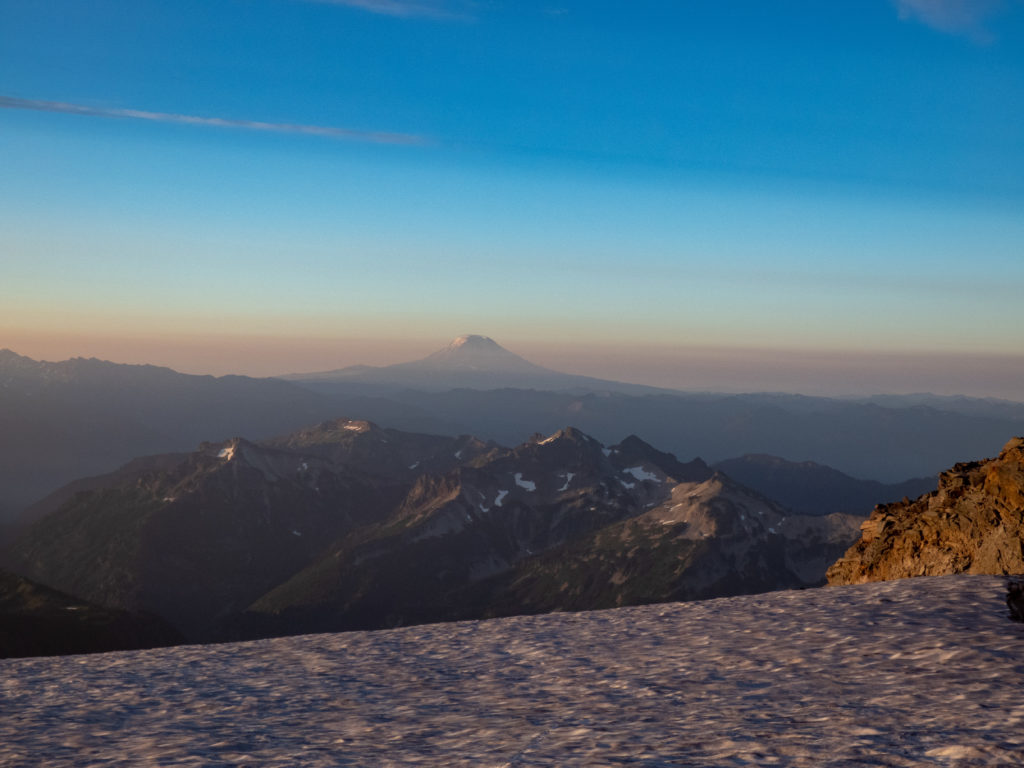
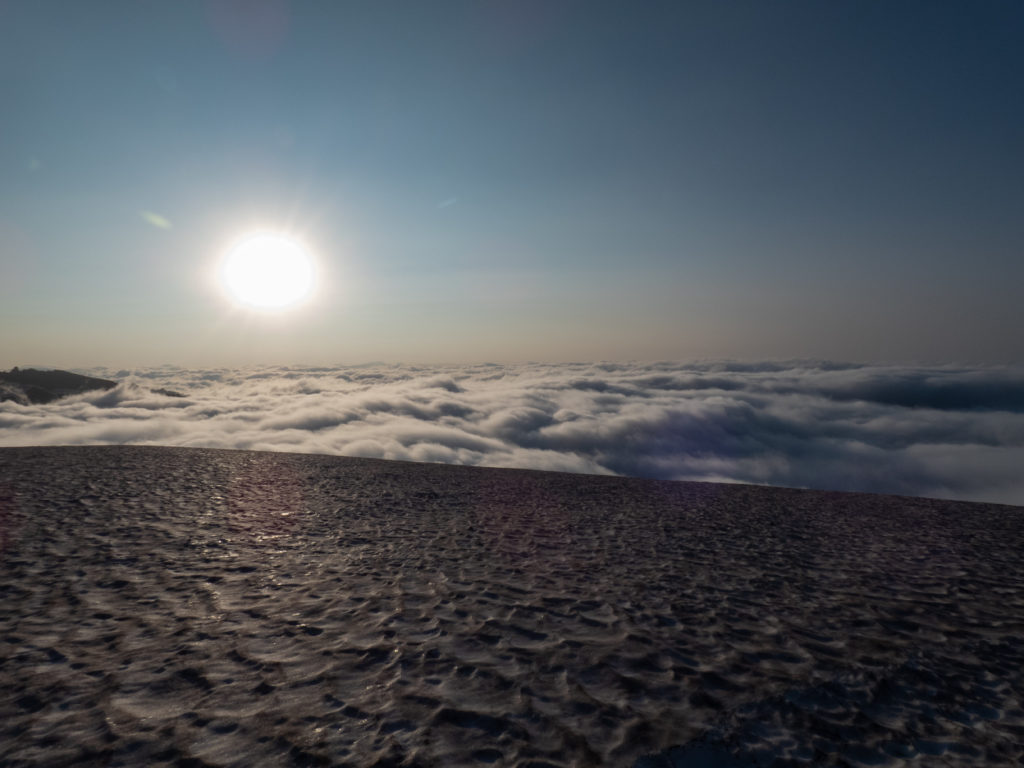
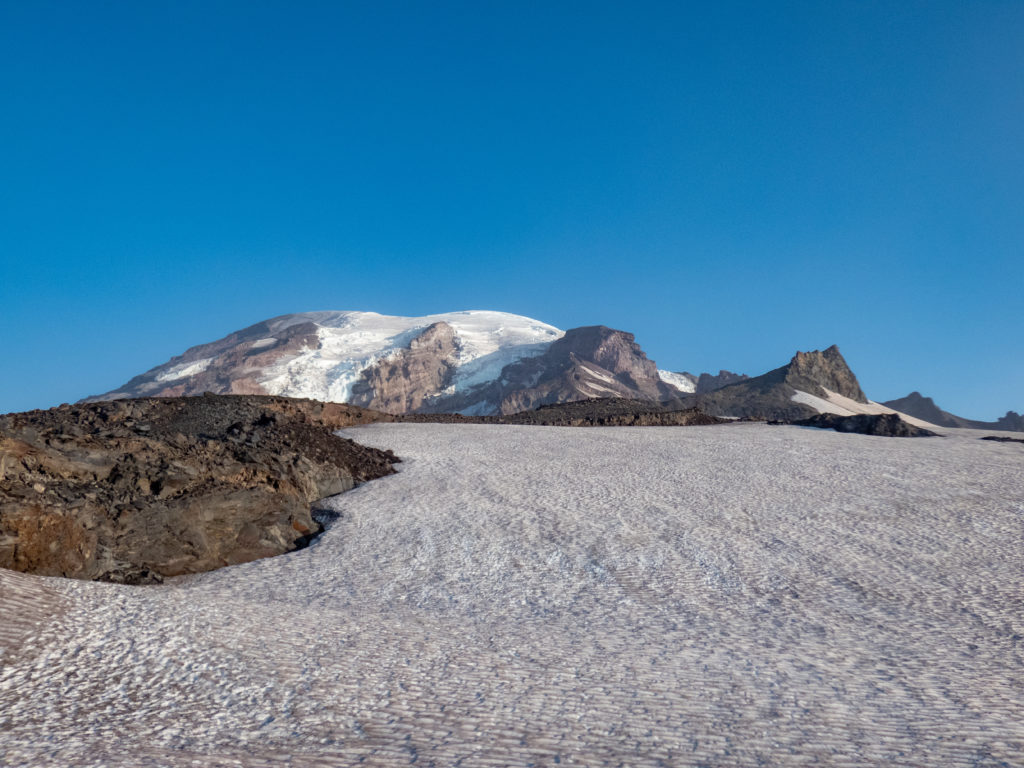
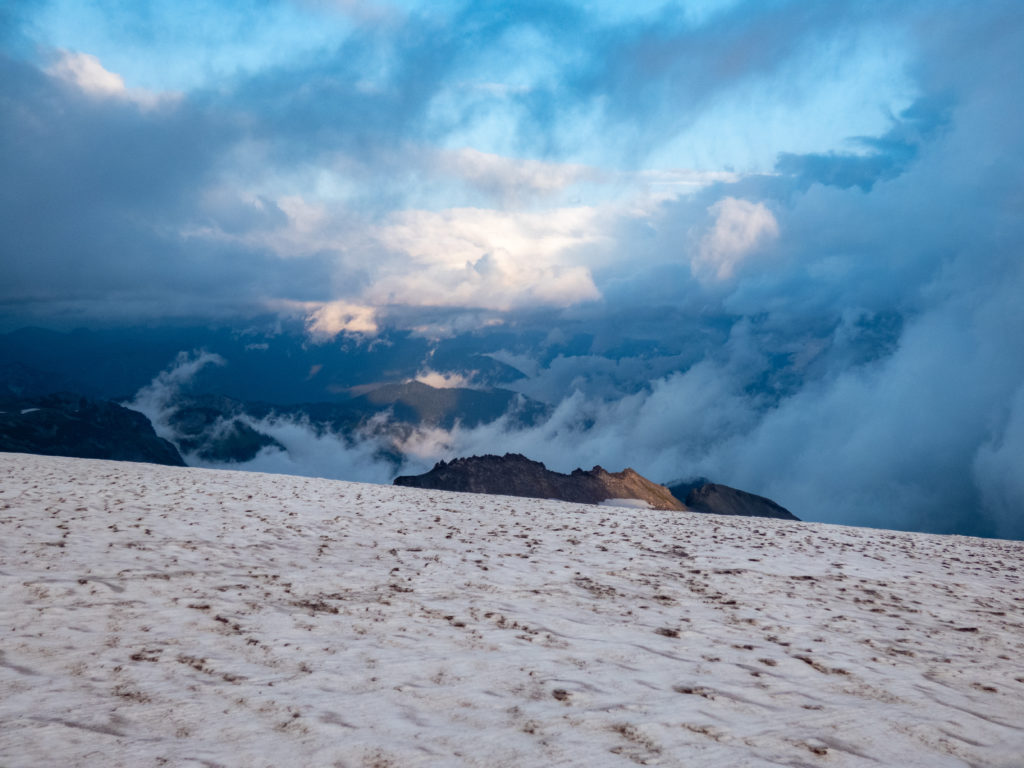
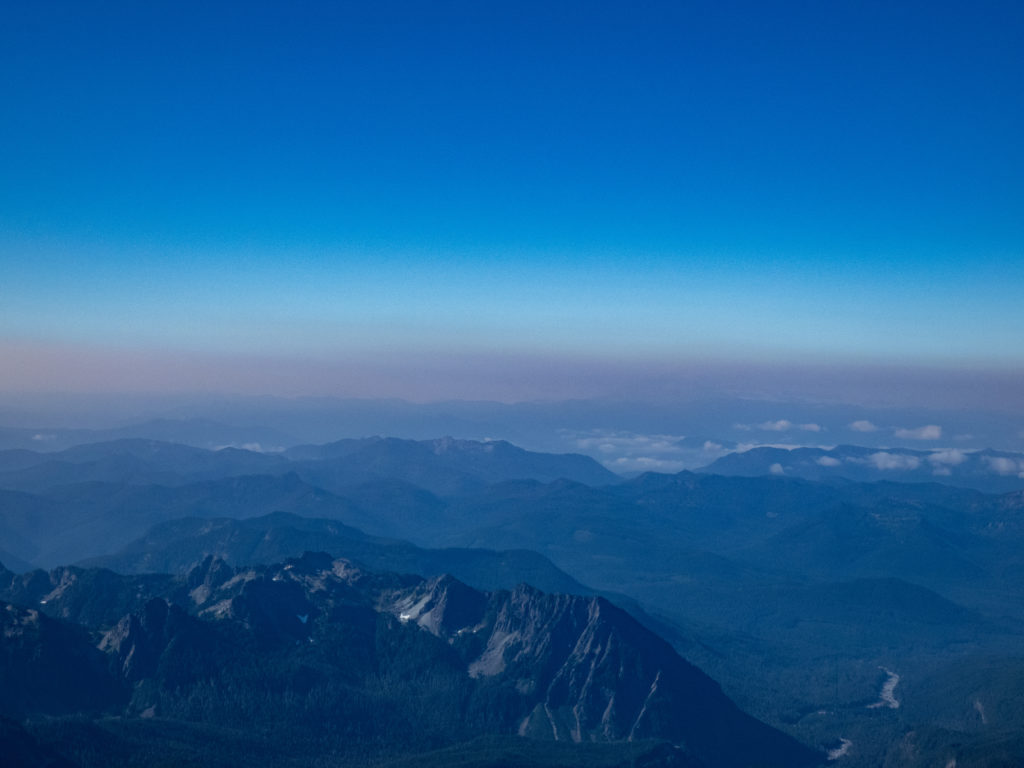
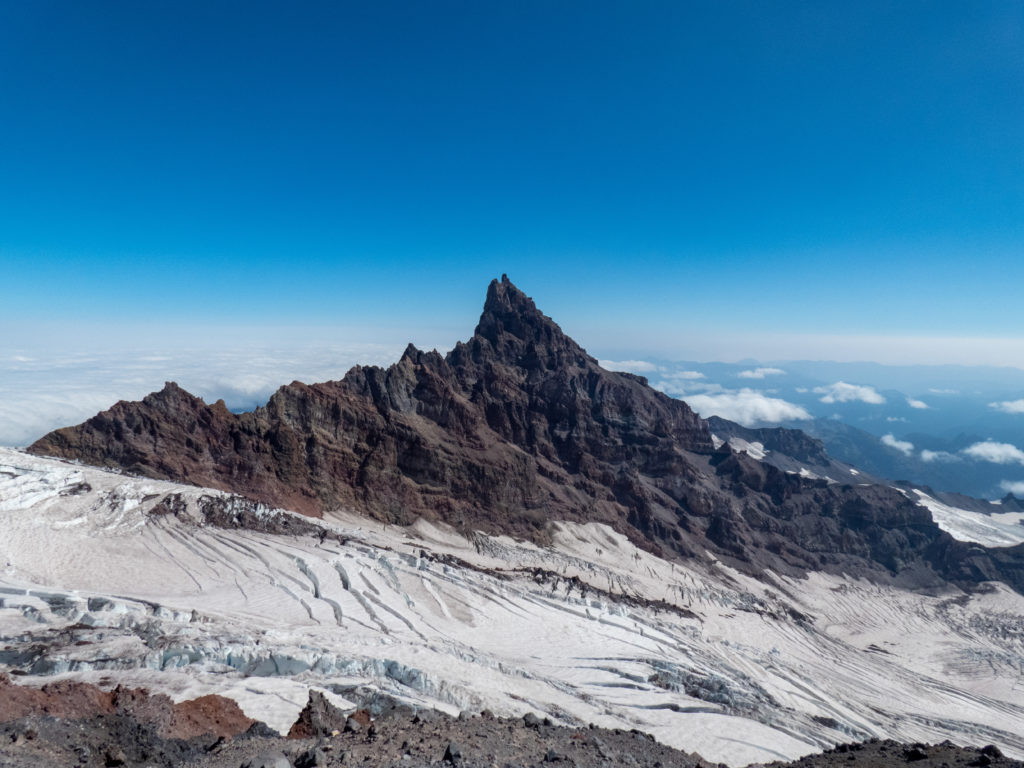
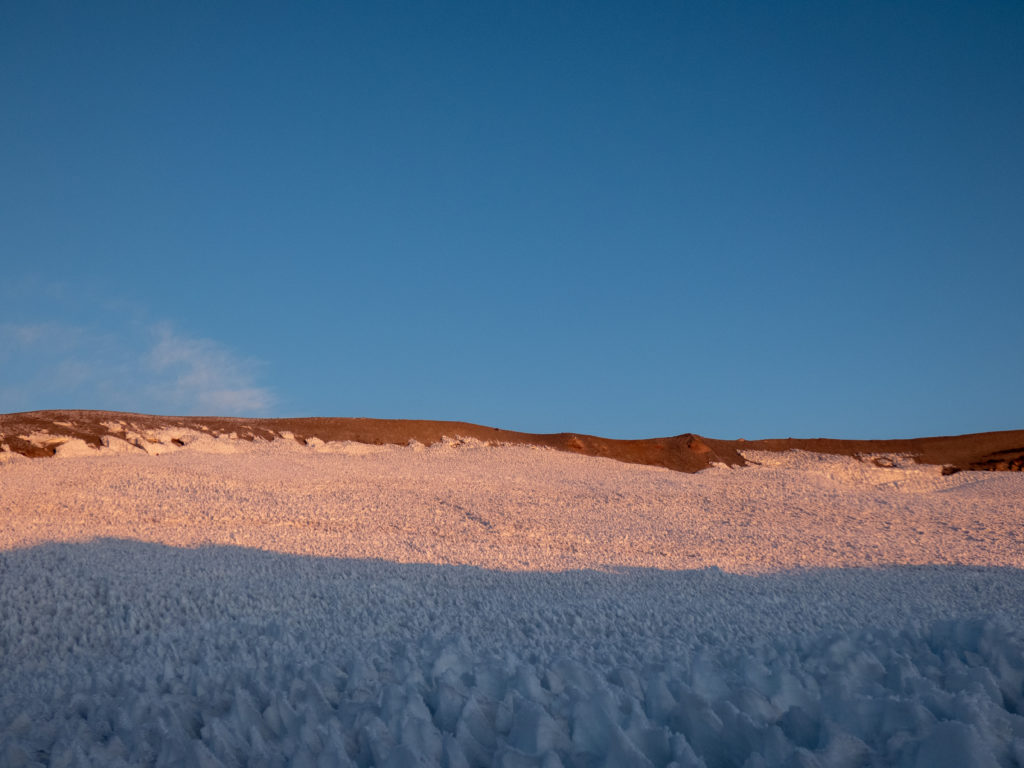
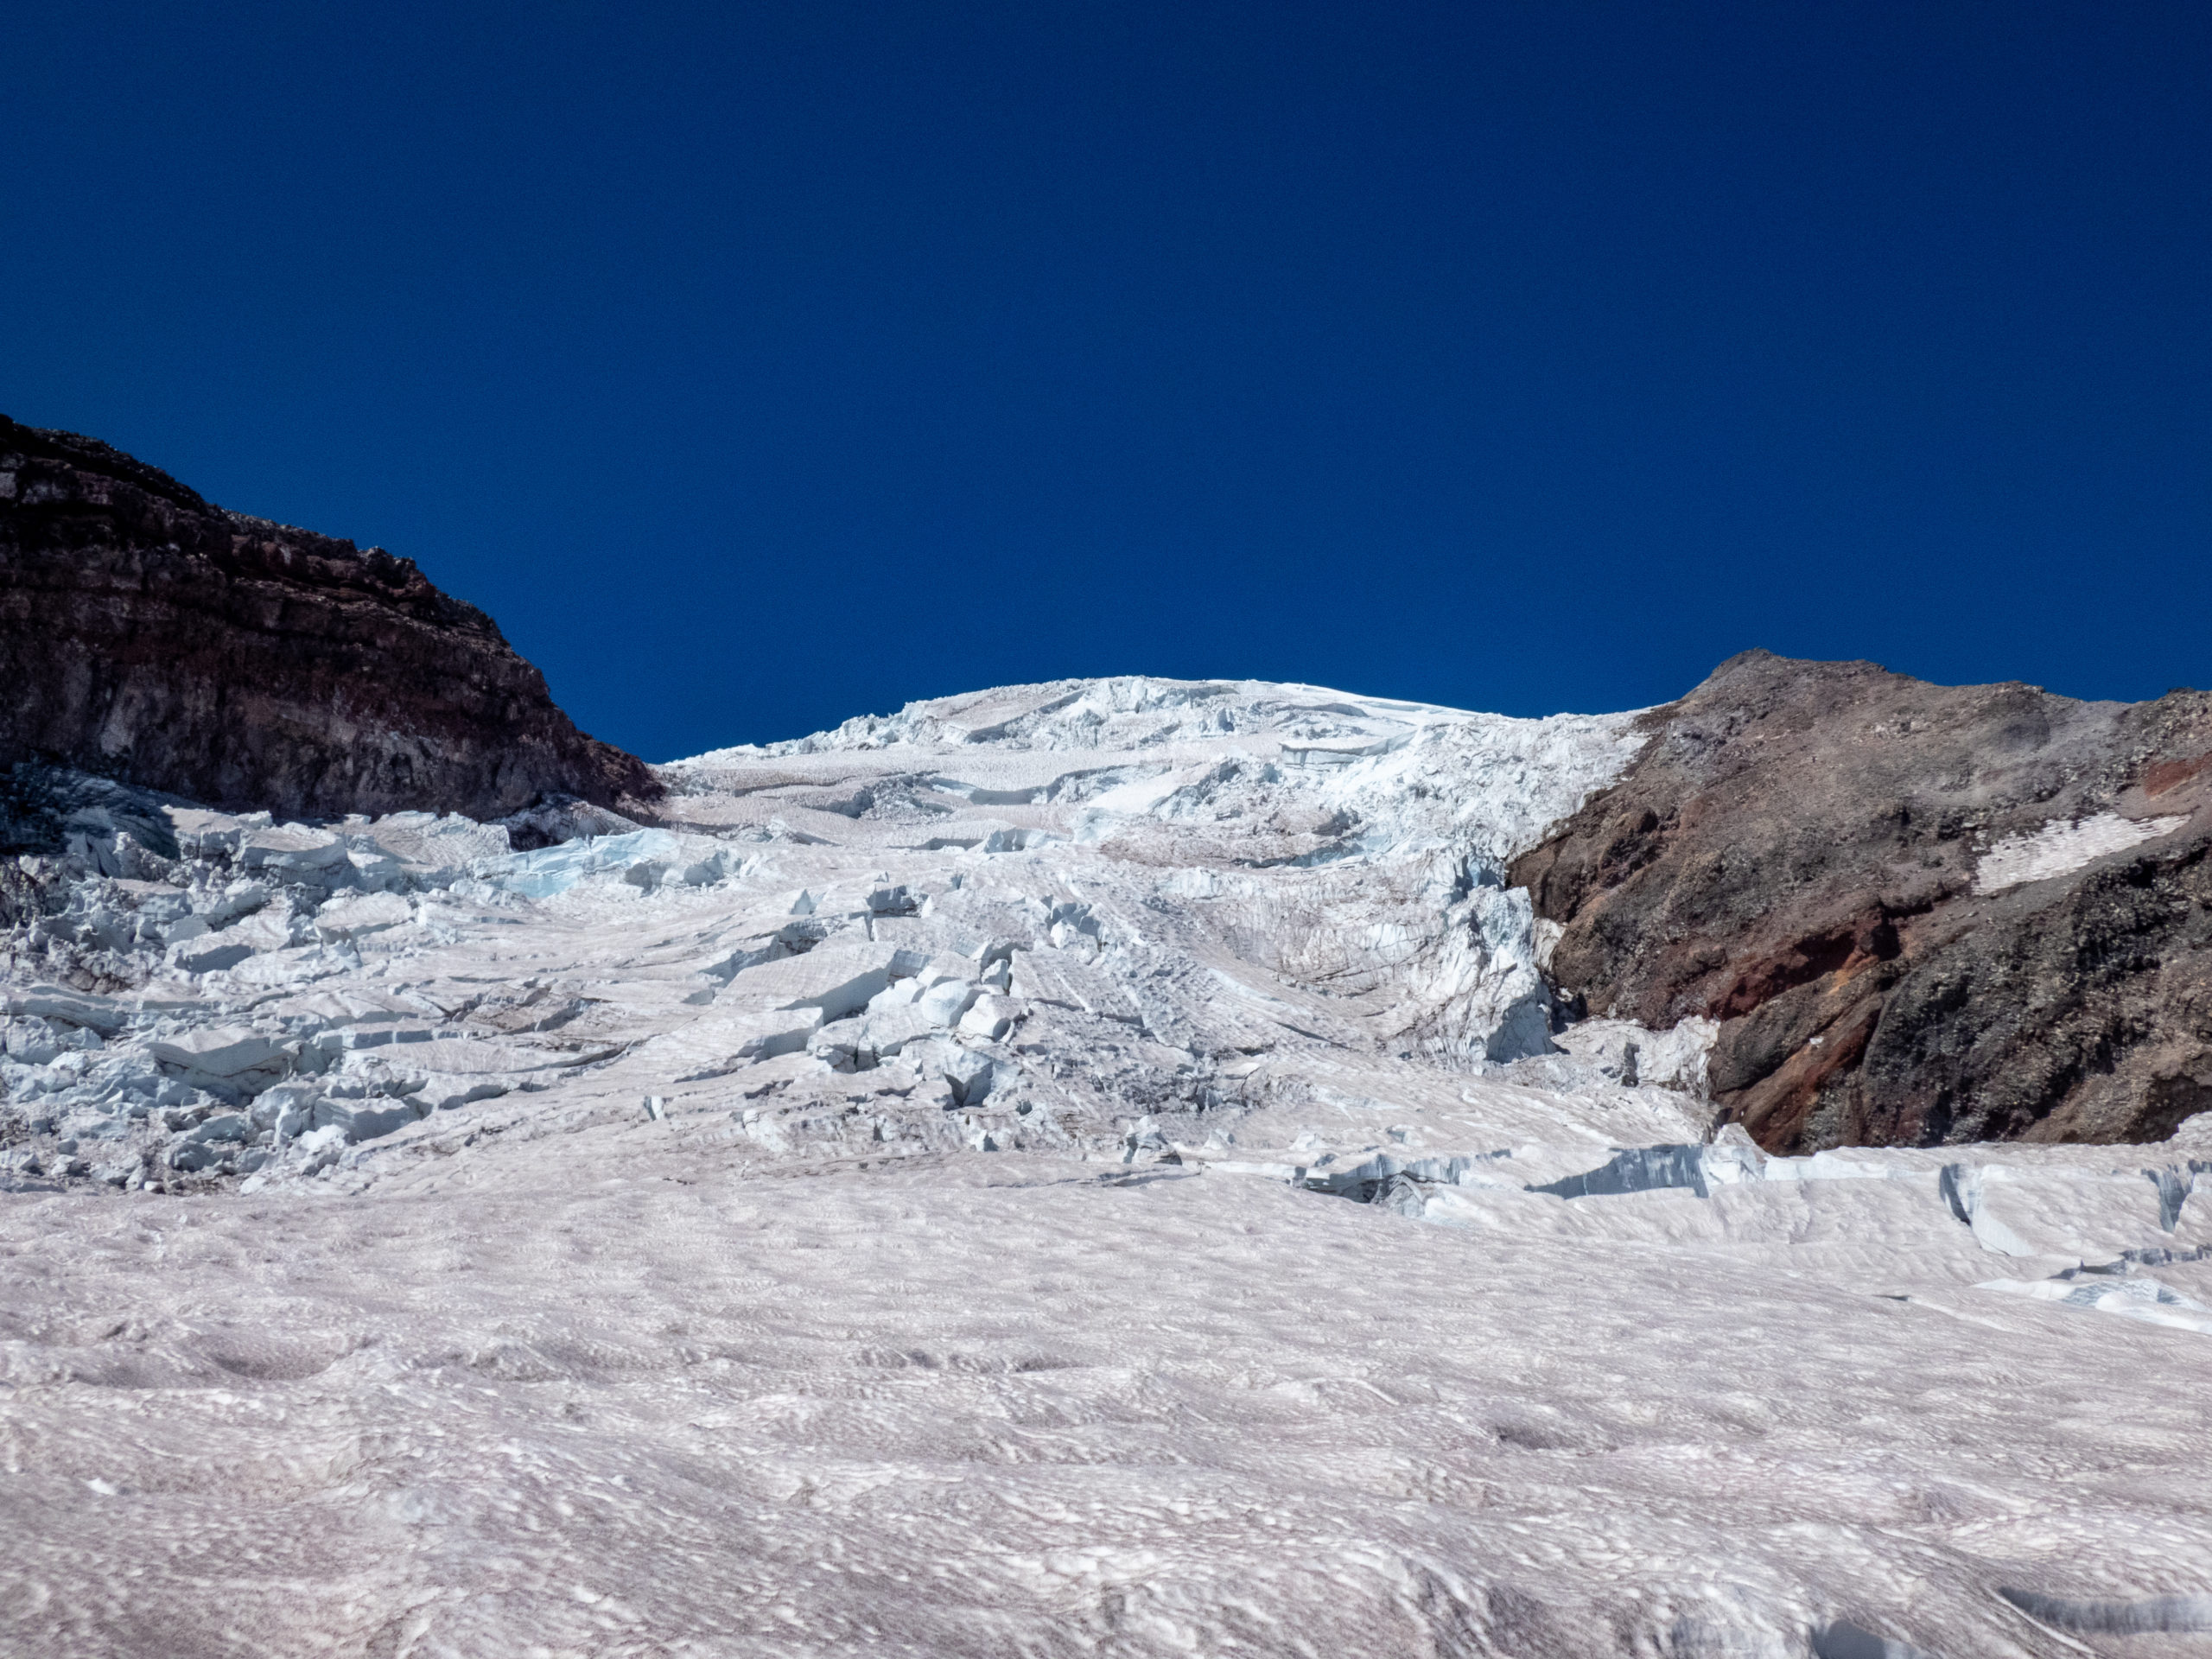
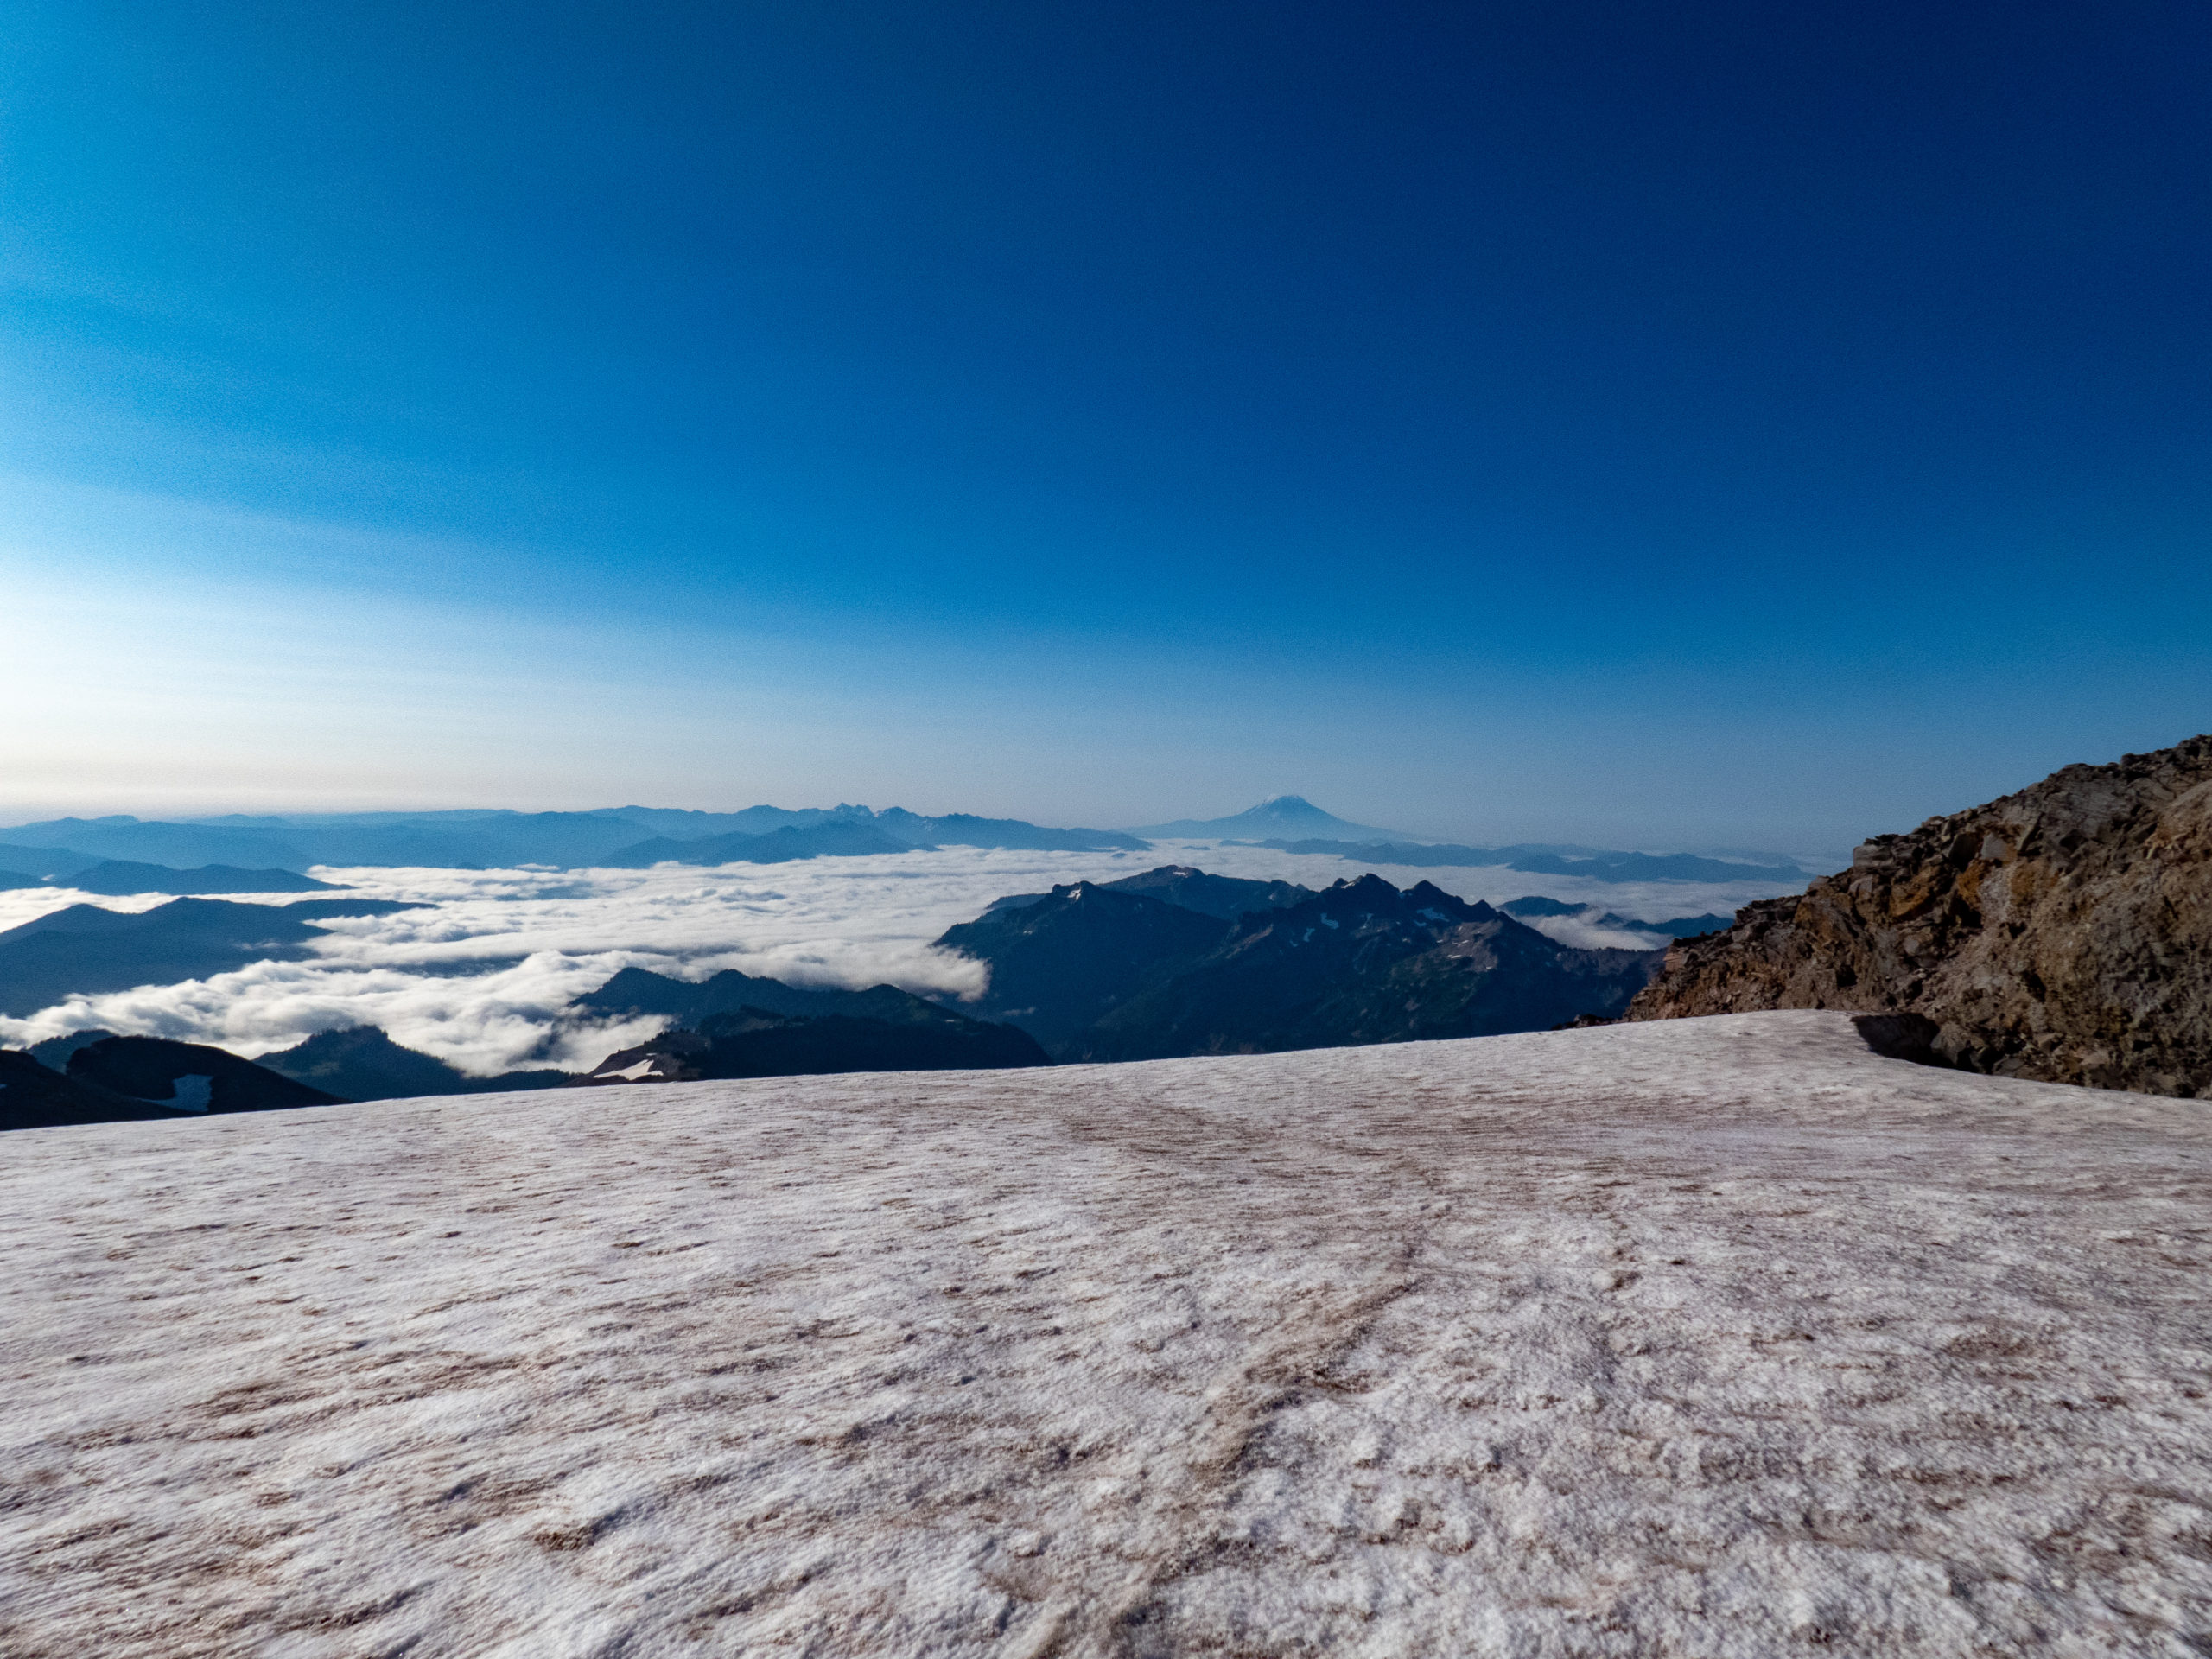
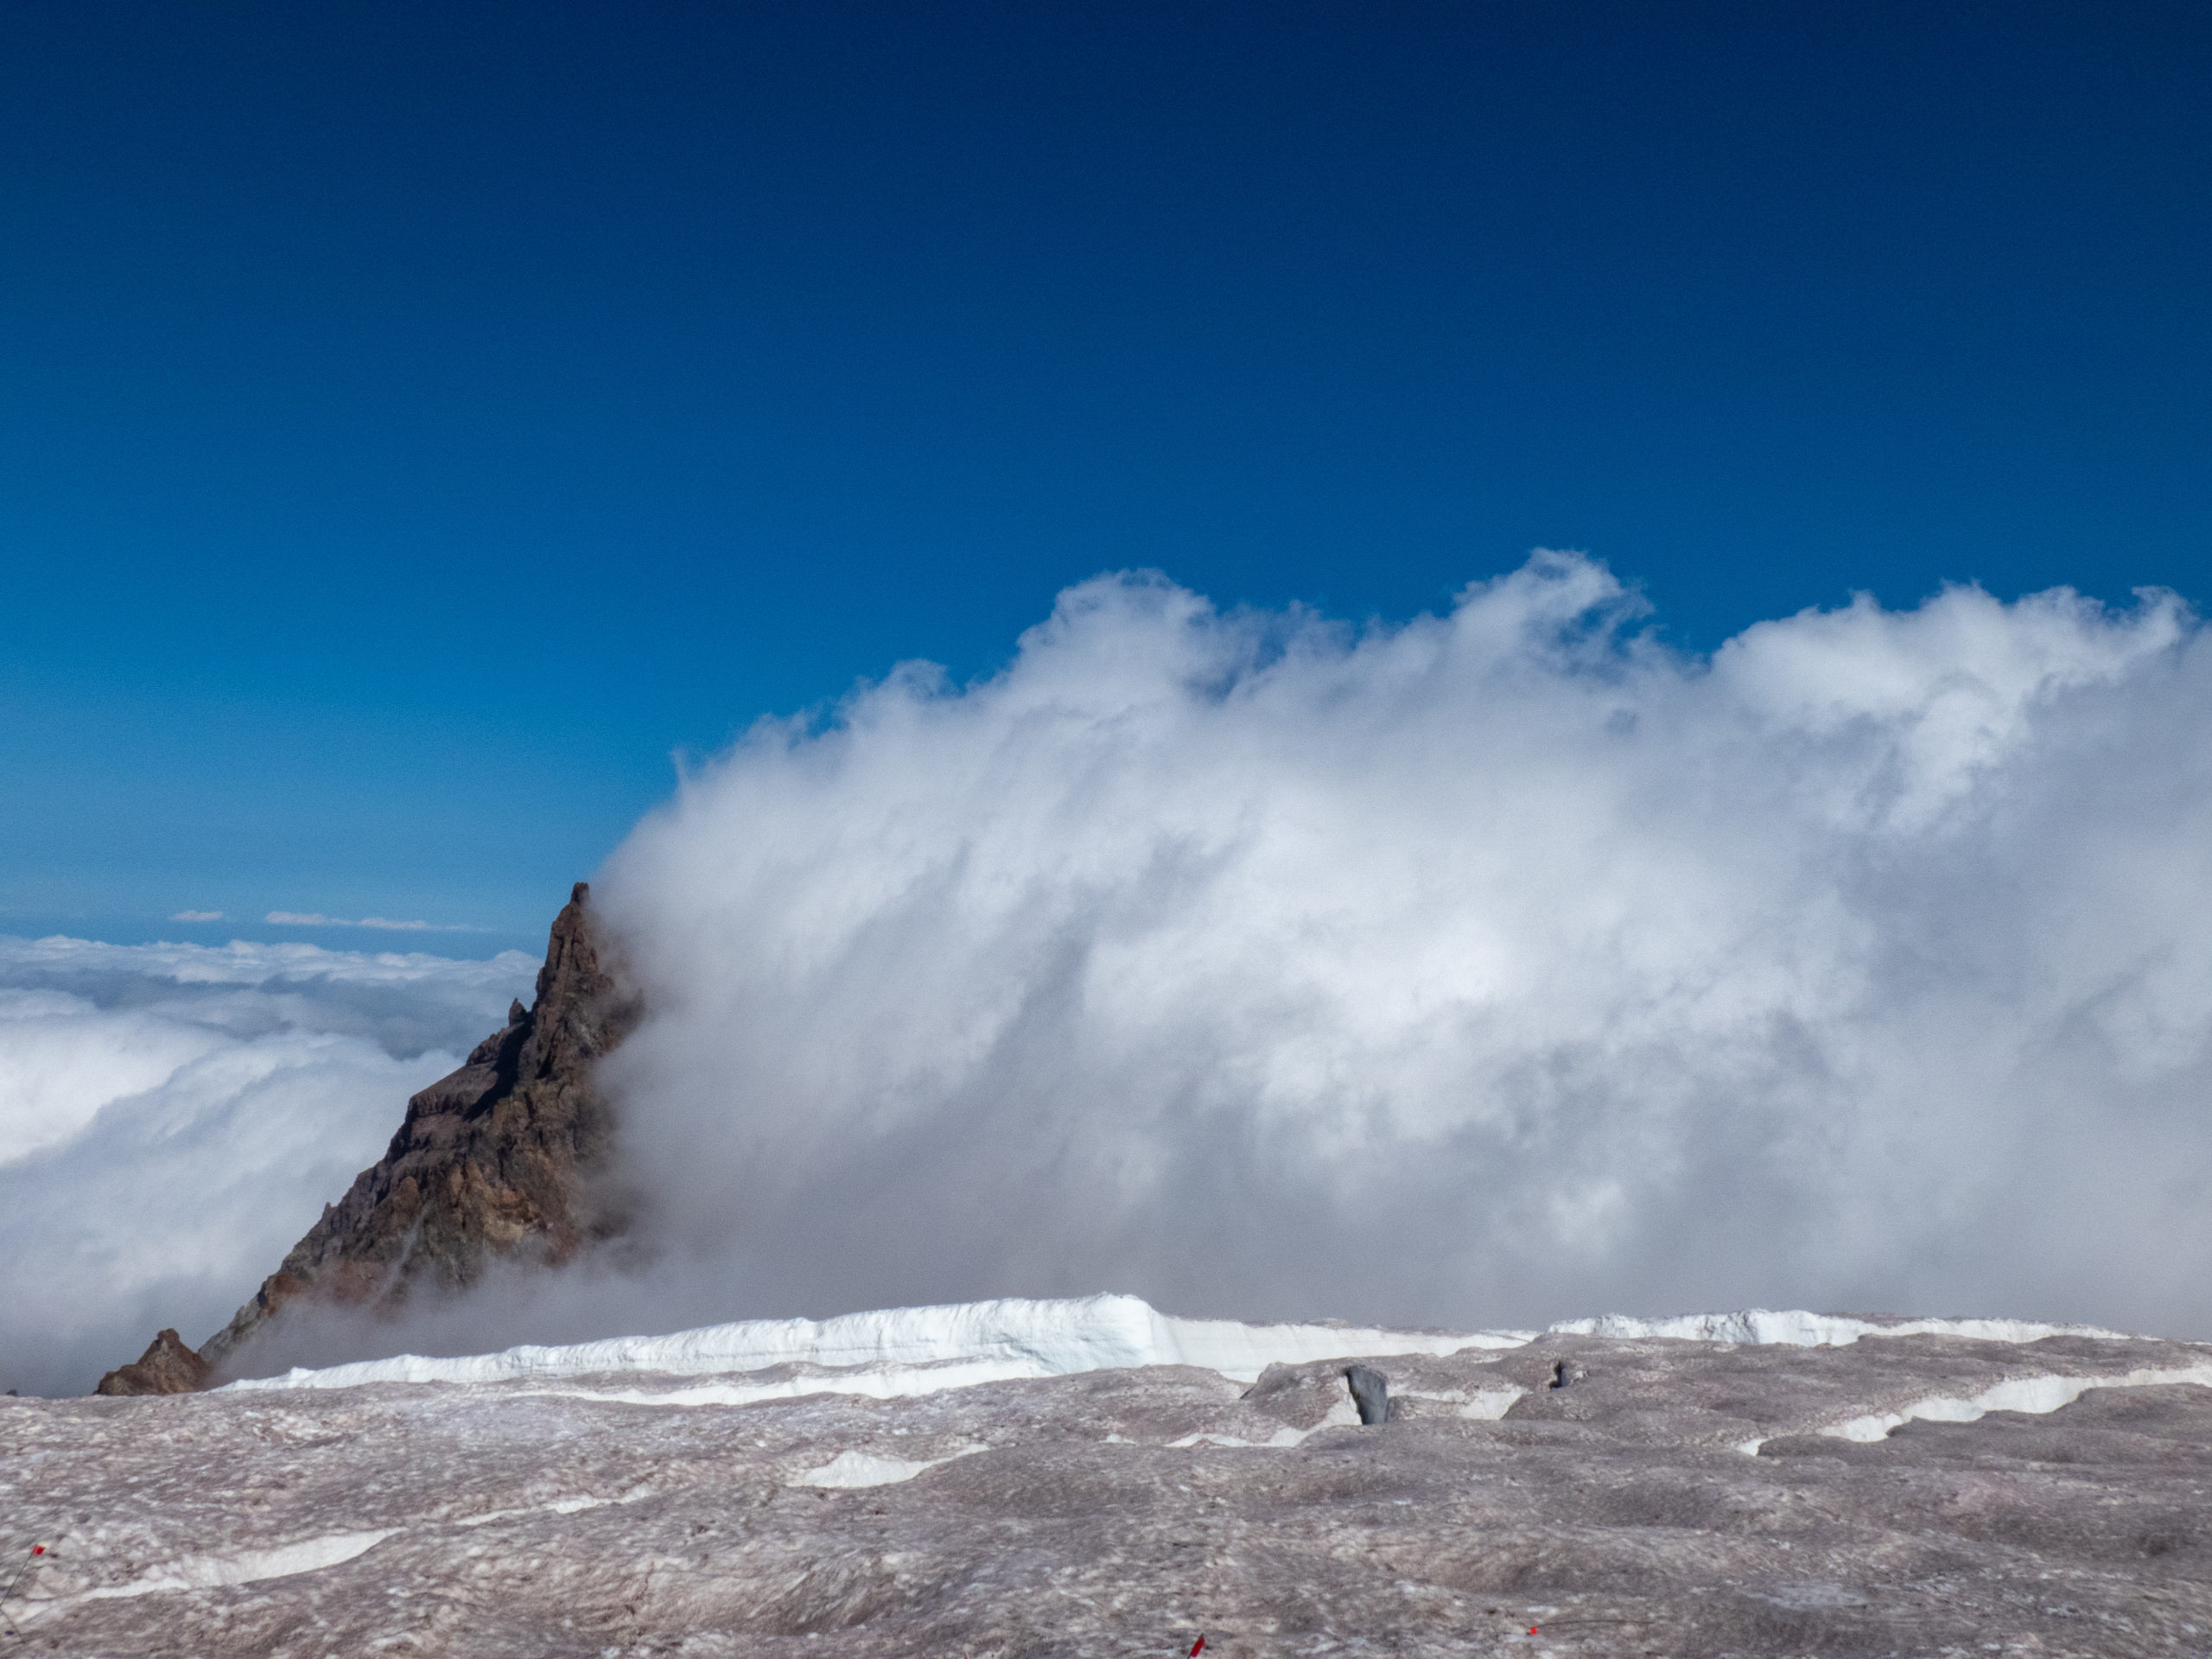
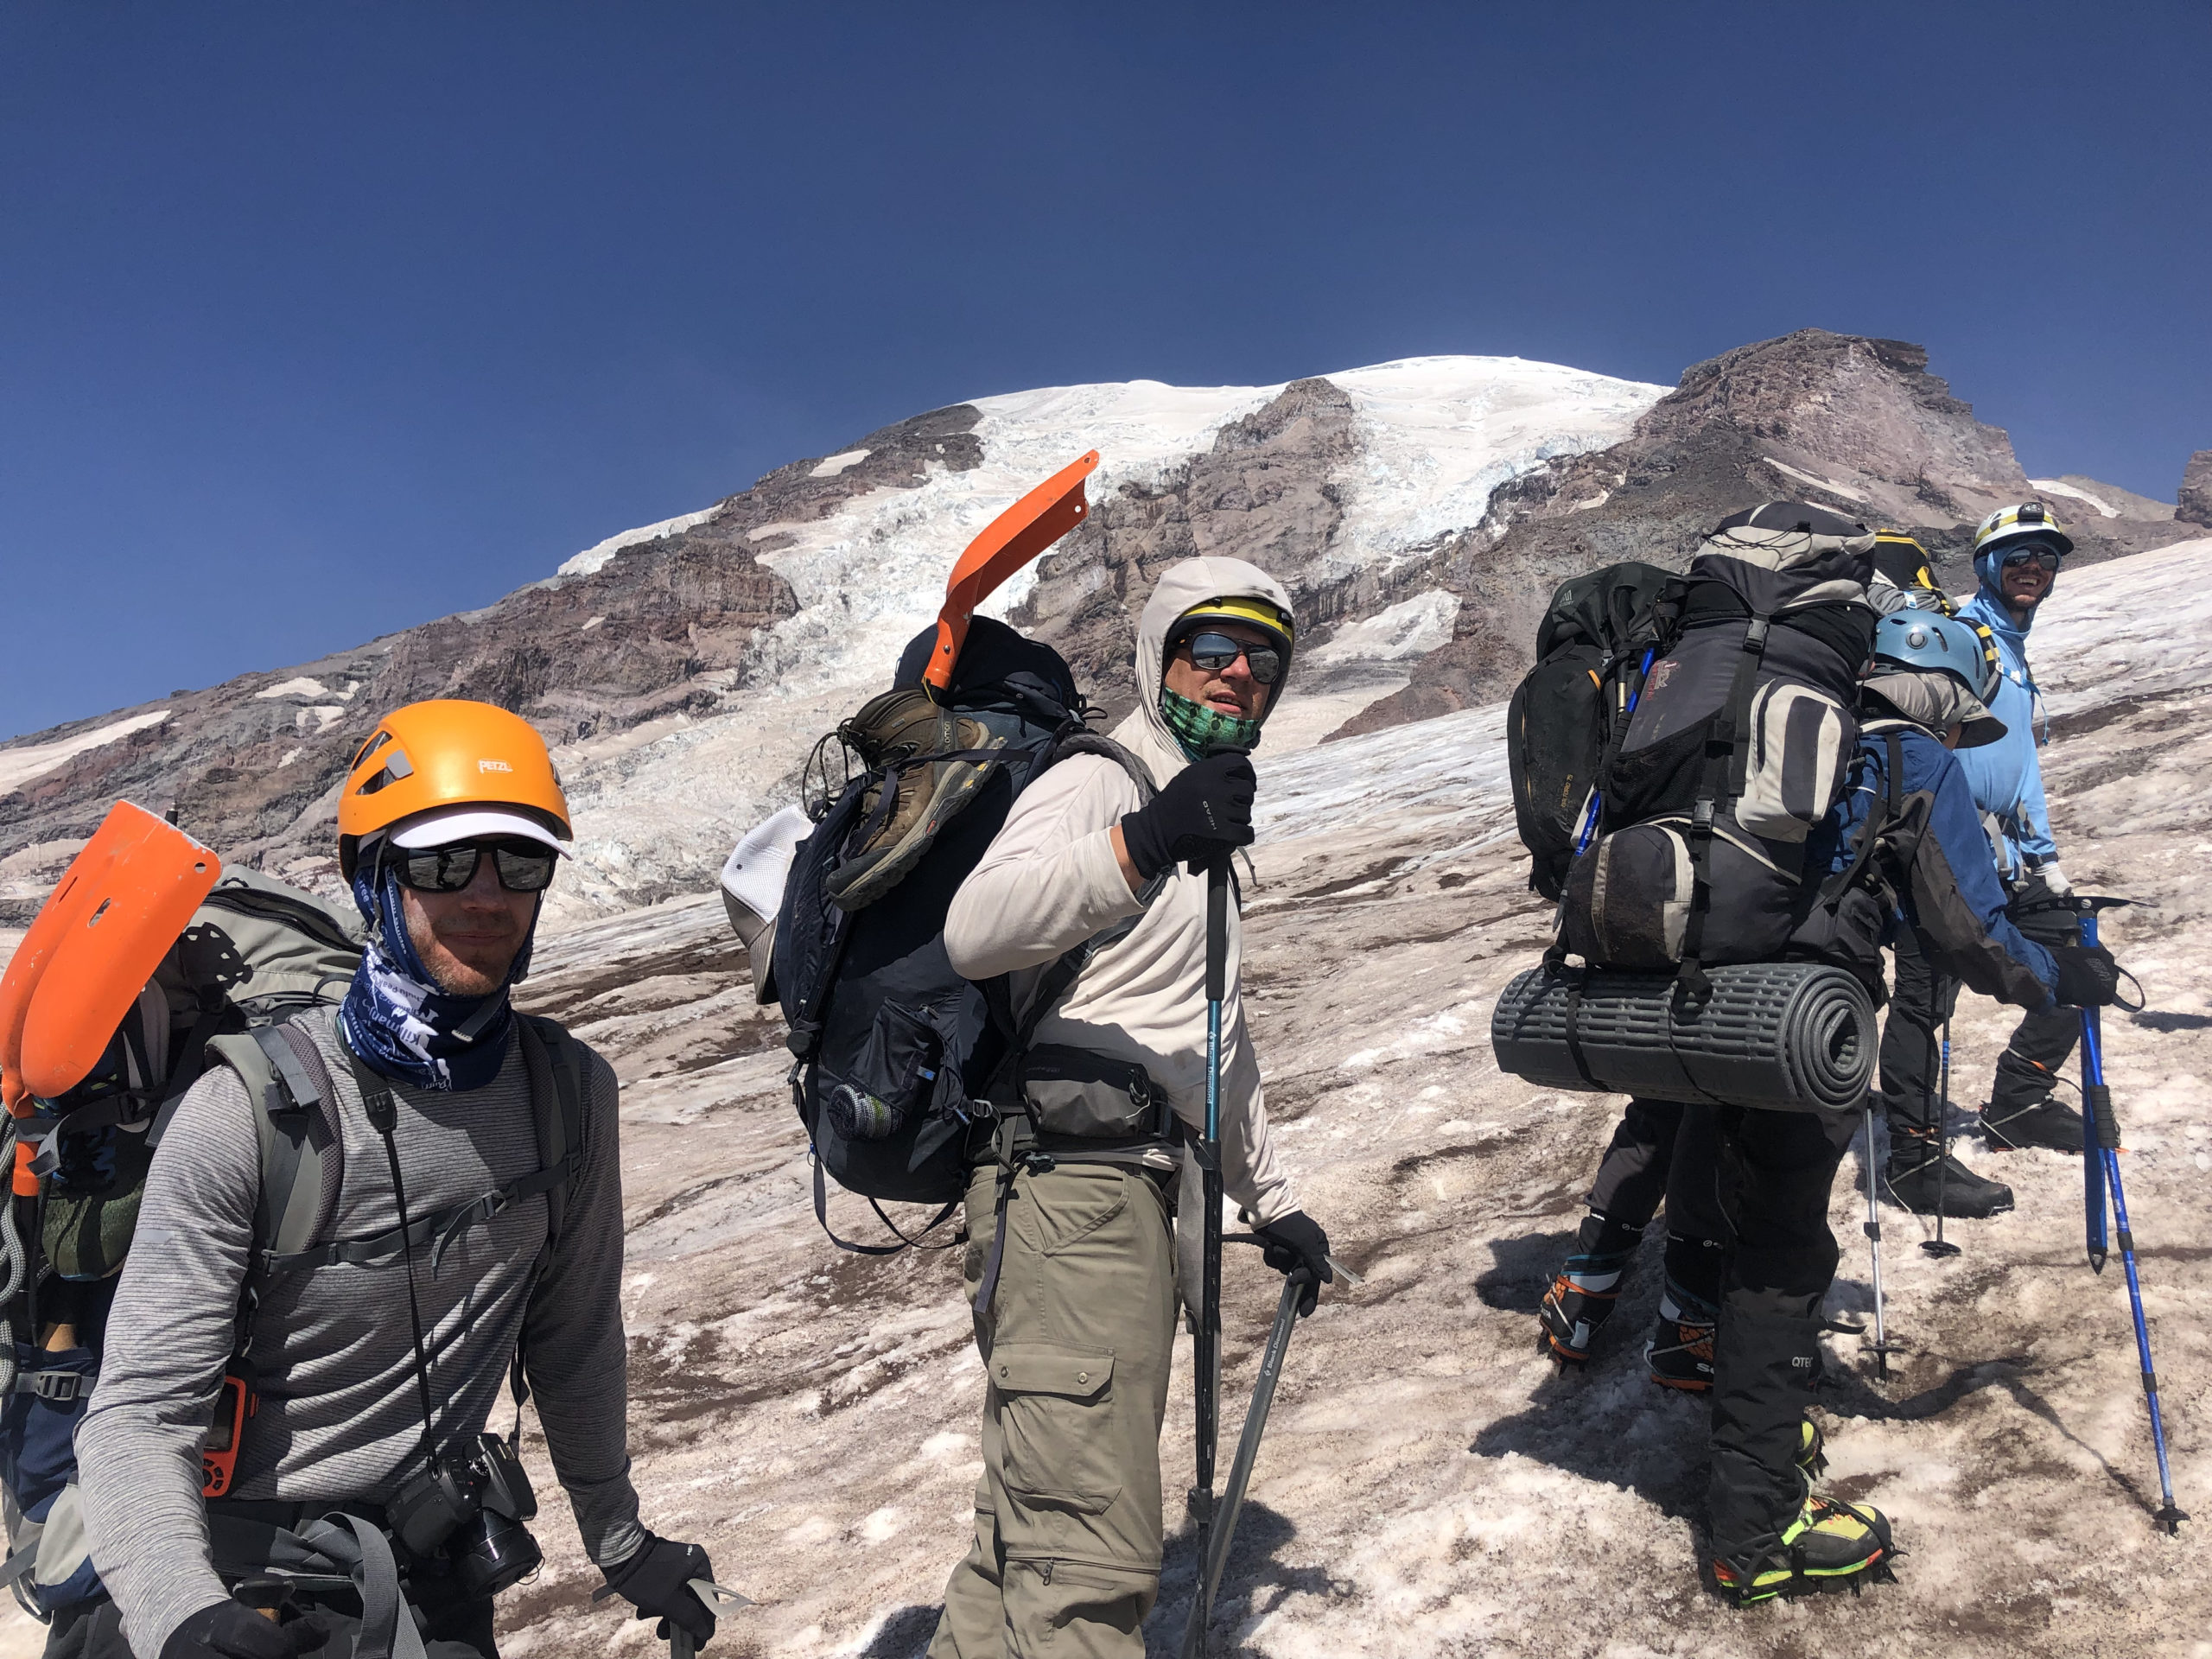
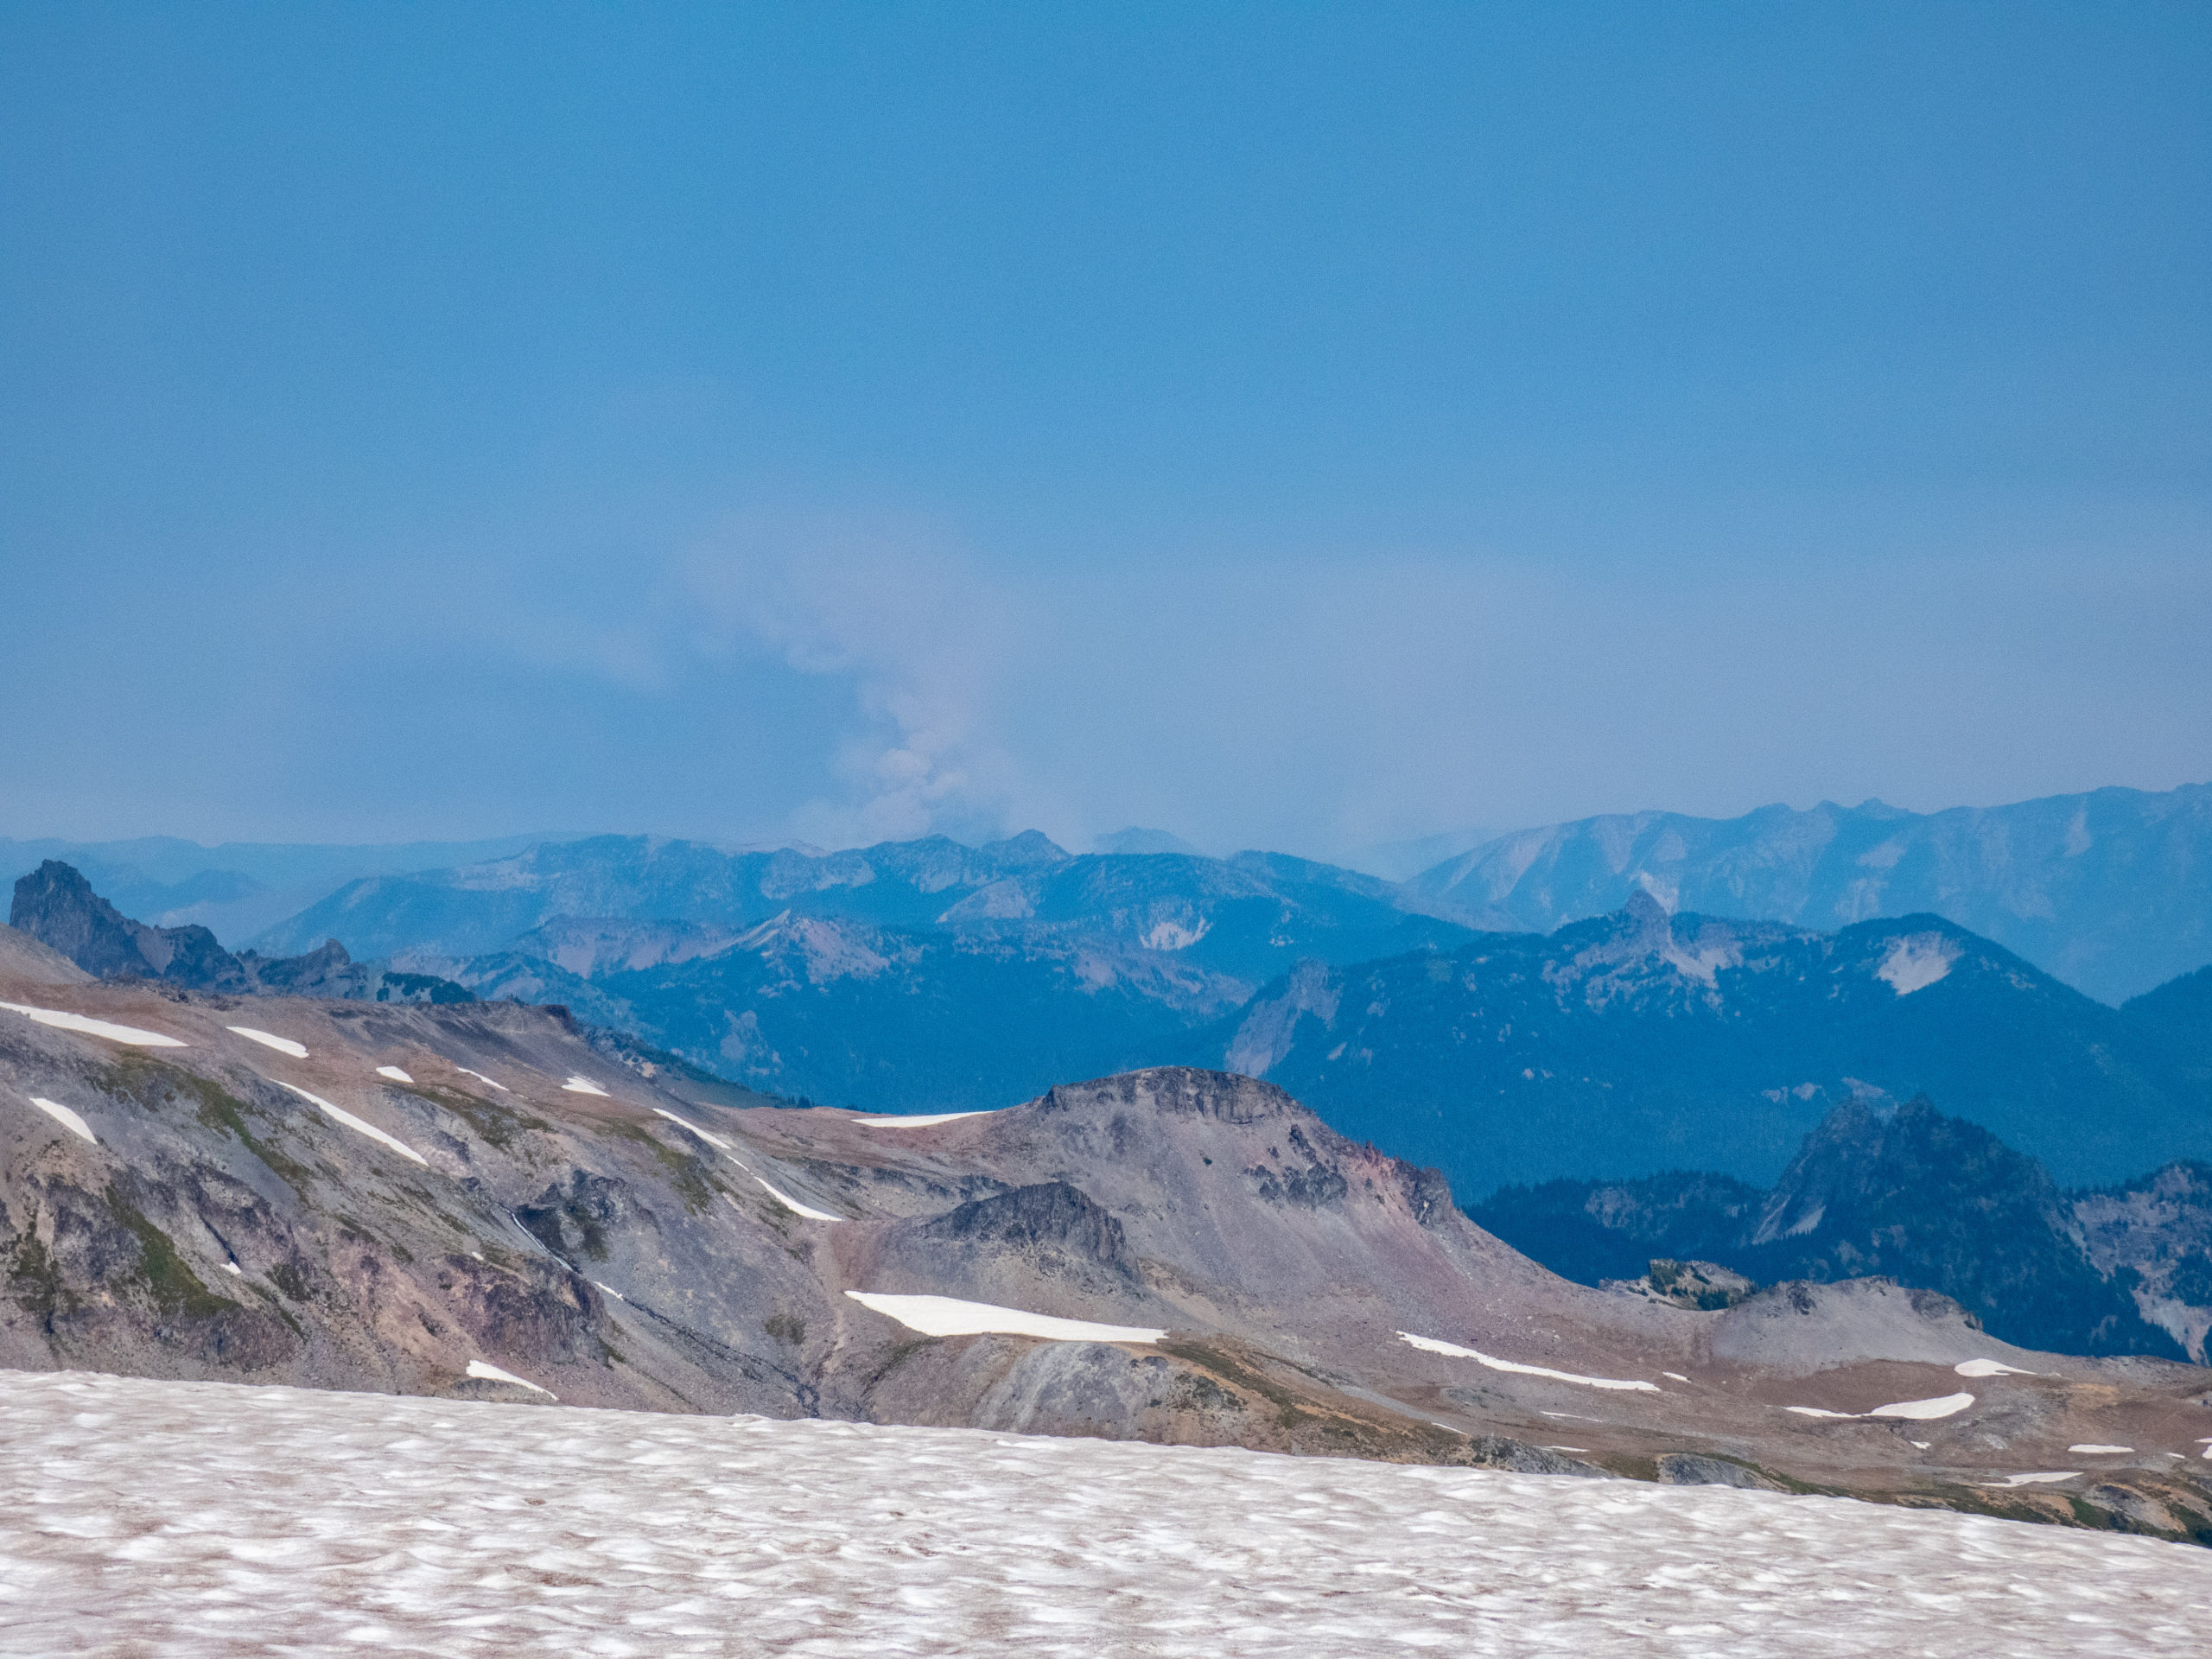
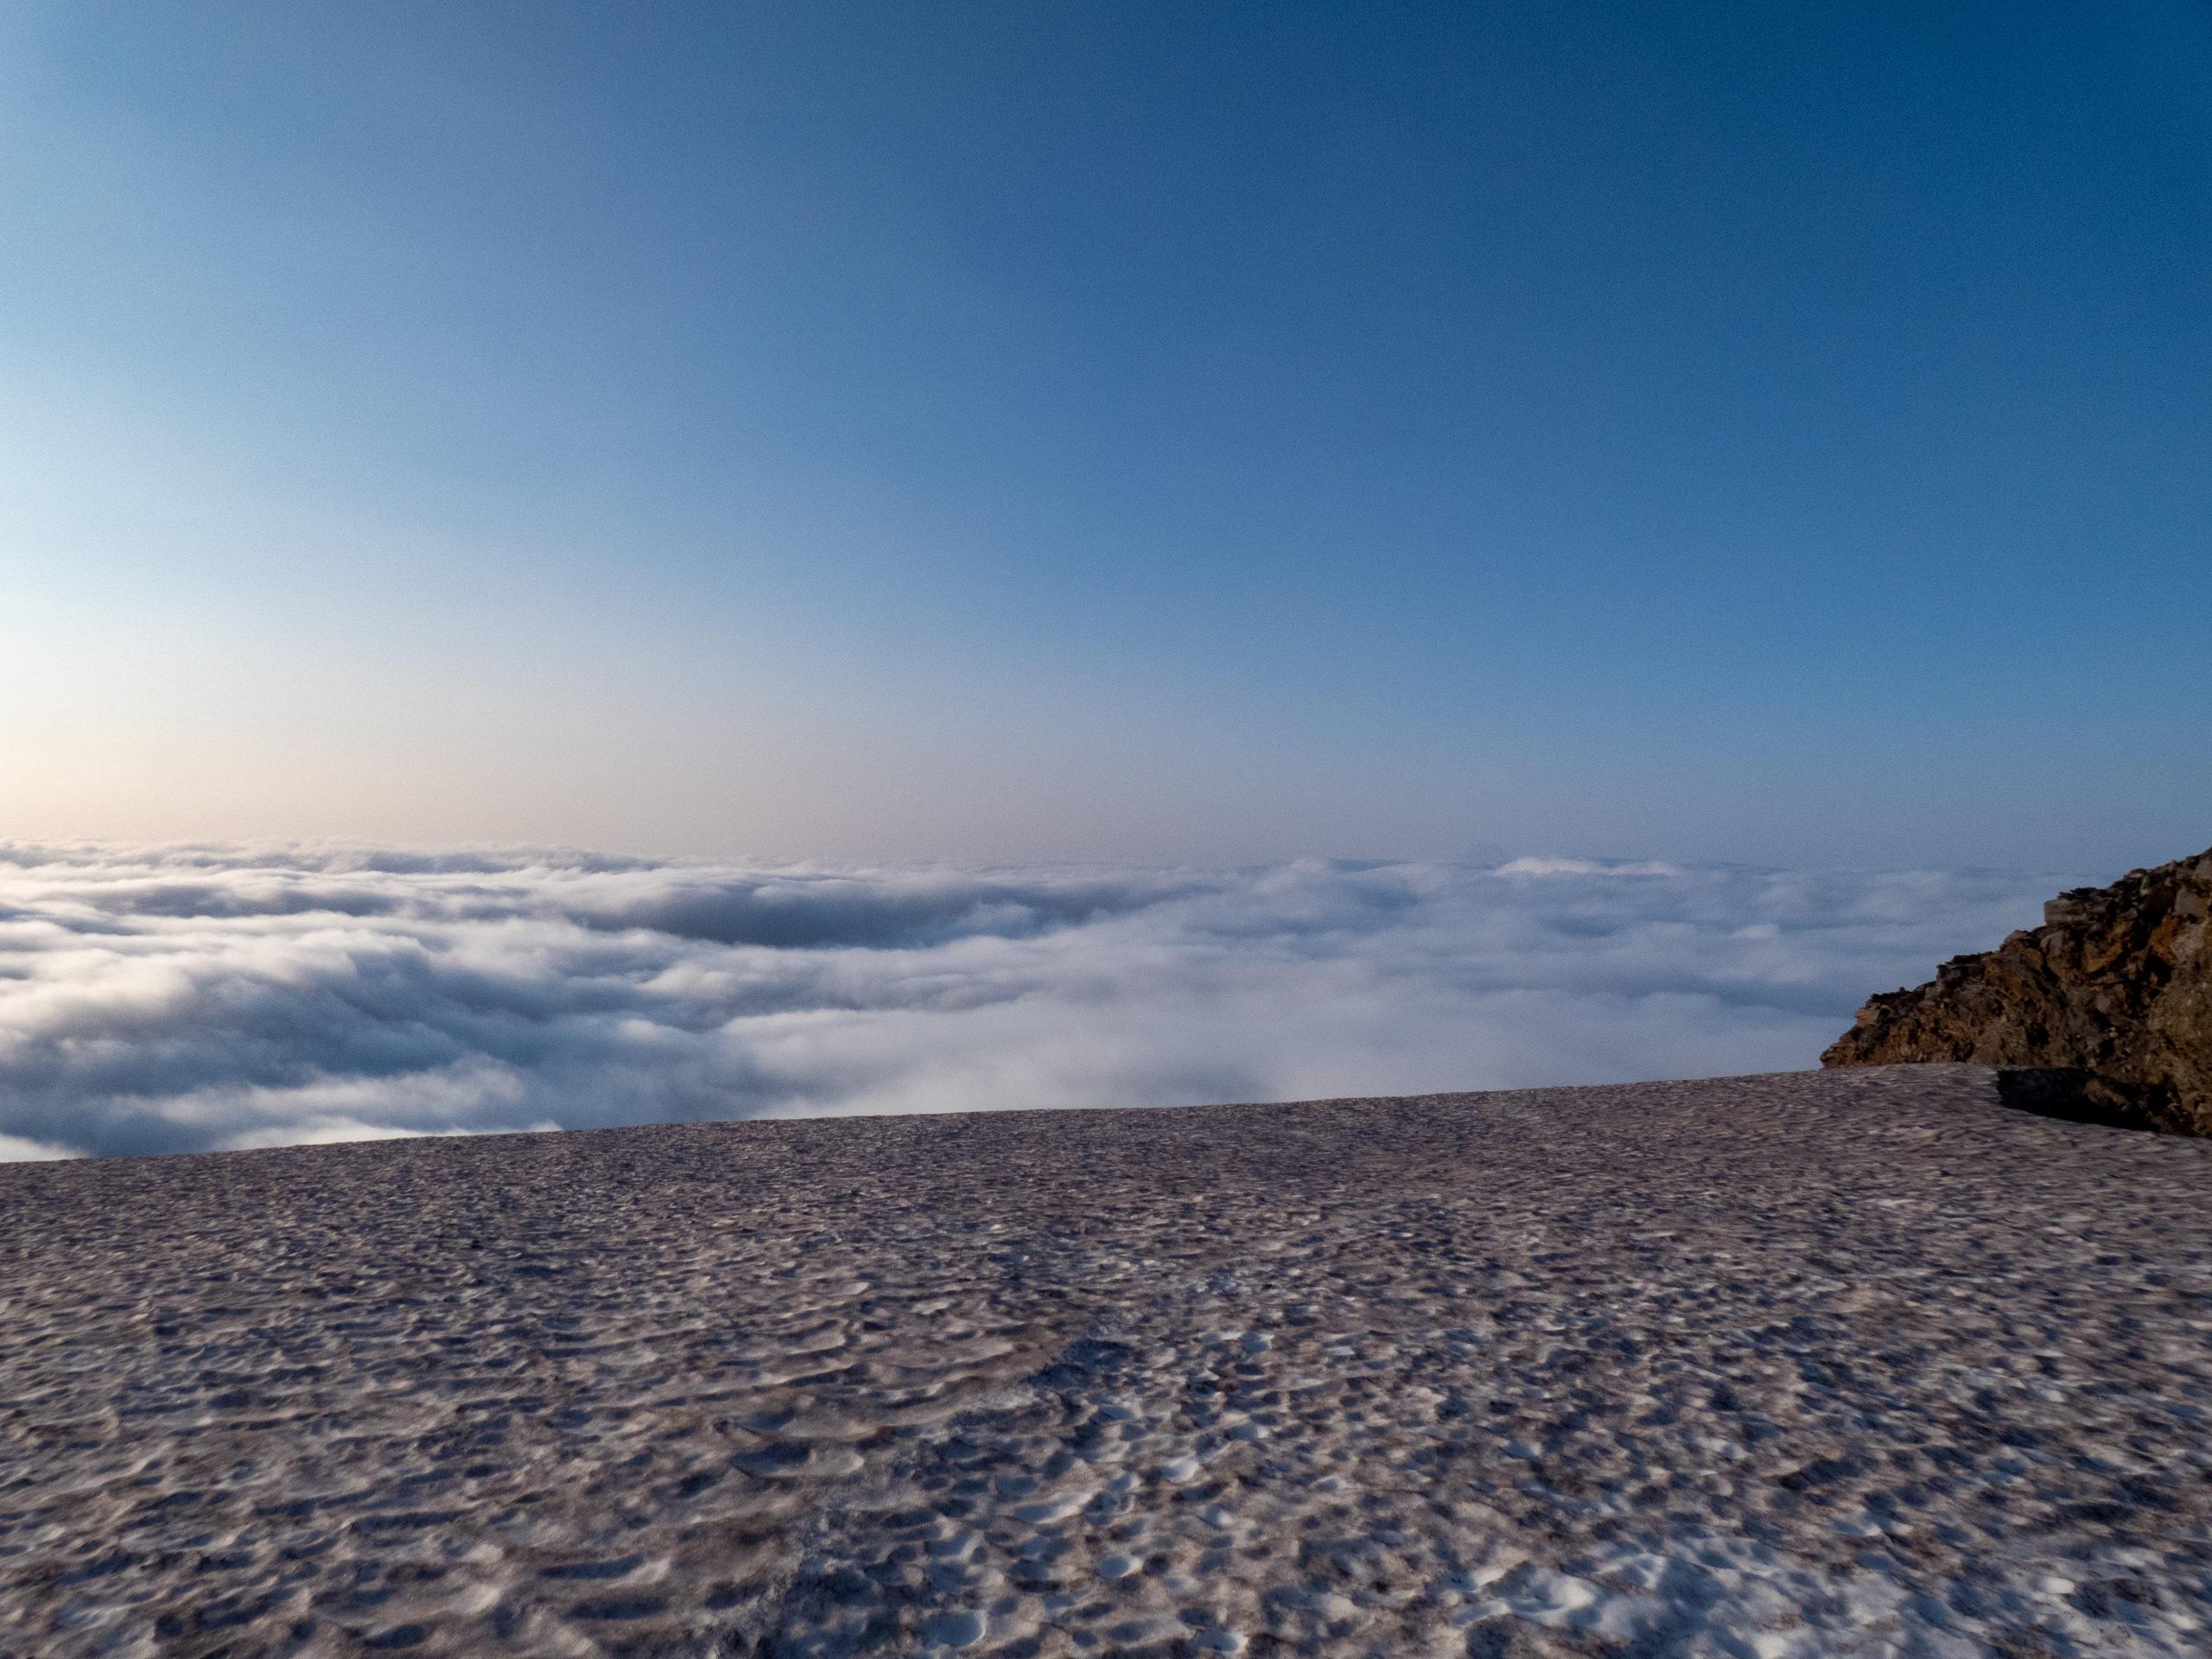
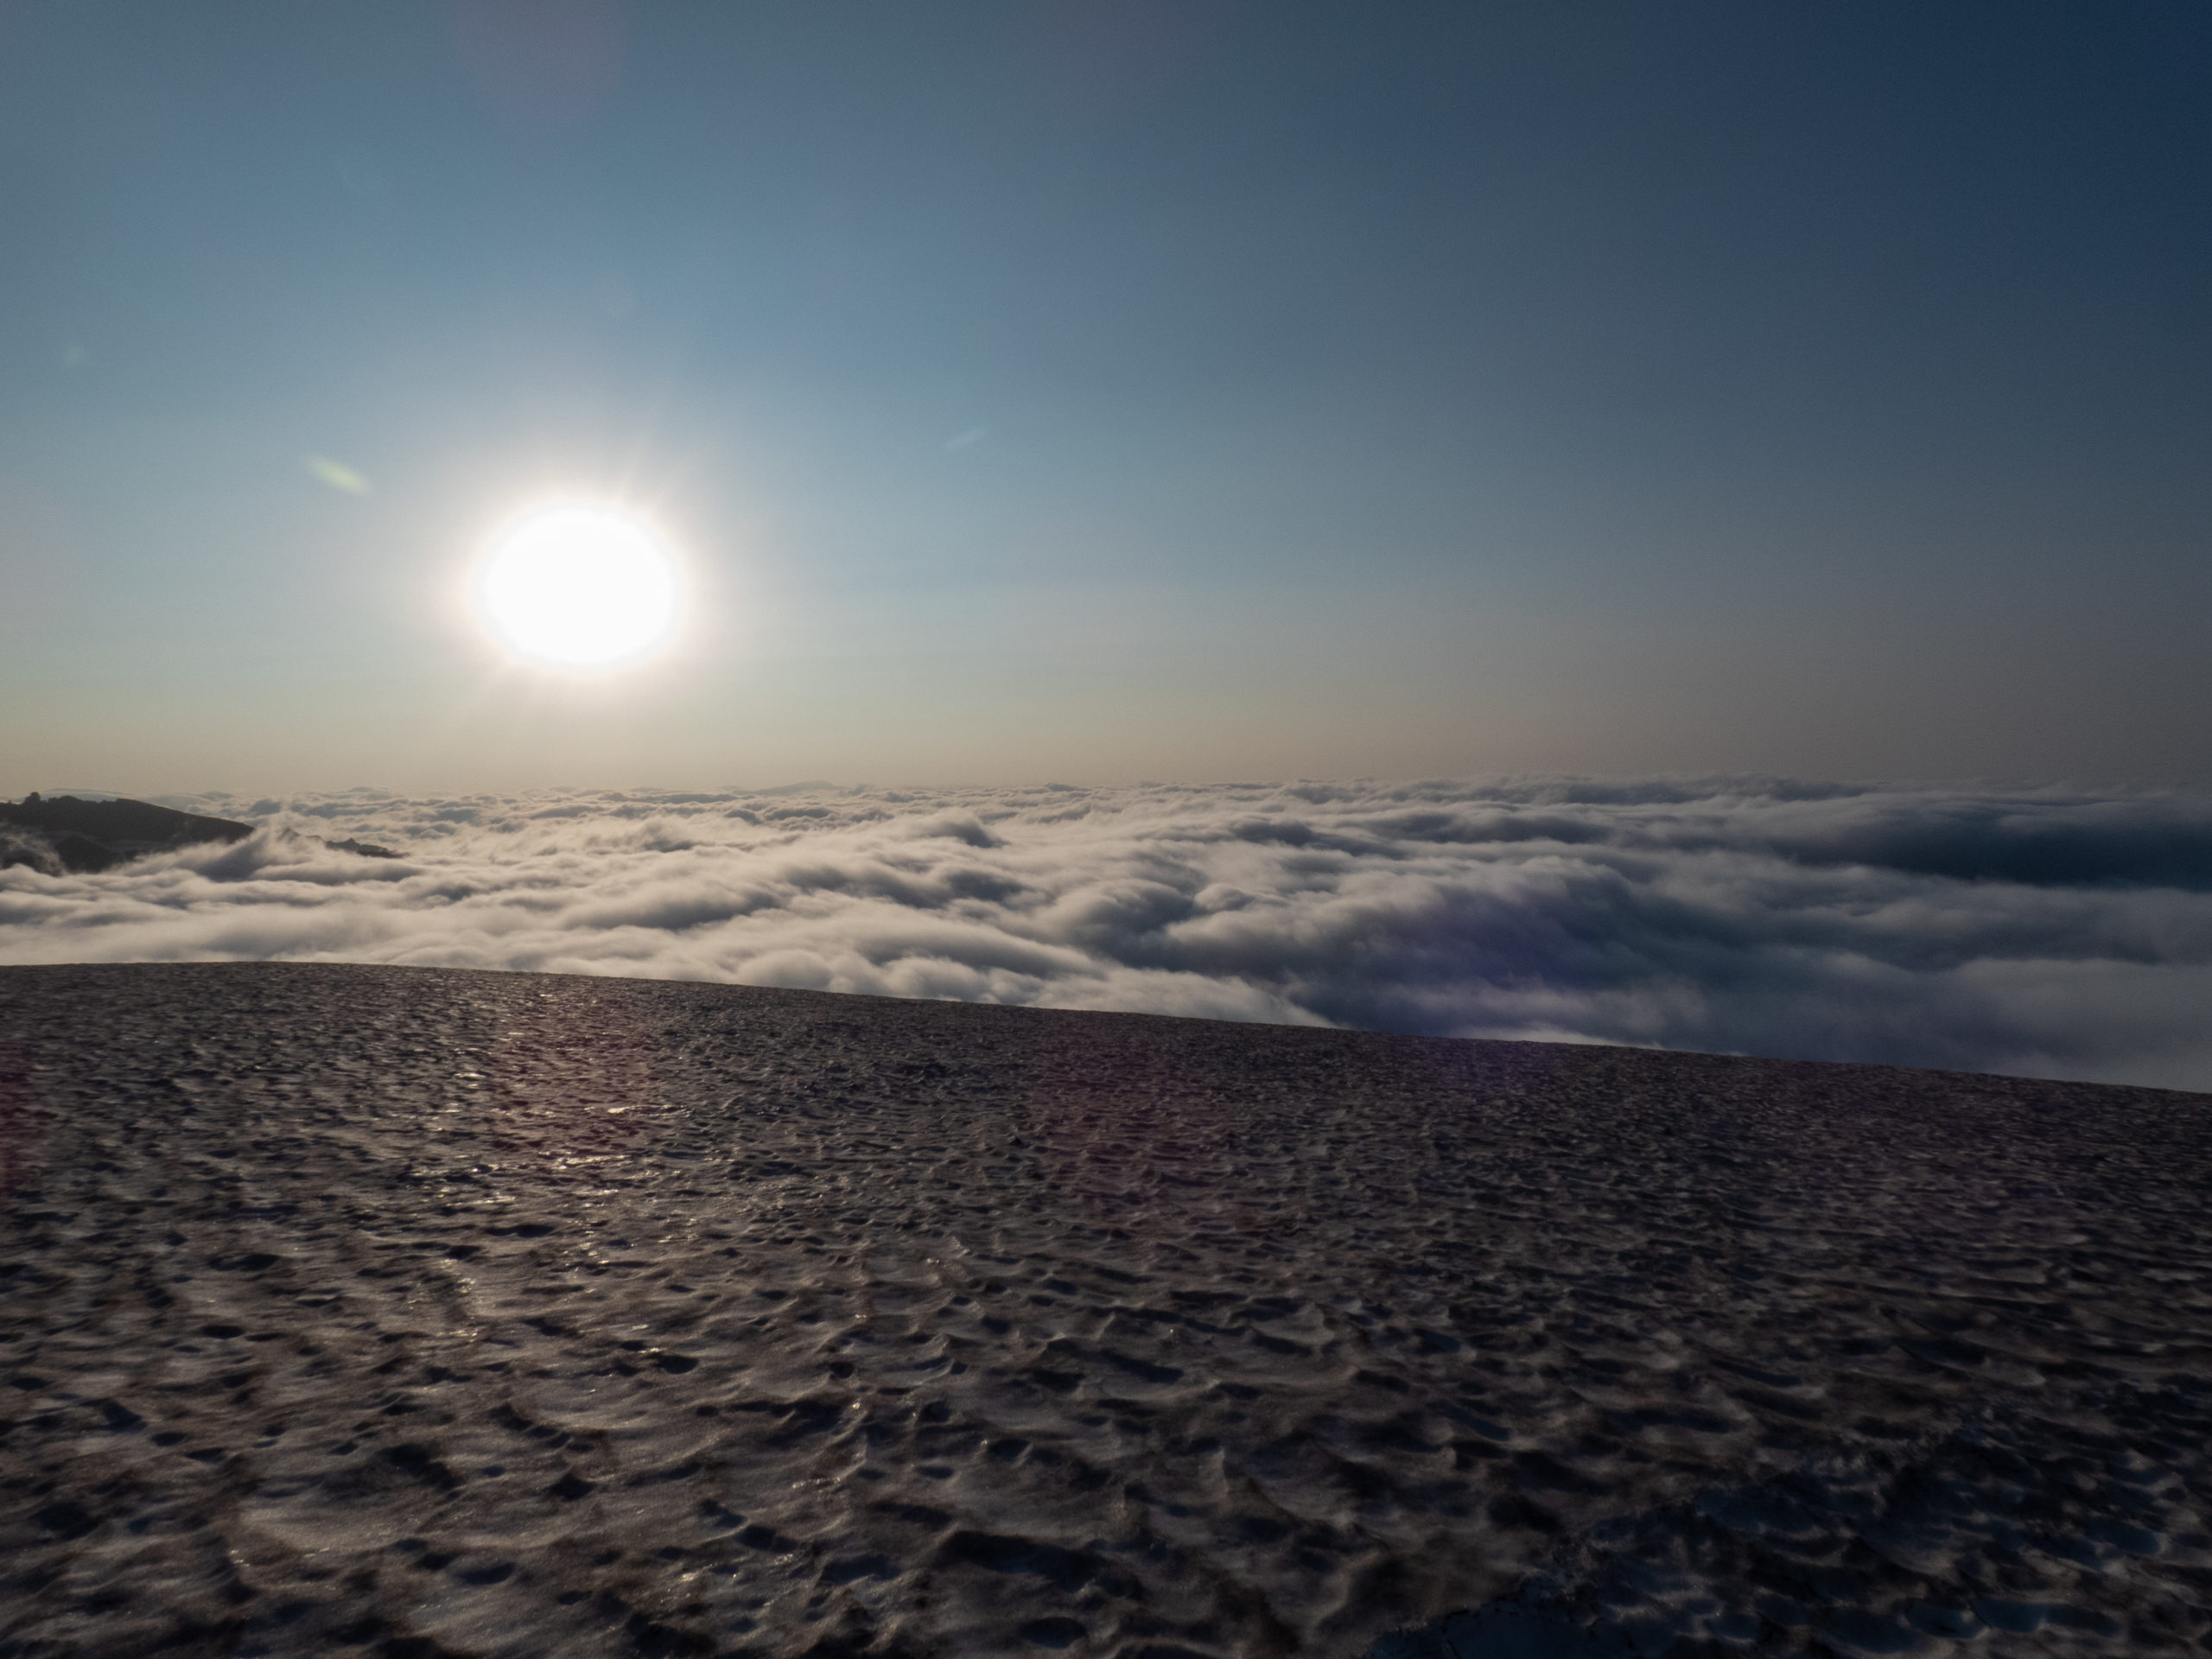
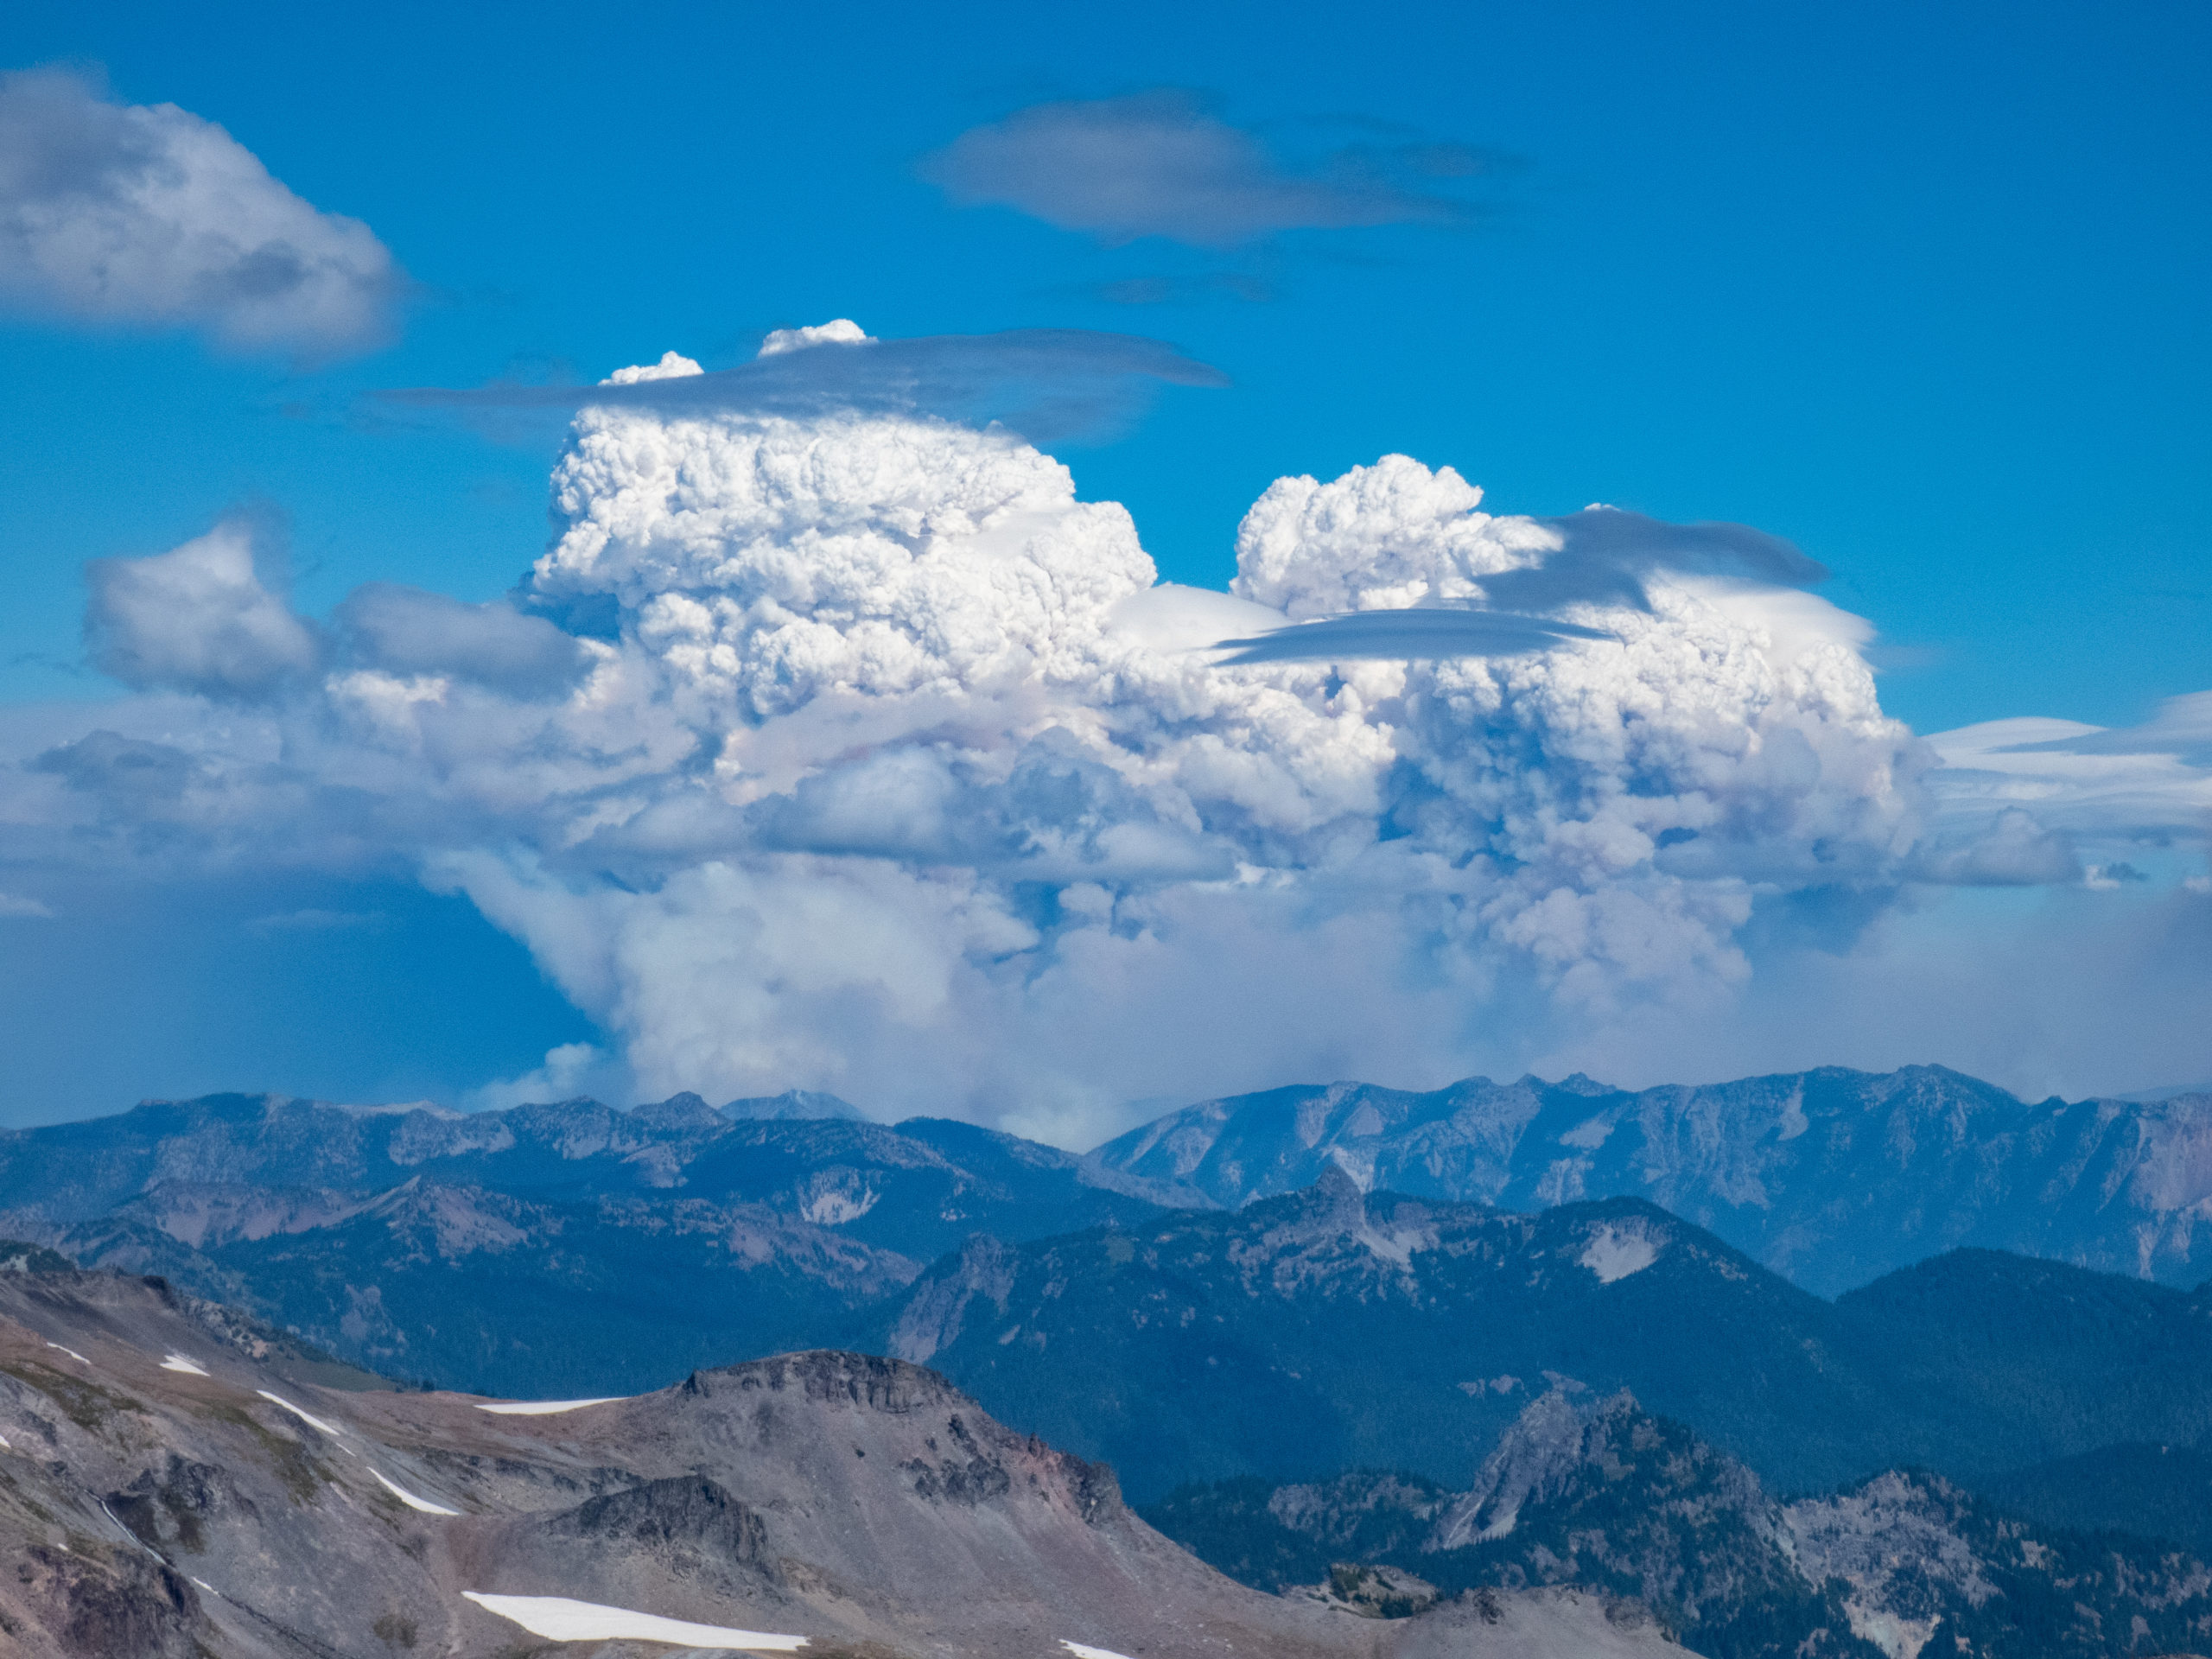
Our third day began with a beautiful, sunny morning above the lower level clouds. The peak of Mt. Rainier was crystal clear and we weren’t getting much haze because of a shift in the winds becoming a more easterly flow. A front was moving in from the Pacific which would create some havoc later. For now, however, things were wonderful.
During the morning we worked on building anchors including dead man and picket anchors. We were all graded on our anchors and the team tried to break several. We also did a “creative anchor” test. This involved picking something ridiculous to test out as an anchor. Our team settled on a Pringles can. We dutifully buried it and set it up. It held briefly, but quickly failed when put to a reasonable amount of stress. Then we had to pick up all the pieces that were in the snow as part of our Leave No Trace policy.
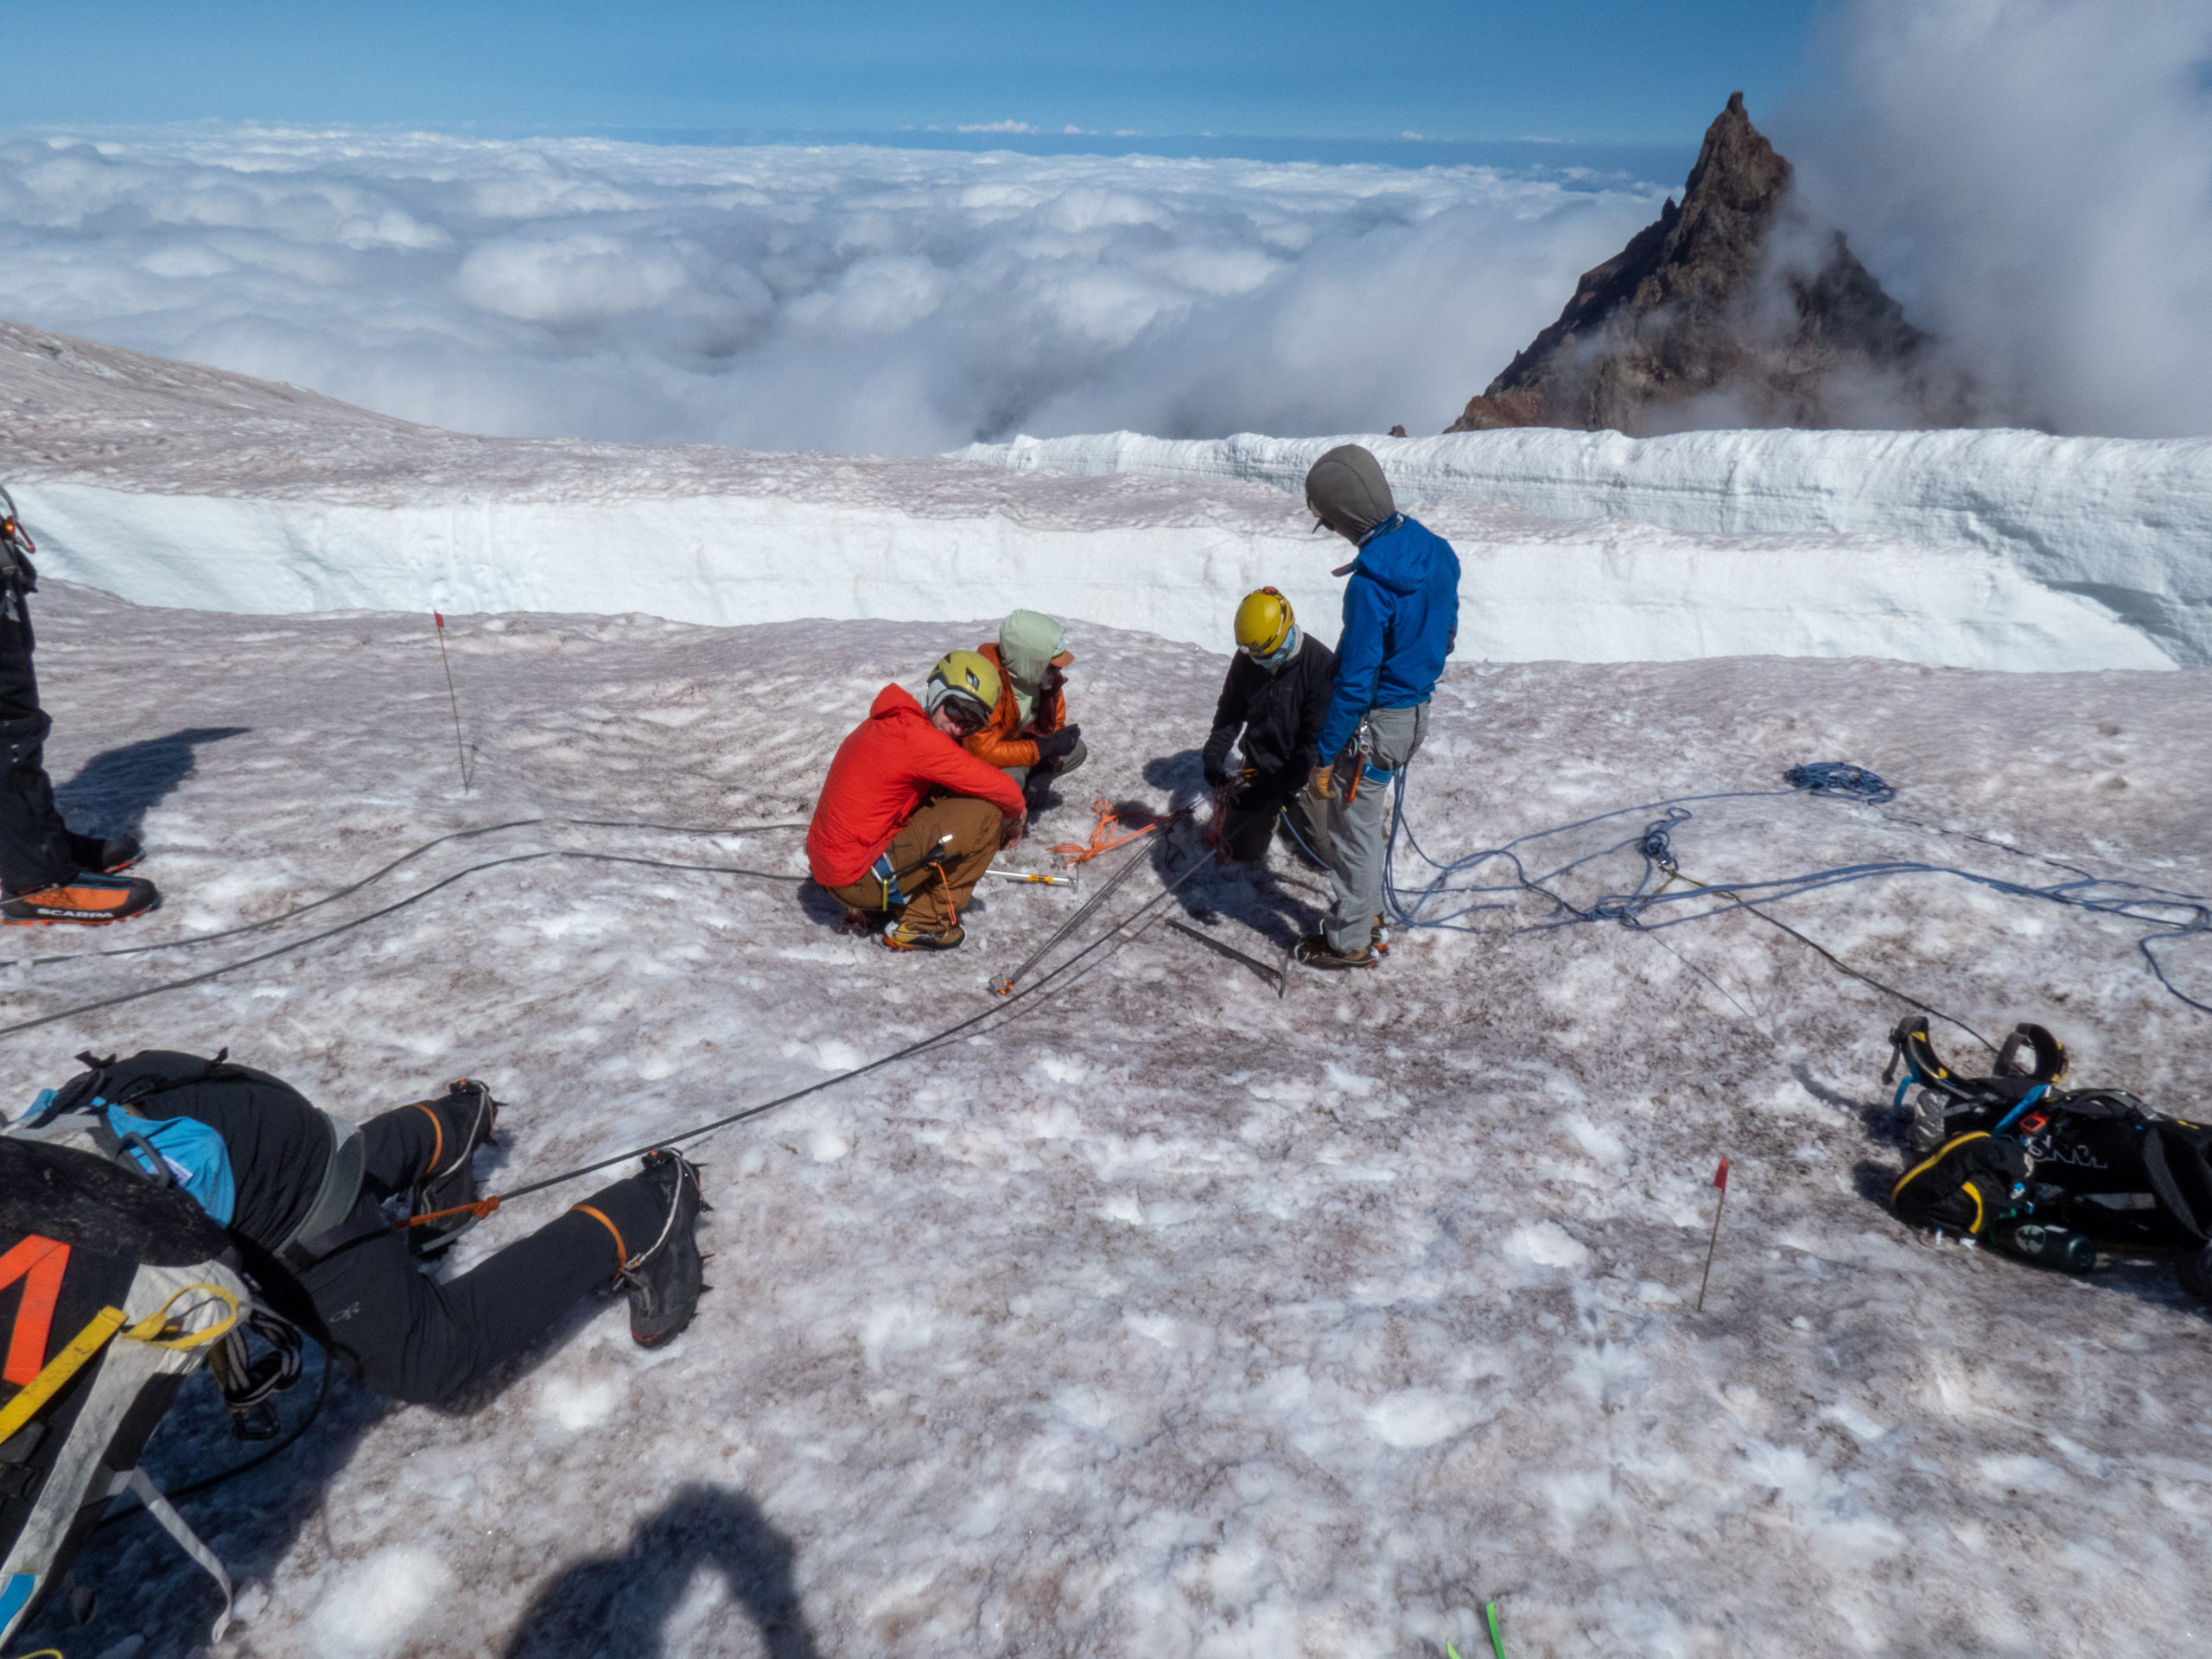
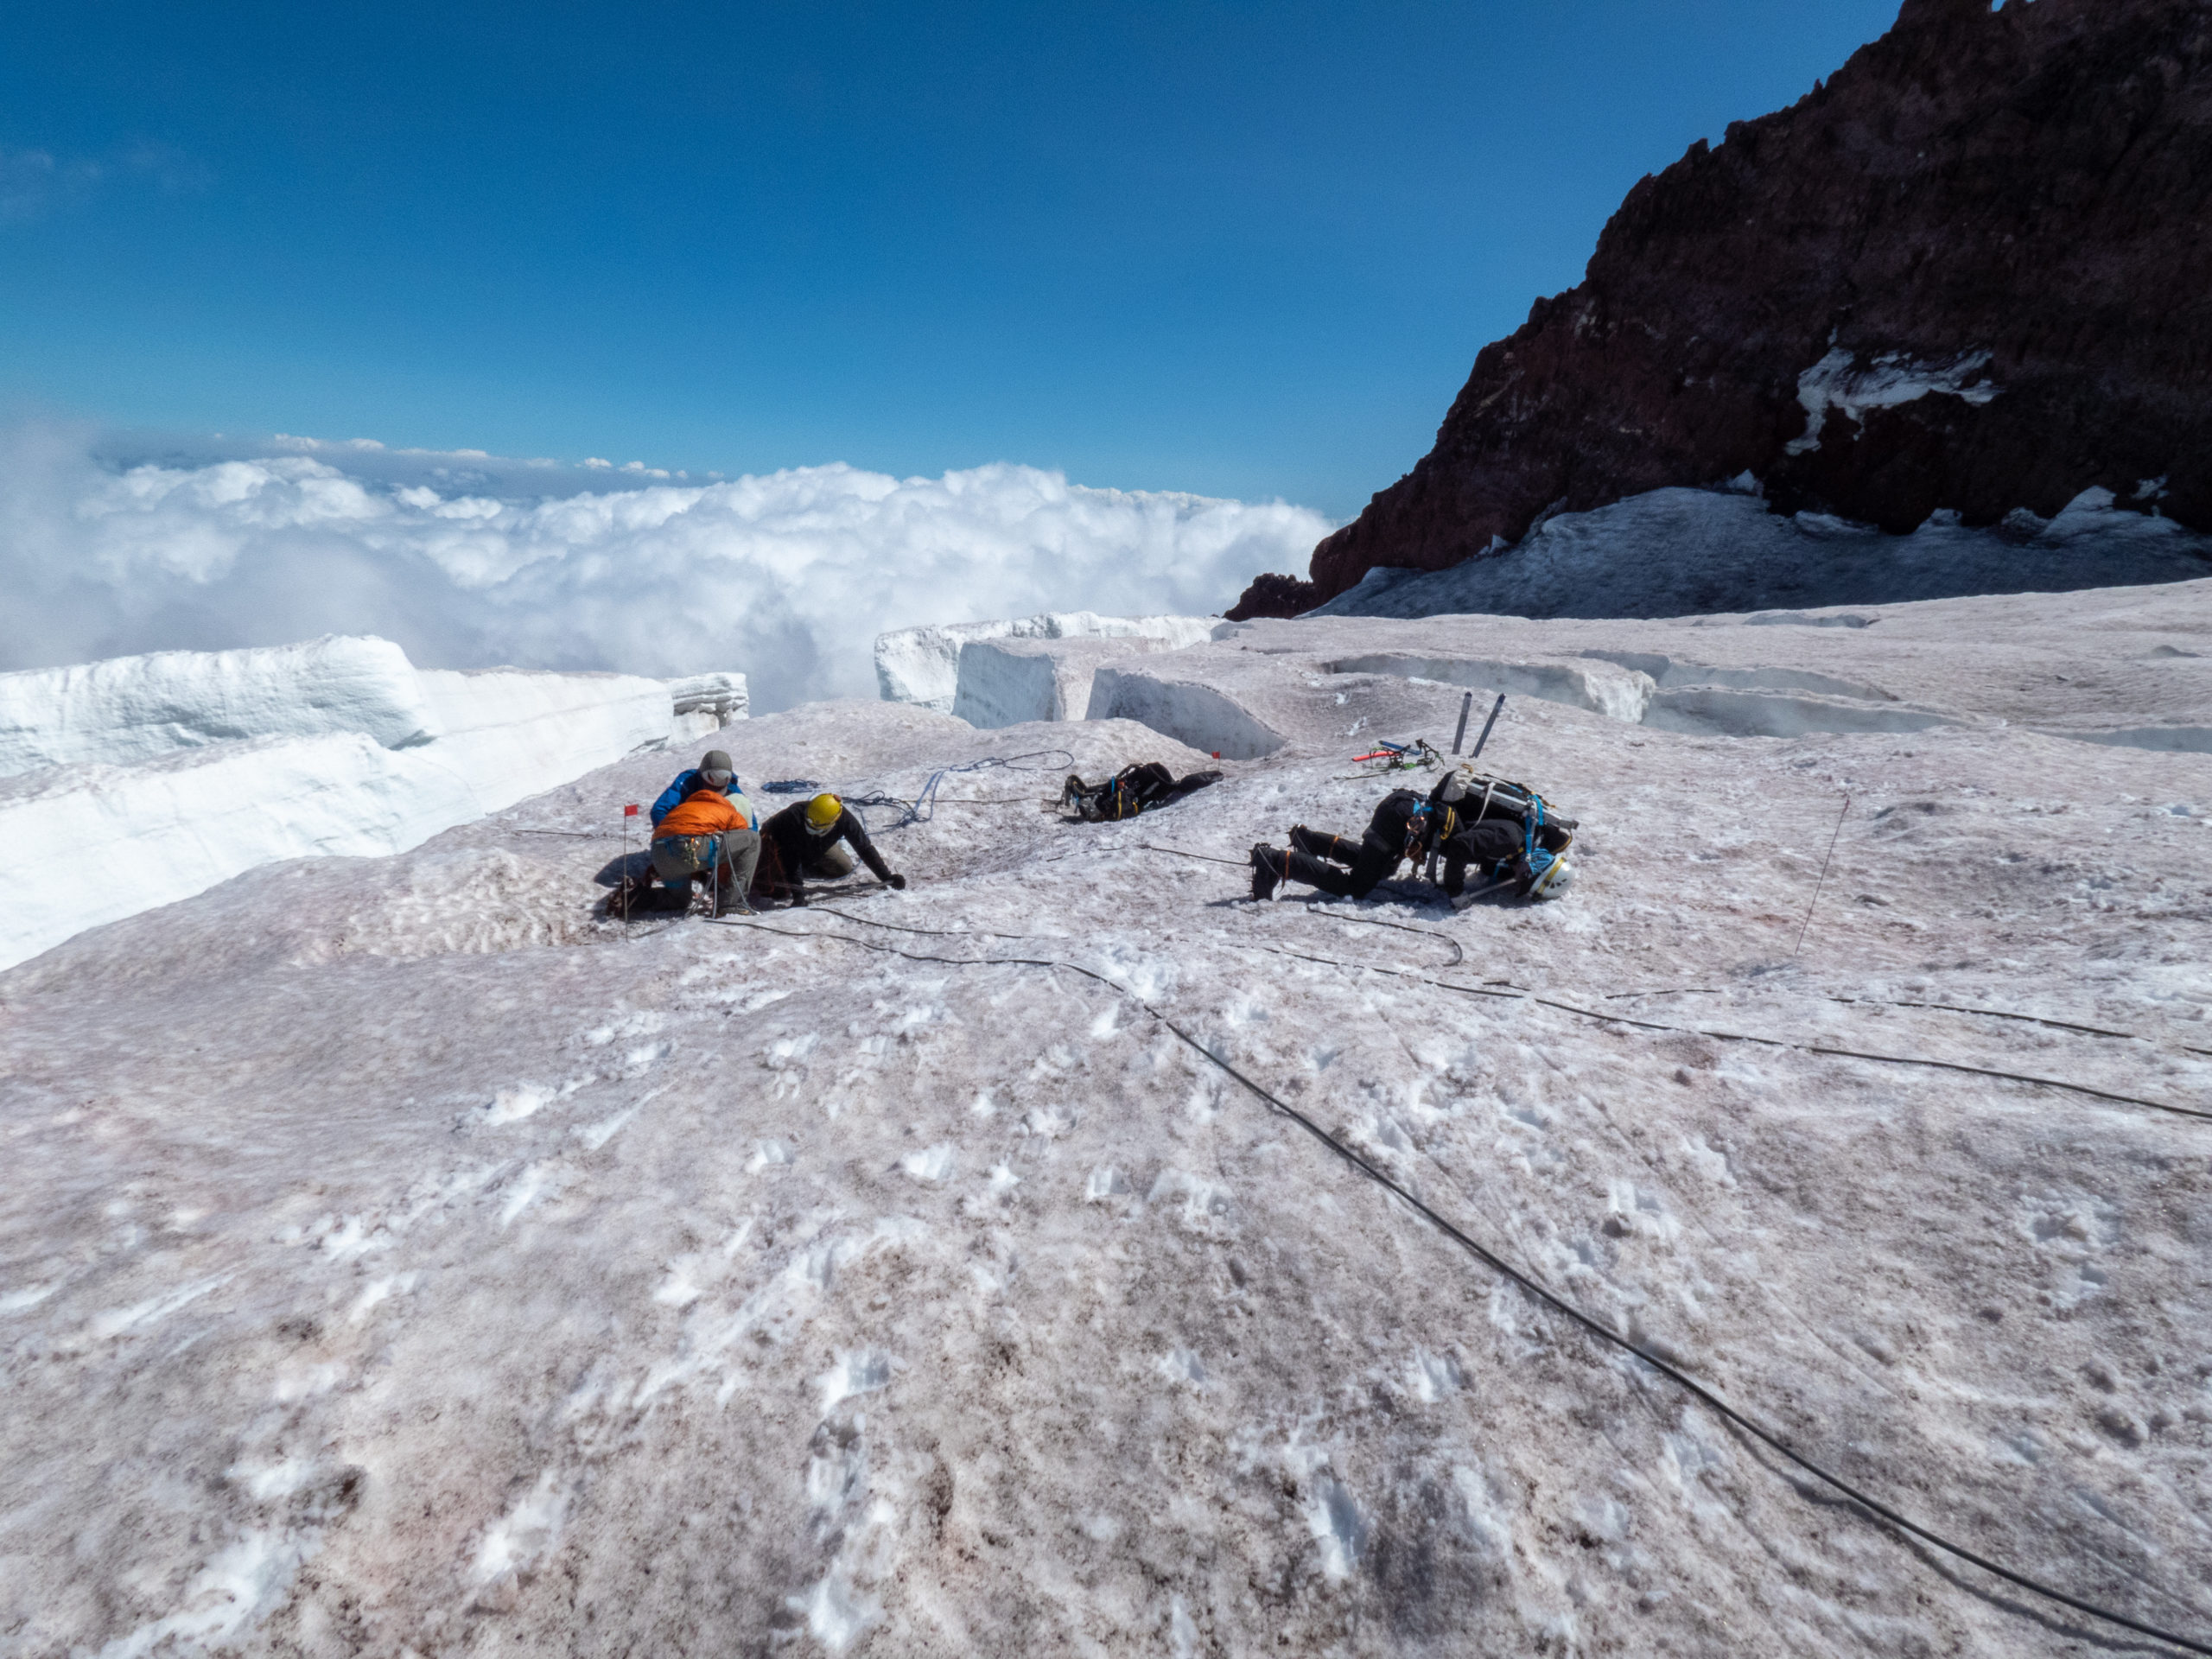
Later, we went to a crevasse and did practice rescues. In this exercise, each member of the team had to “save” the backpack that was thrown over the edge into a crevasse. We had to self arrest ourselves and the pack, create a prusik knot to connect the rope to an anchor, and then build the recovery system. We went through all the steps to save Nicole’s backpack just like it was a live rescue. The IMG staff did a great job of getting us through this drill. Tying a prusik knot behind you and between your legs while holding a load is no easy task.


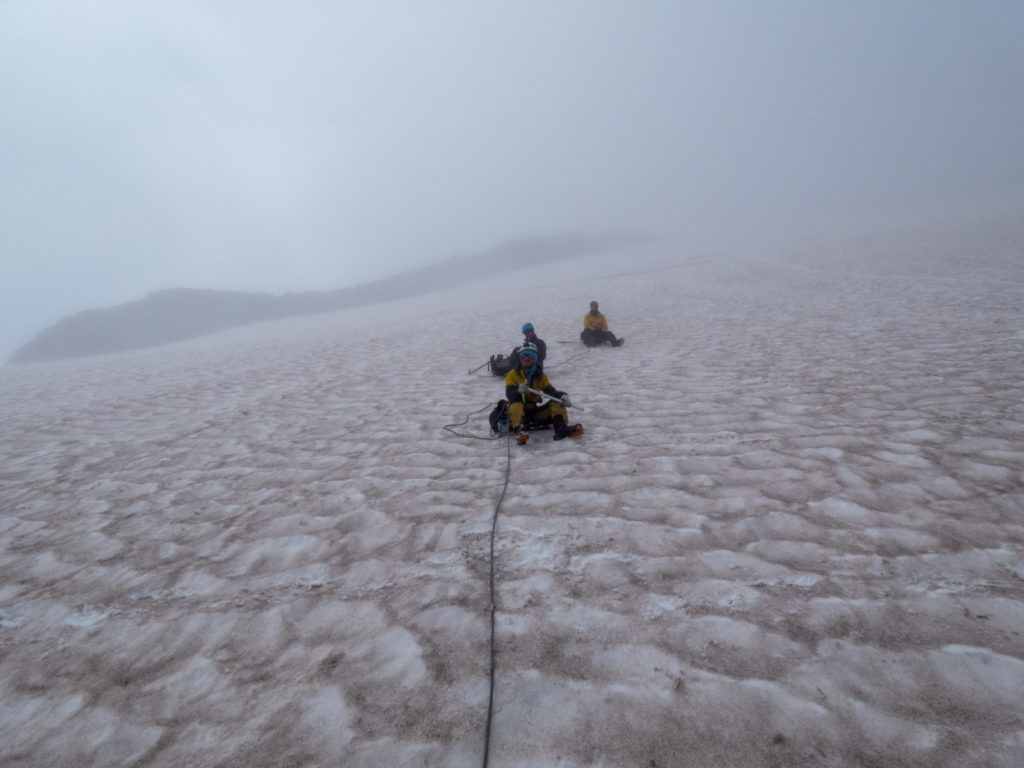


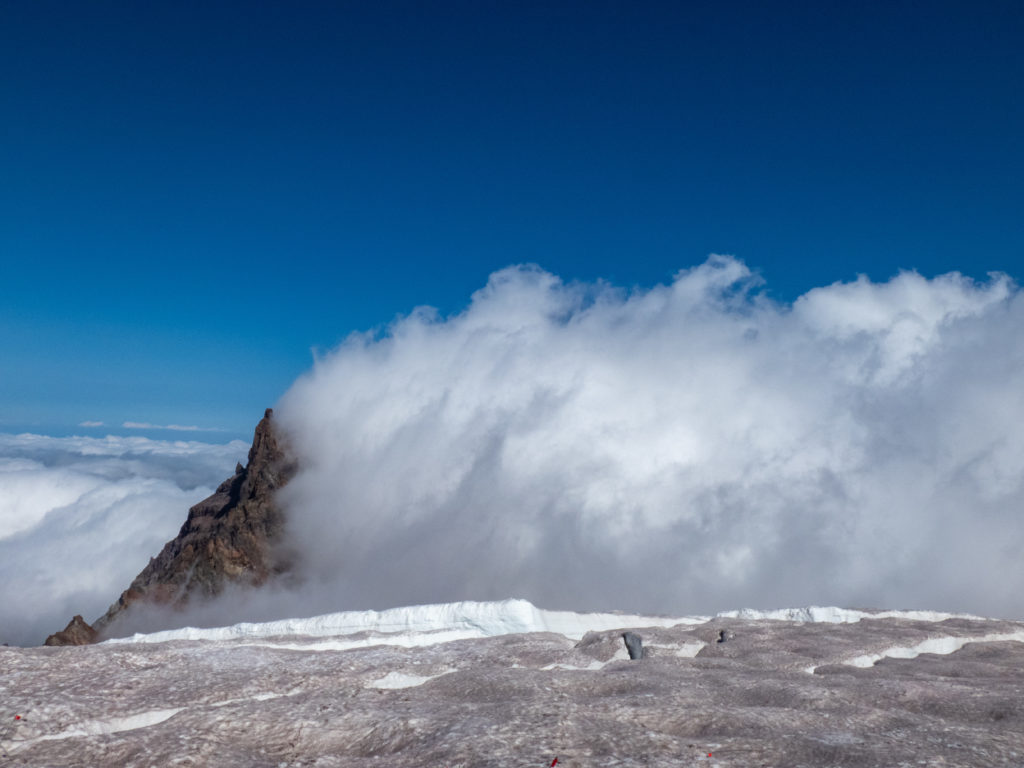
A change in the weather
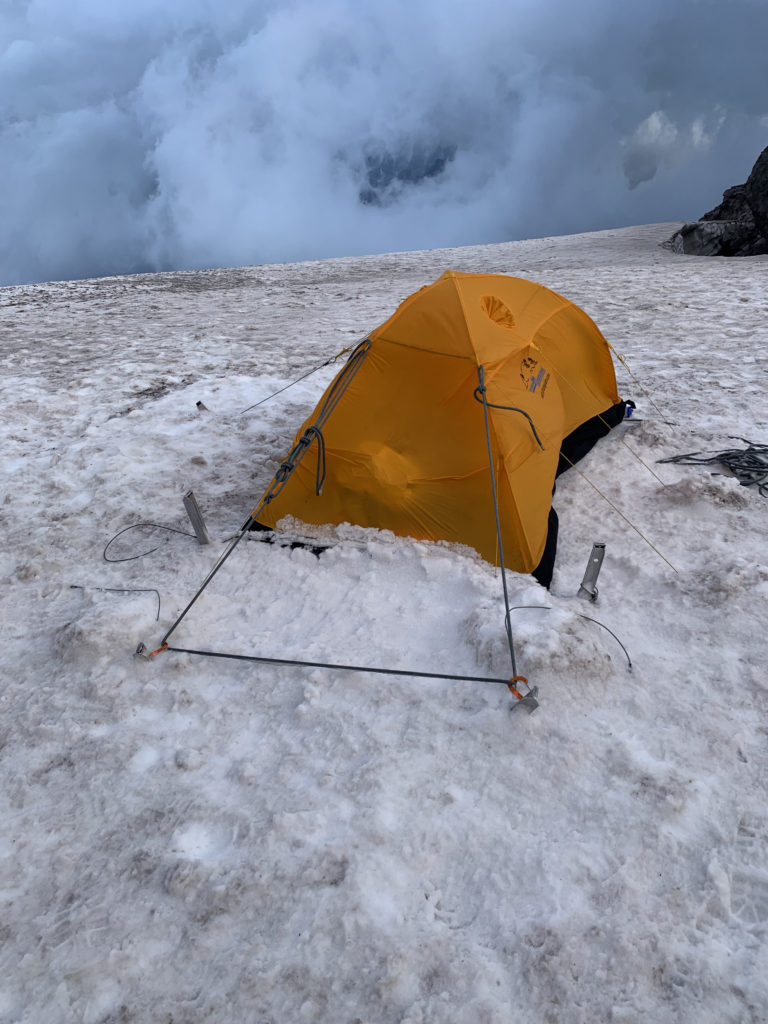
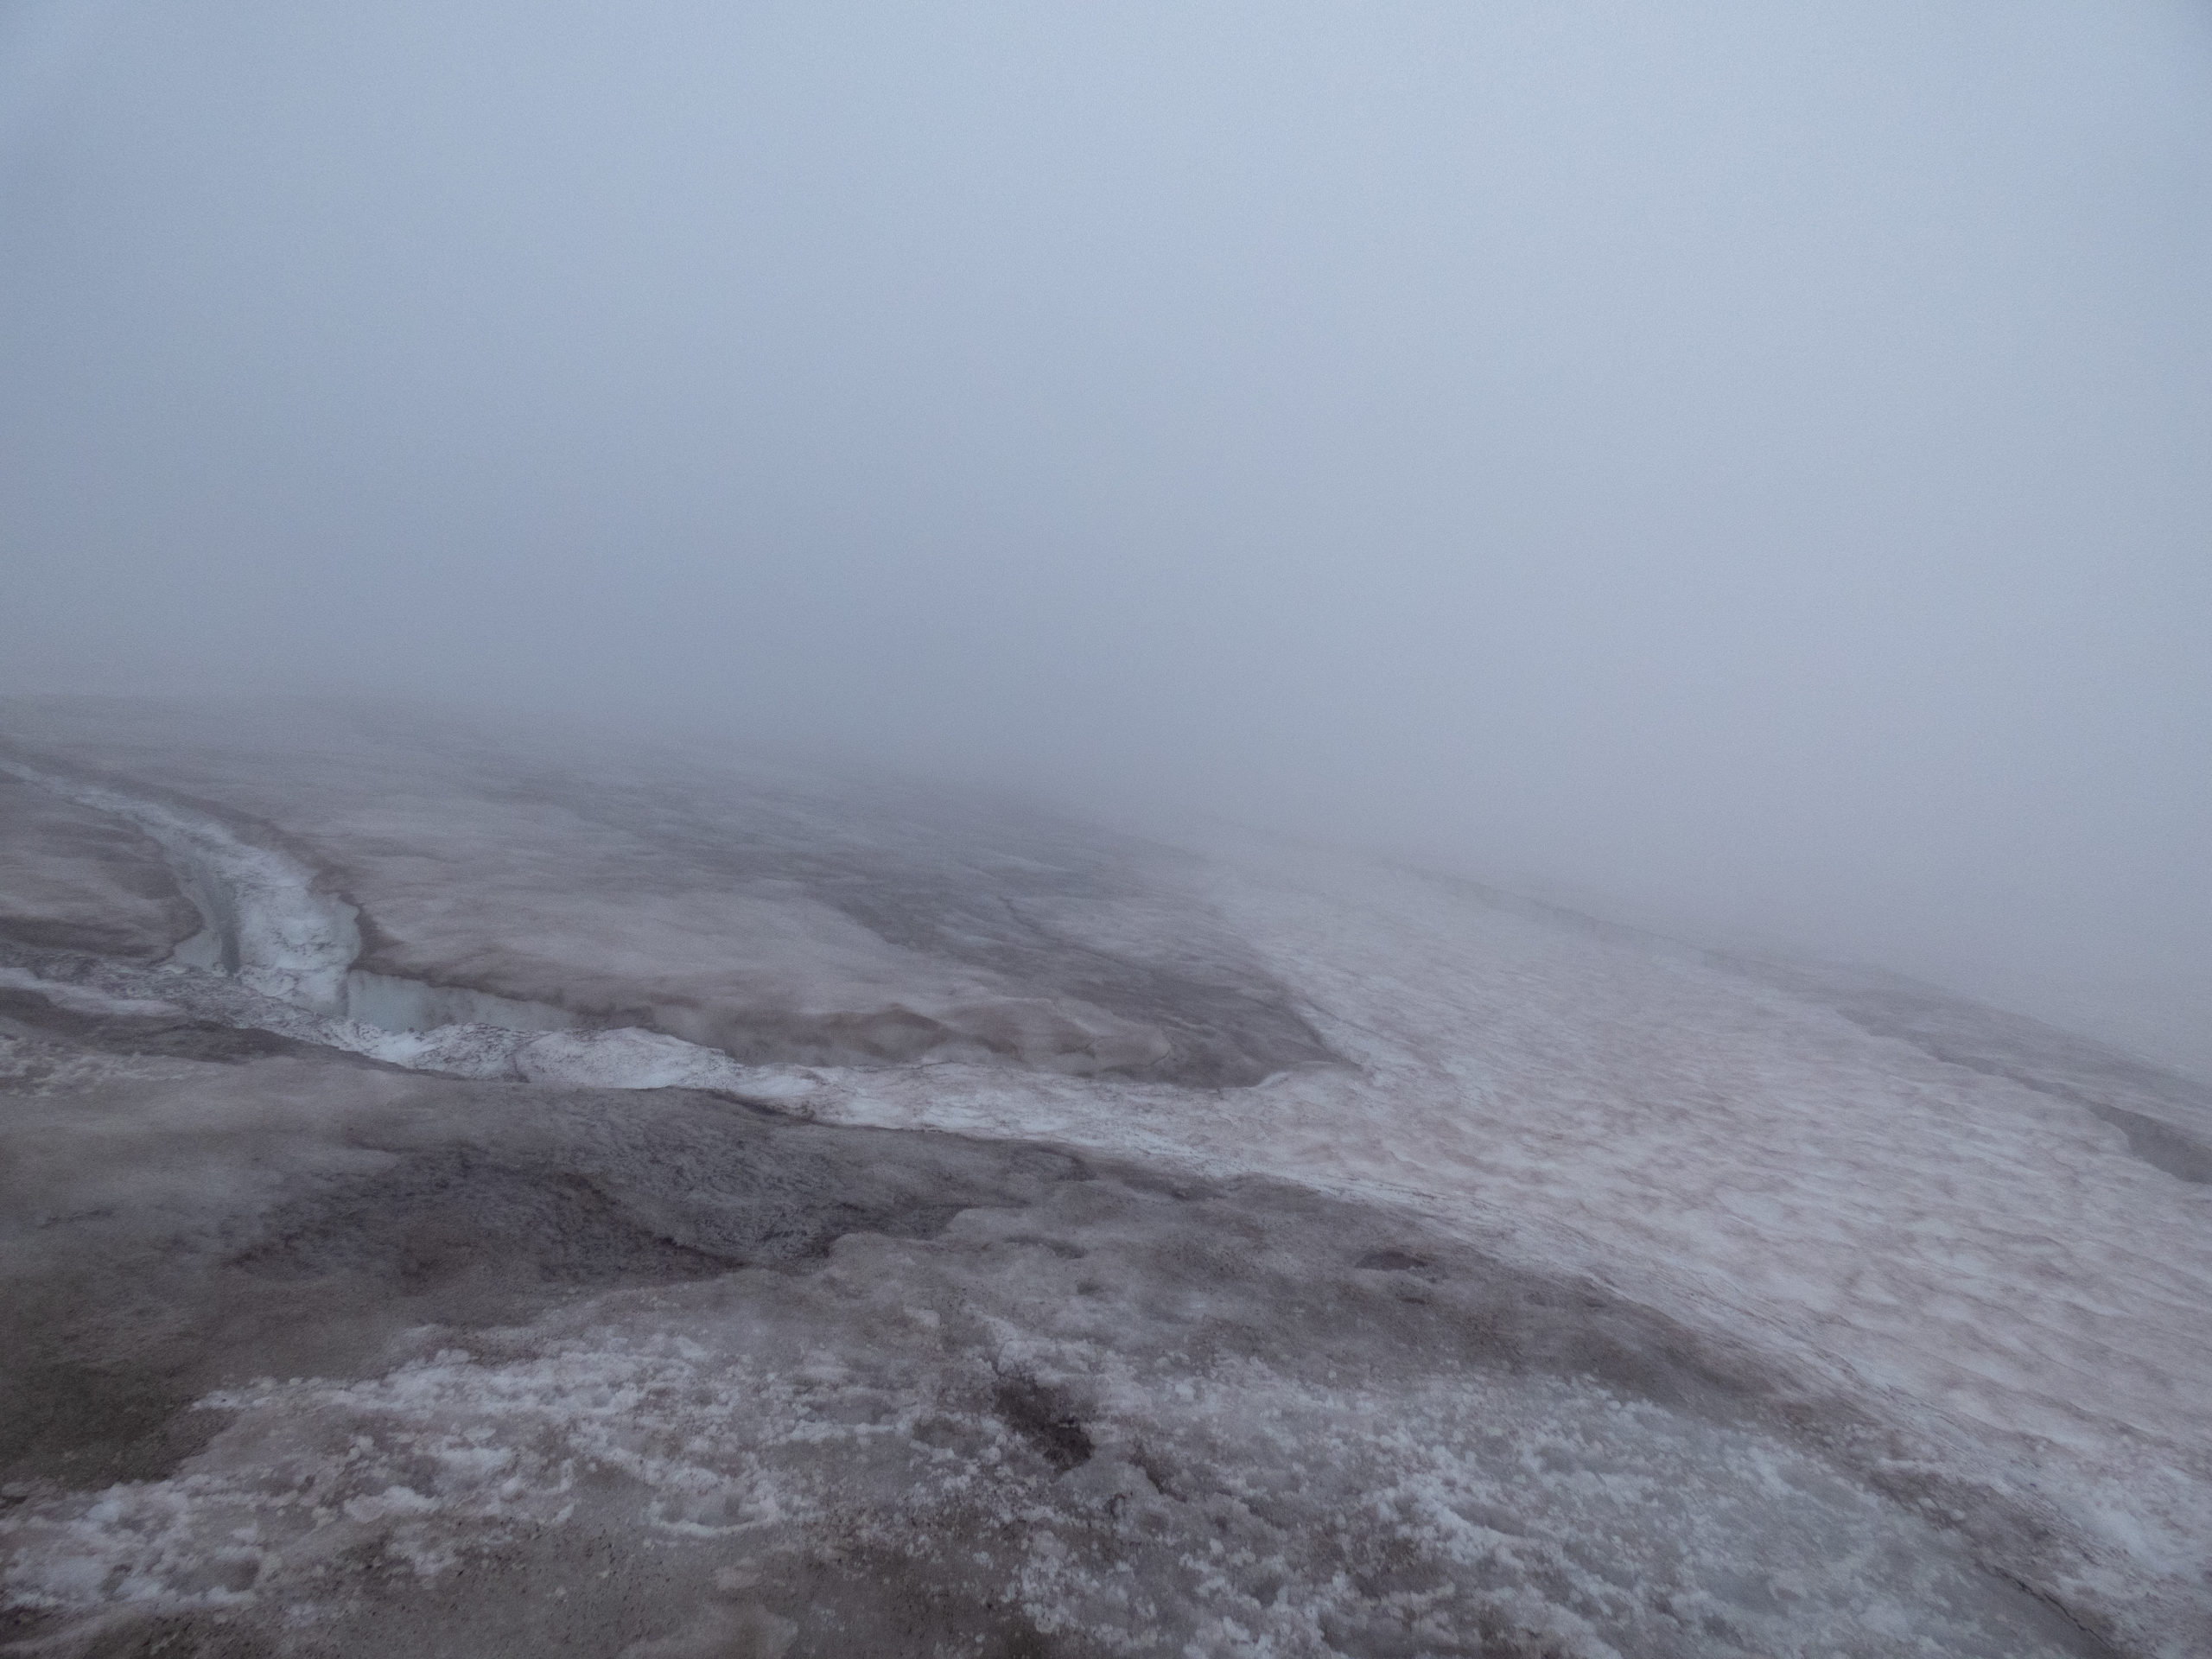
The front moved in while we were doing the crevasse rescue drill. Temps started to drop and the wind really picked up when we headed back to camp. It wasn’t long until we had 40+ MPH winds coming across the glacier with what we estimated to be 60+ MPH gusts. Nicole rallied us to secure some of the tents that were having issues. She quickly organized us and within a short time, everything was secure and stable. We used a few pickets on the most troublesome tent.
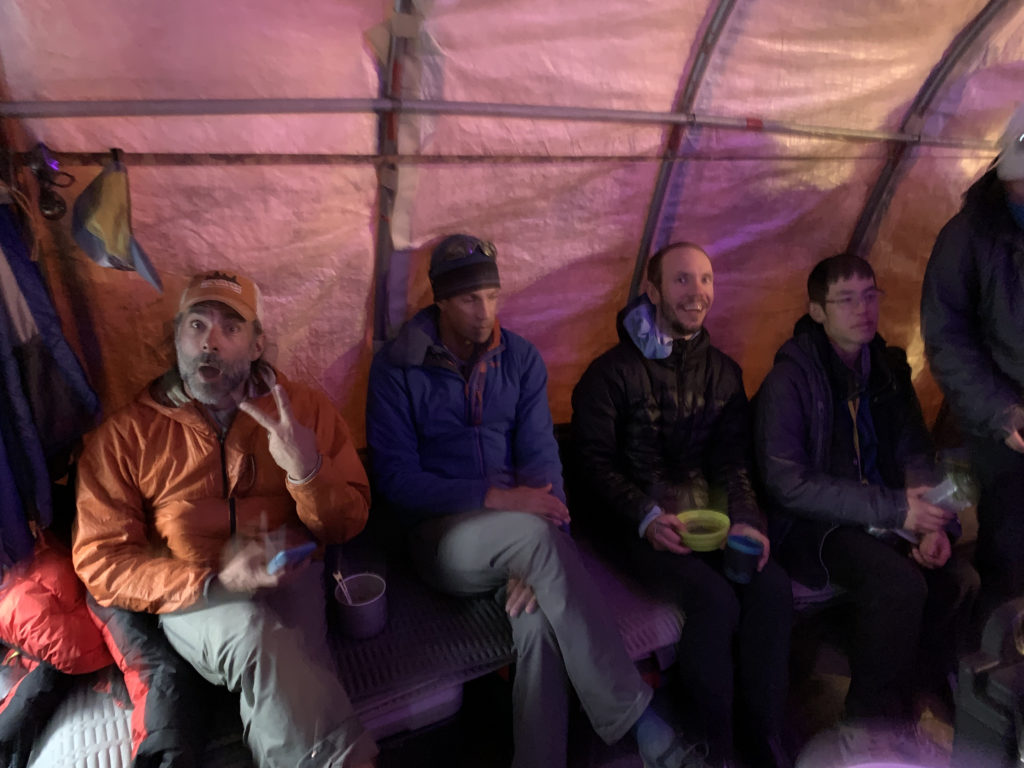
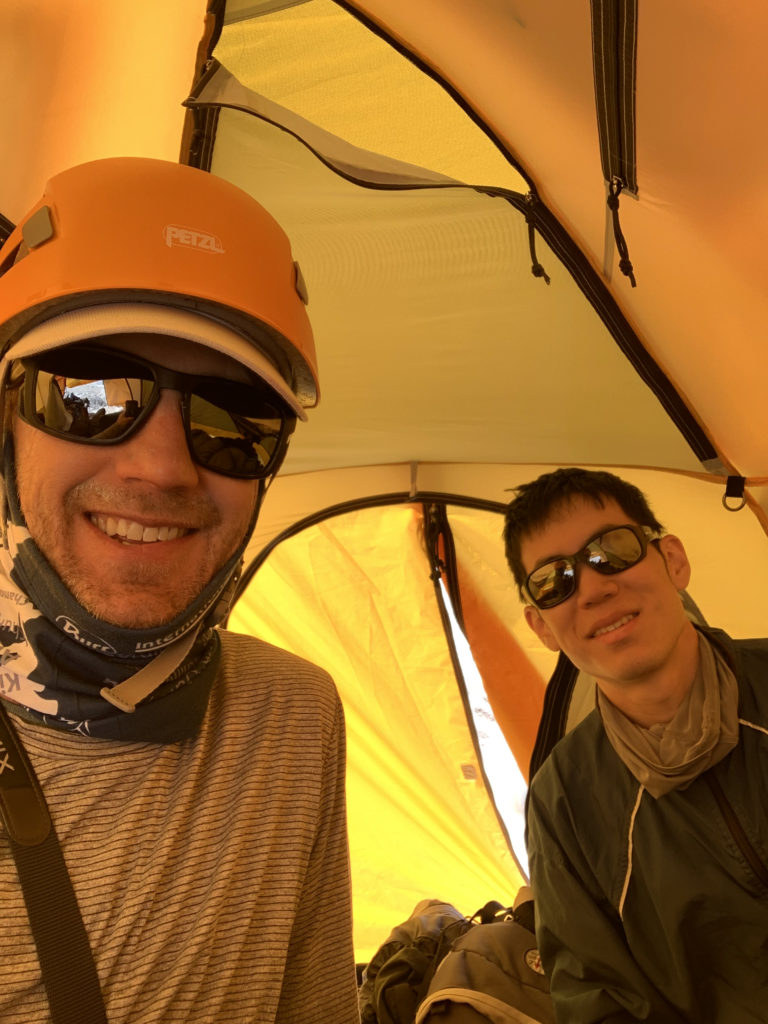
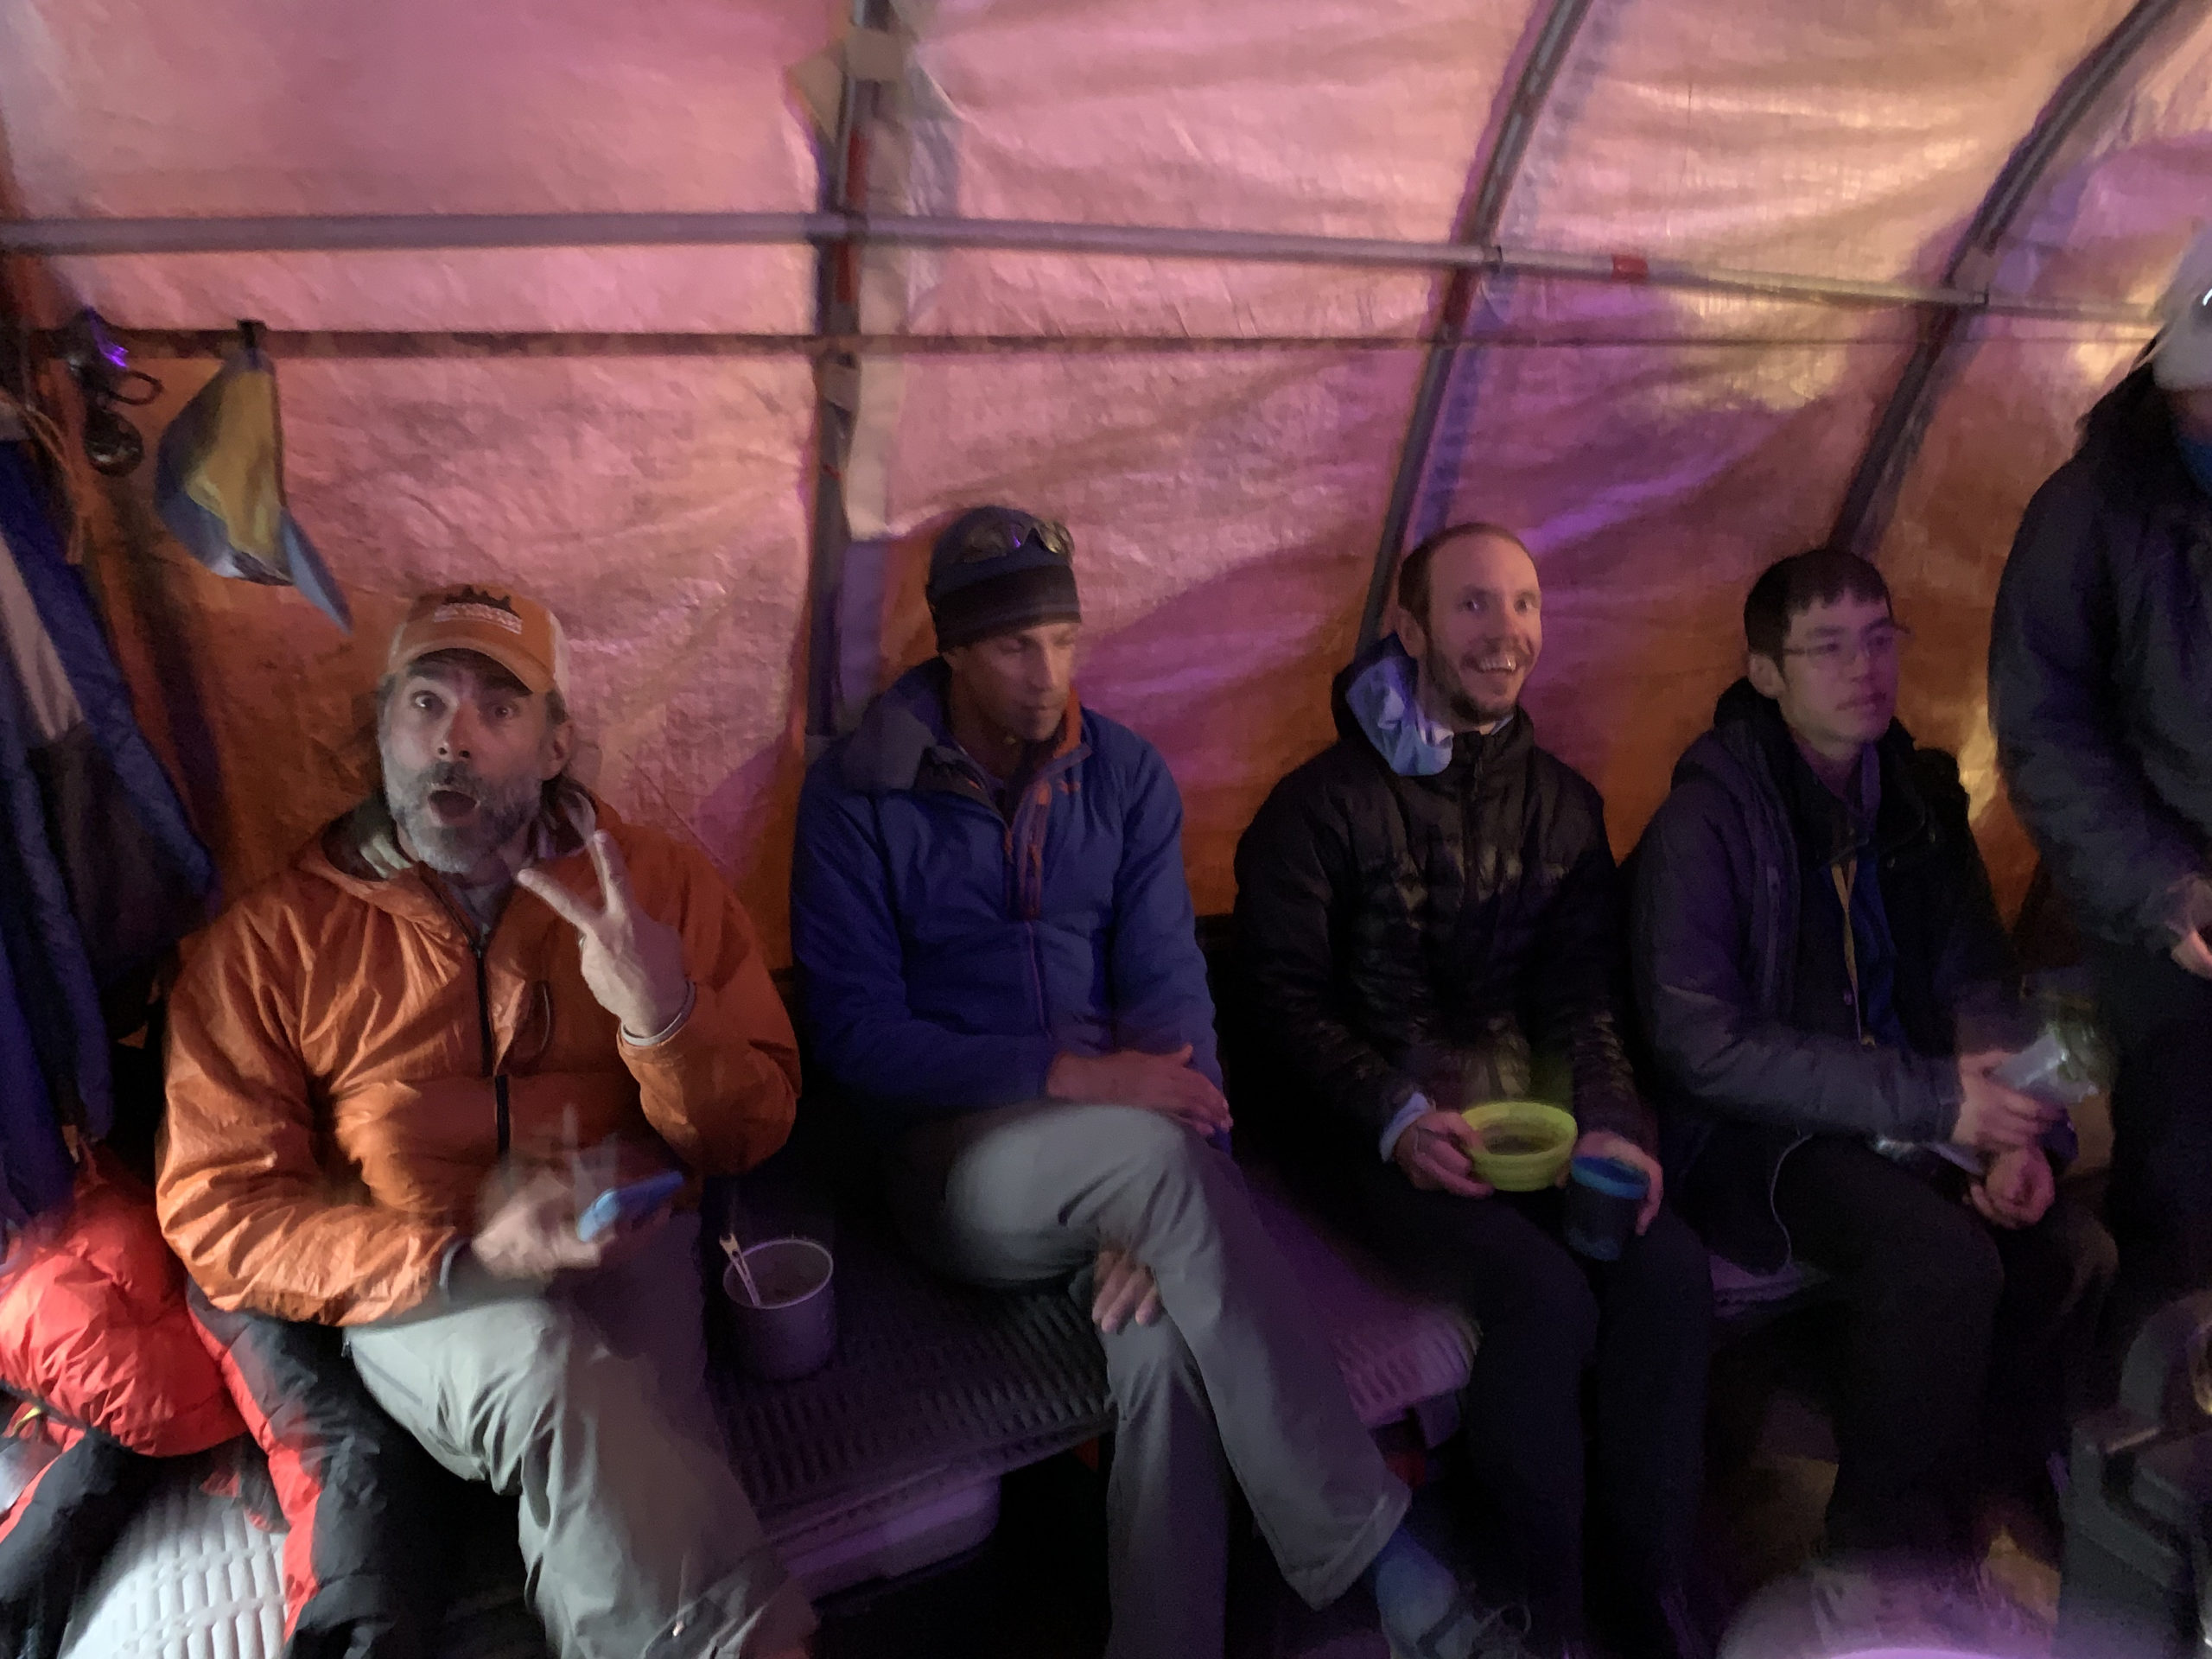
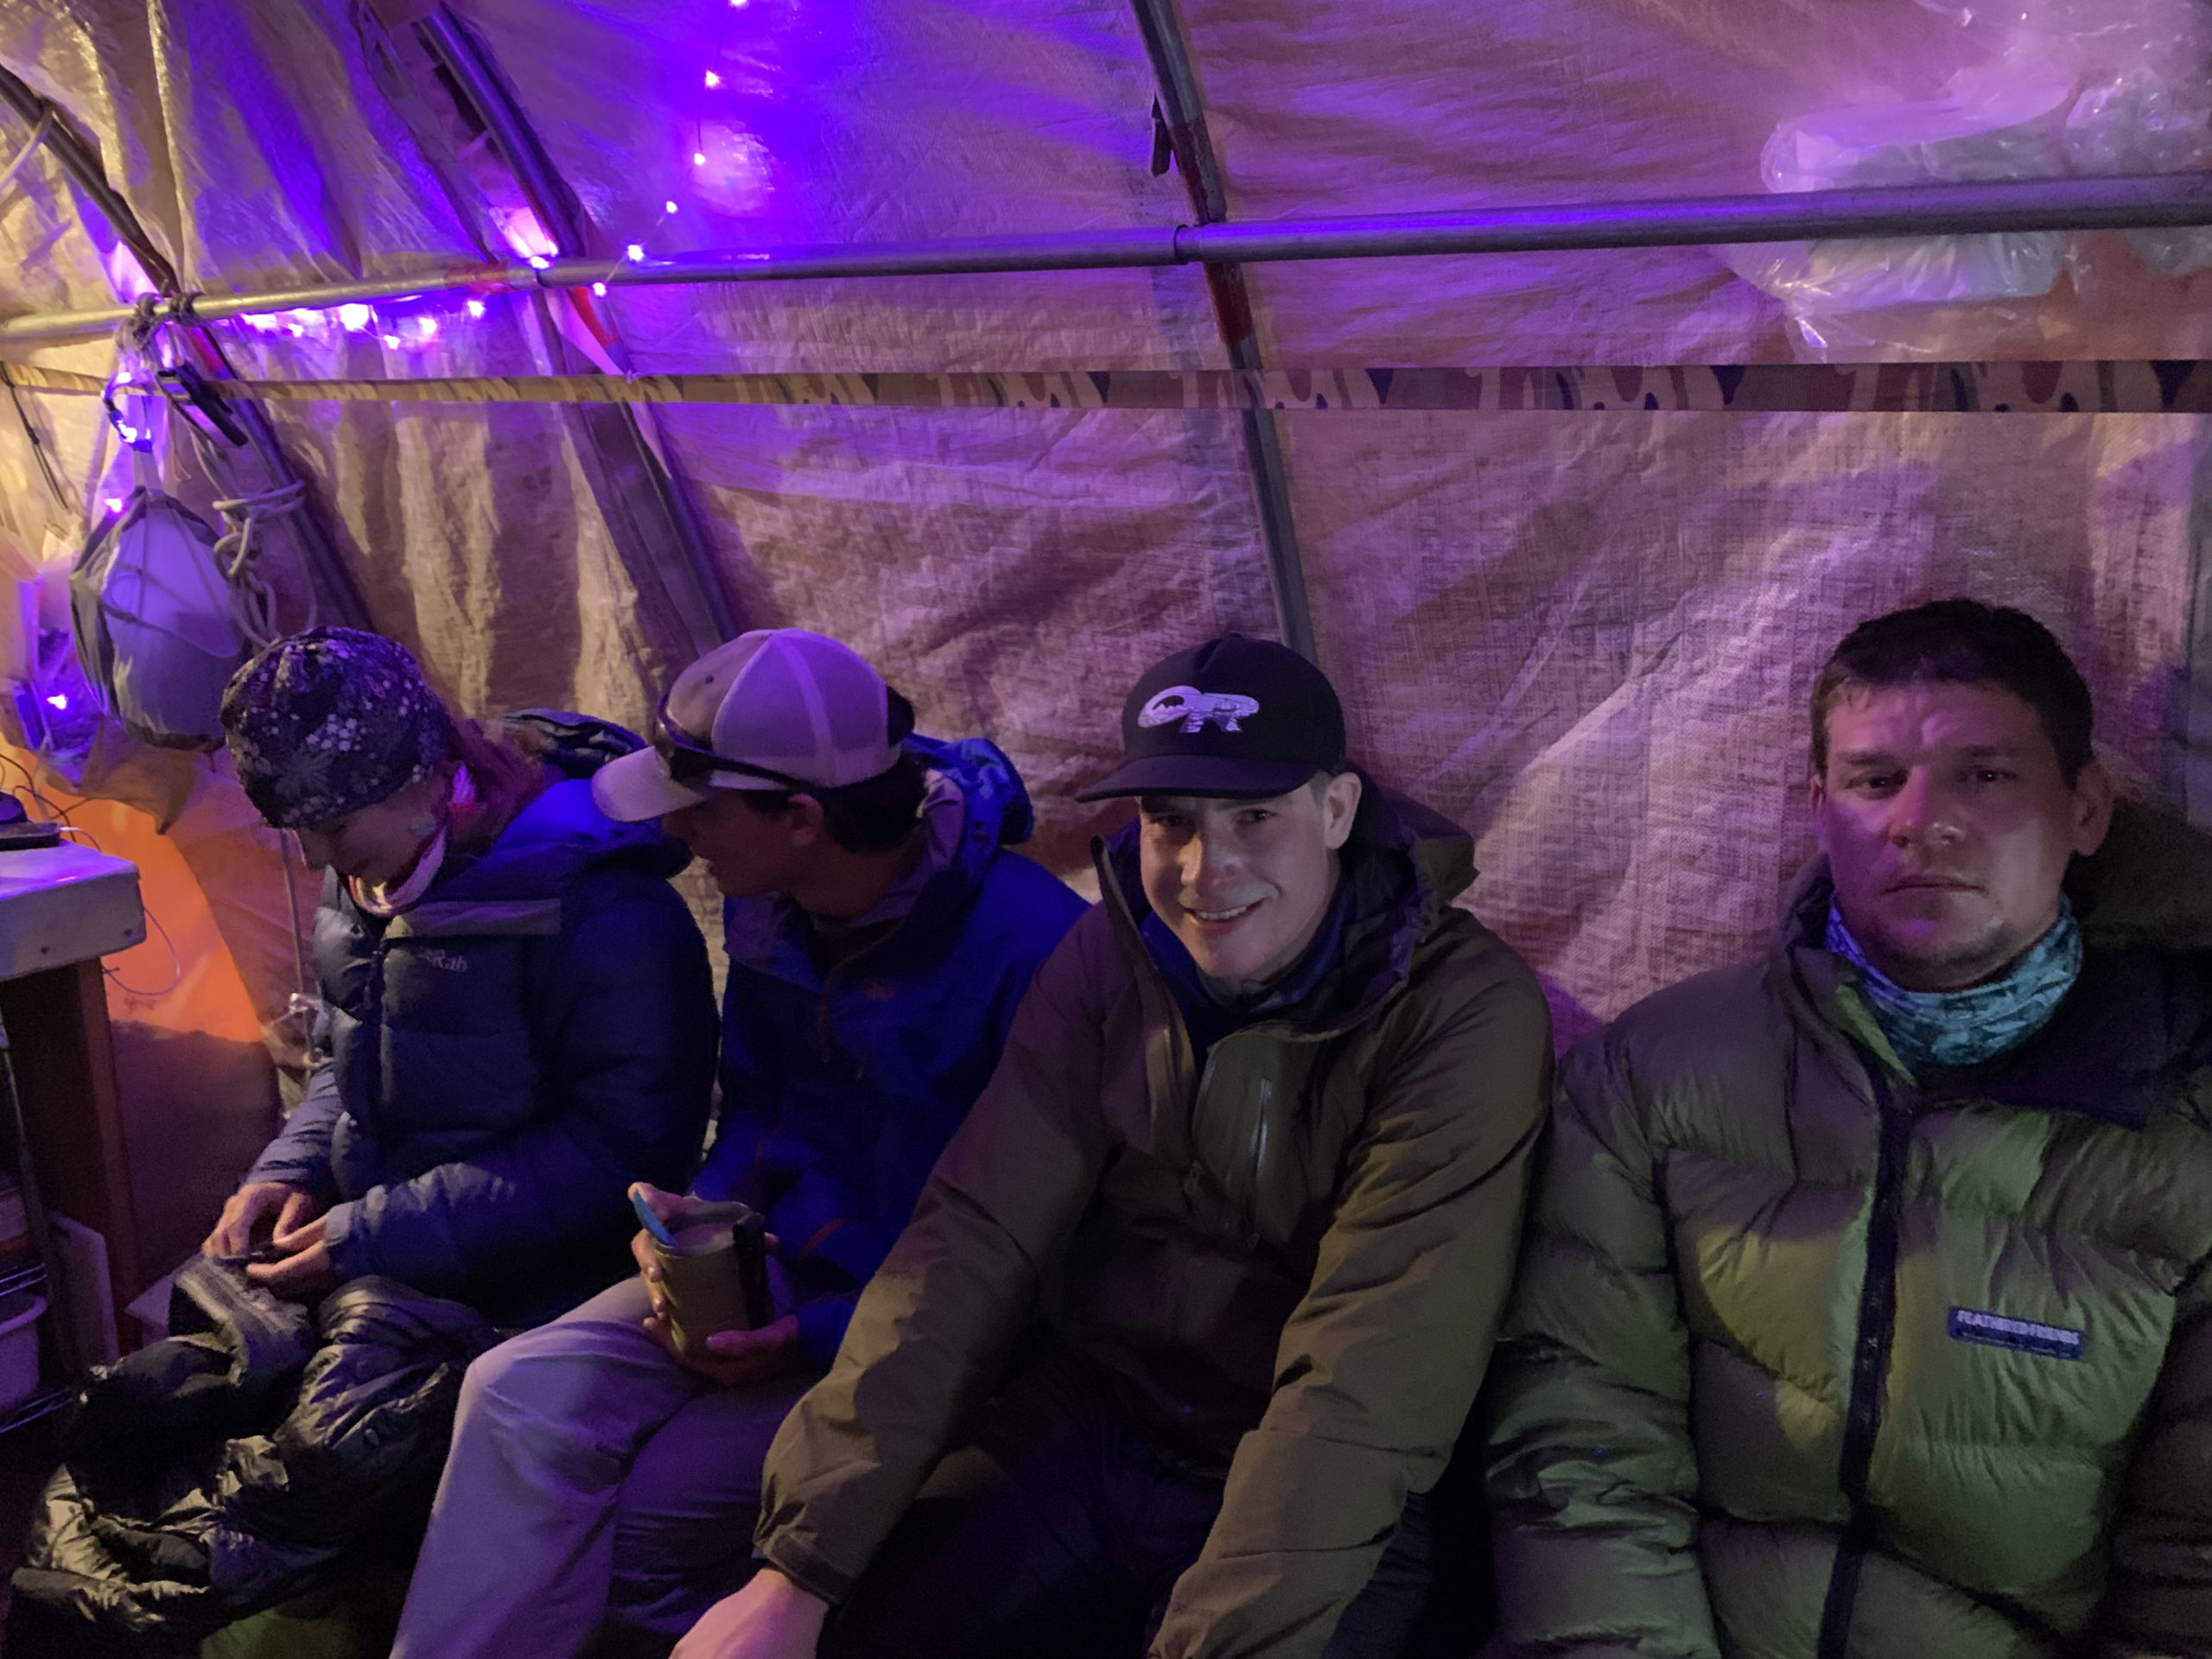
Everyone hunkered down in their tents. My tentmates, Kevin, Stephen and I, spent a few hours chatting while the tent flapped around us. It was actually a nice evening despite the rain, blowing snow, and wind. Eventually we settled down for the night. It was one of the most restful nights I had on the mountain. What is up with that?
Day 4
We woke up to colder temps and frozen tents. Of course, we were all prepared to handle it. It was a little sad, though, since this was the day we were leaving our little camping spot. The agenda included hiking up to Camp Muir, and then to find a crevasse to continue working on our rescue skills.
The guides had been completely transparent about making the summit and the status of routes on the mountain. All the routes had been shut down at this point due to snow and ice conditions. All the guiding groups were sending people up to do route finding, but things didn’t sound too promising. I don’t know about the rest of the team, but I was feeling a little melancholy. I’d really wanted to summit Mt. Rainier and if that wasn’t happening, what was I doing? Then I remembered all the skills we were learning and tried to push those feelings away. Gotta remember, it will be what it will be.
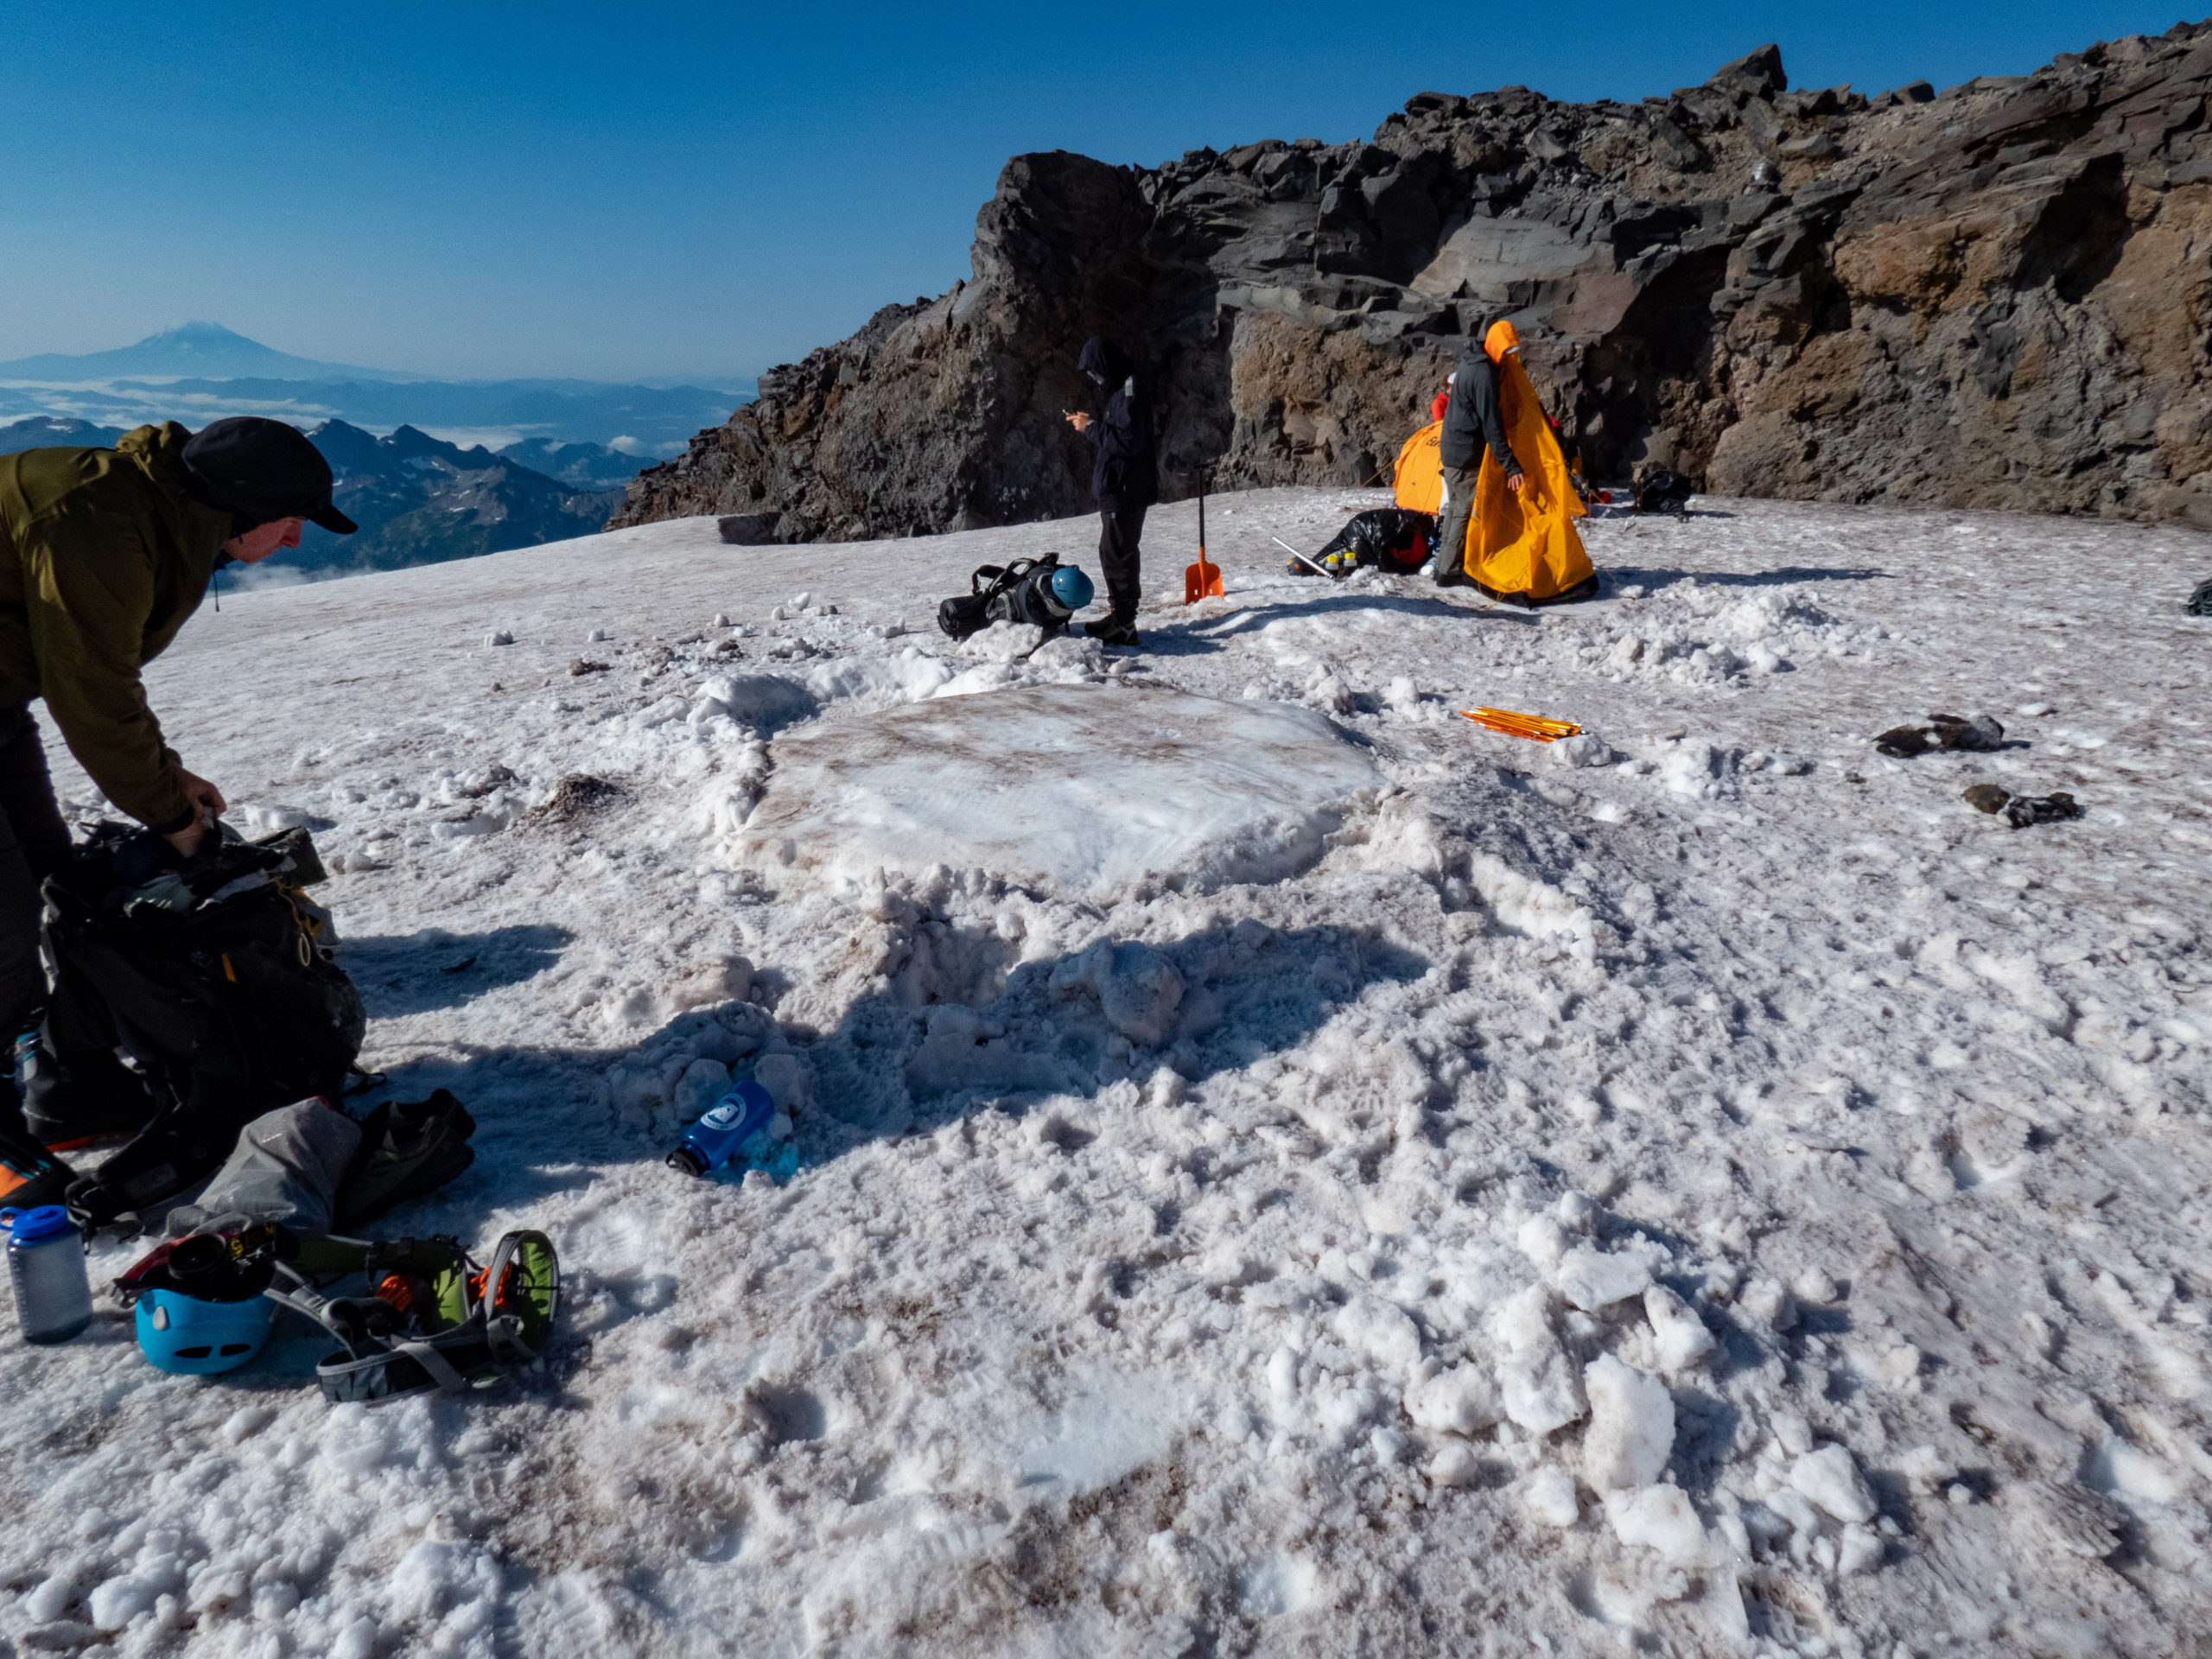
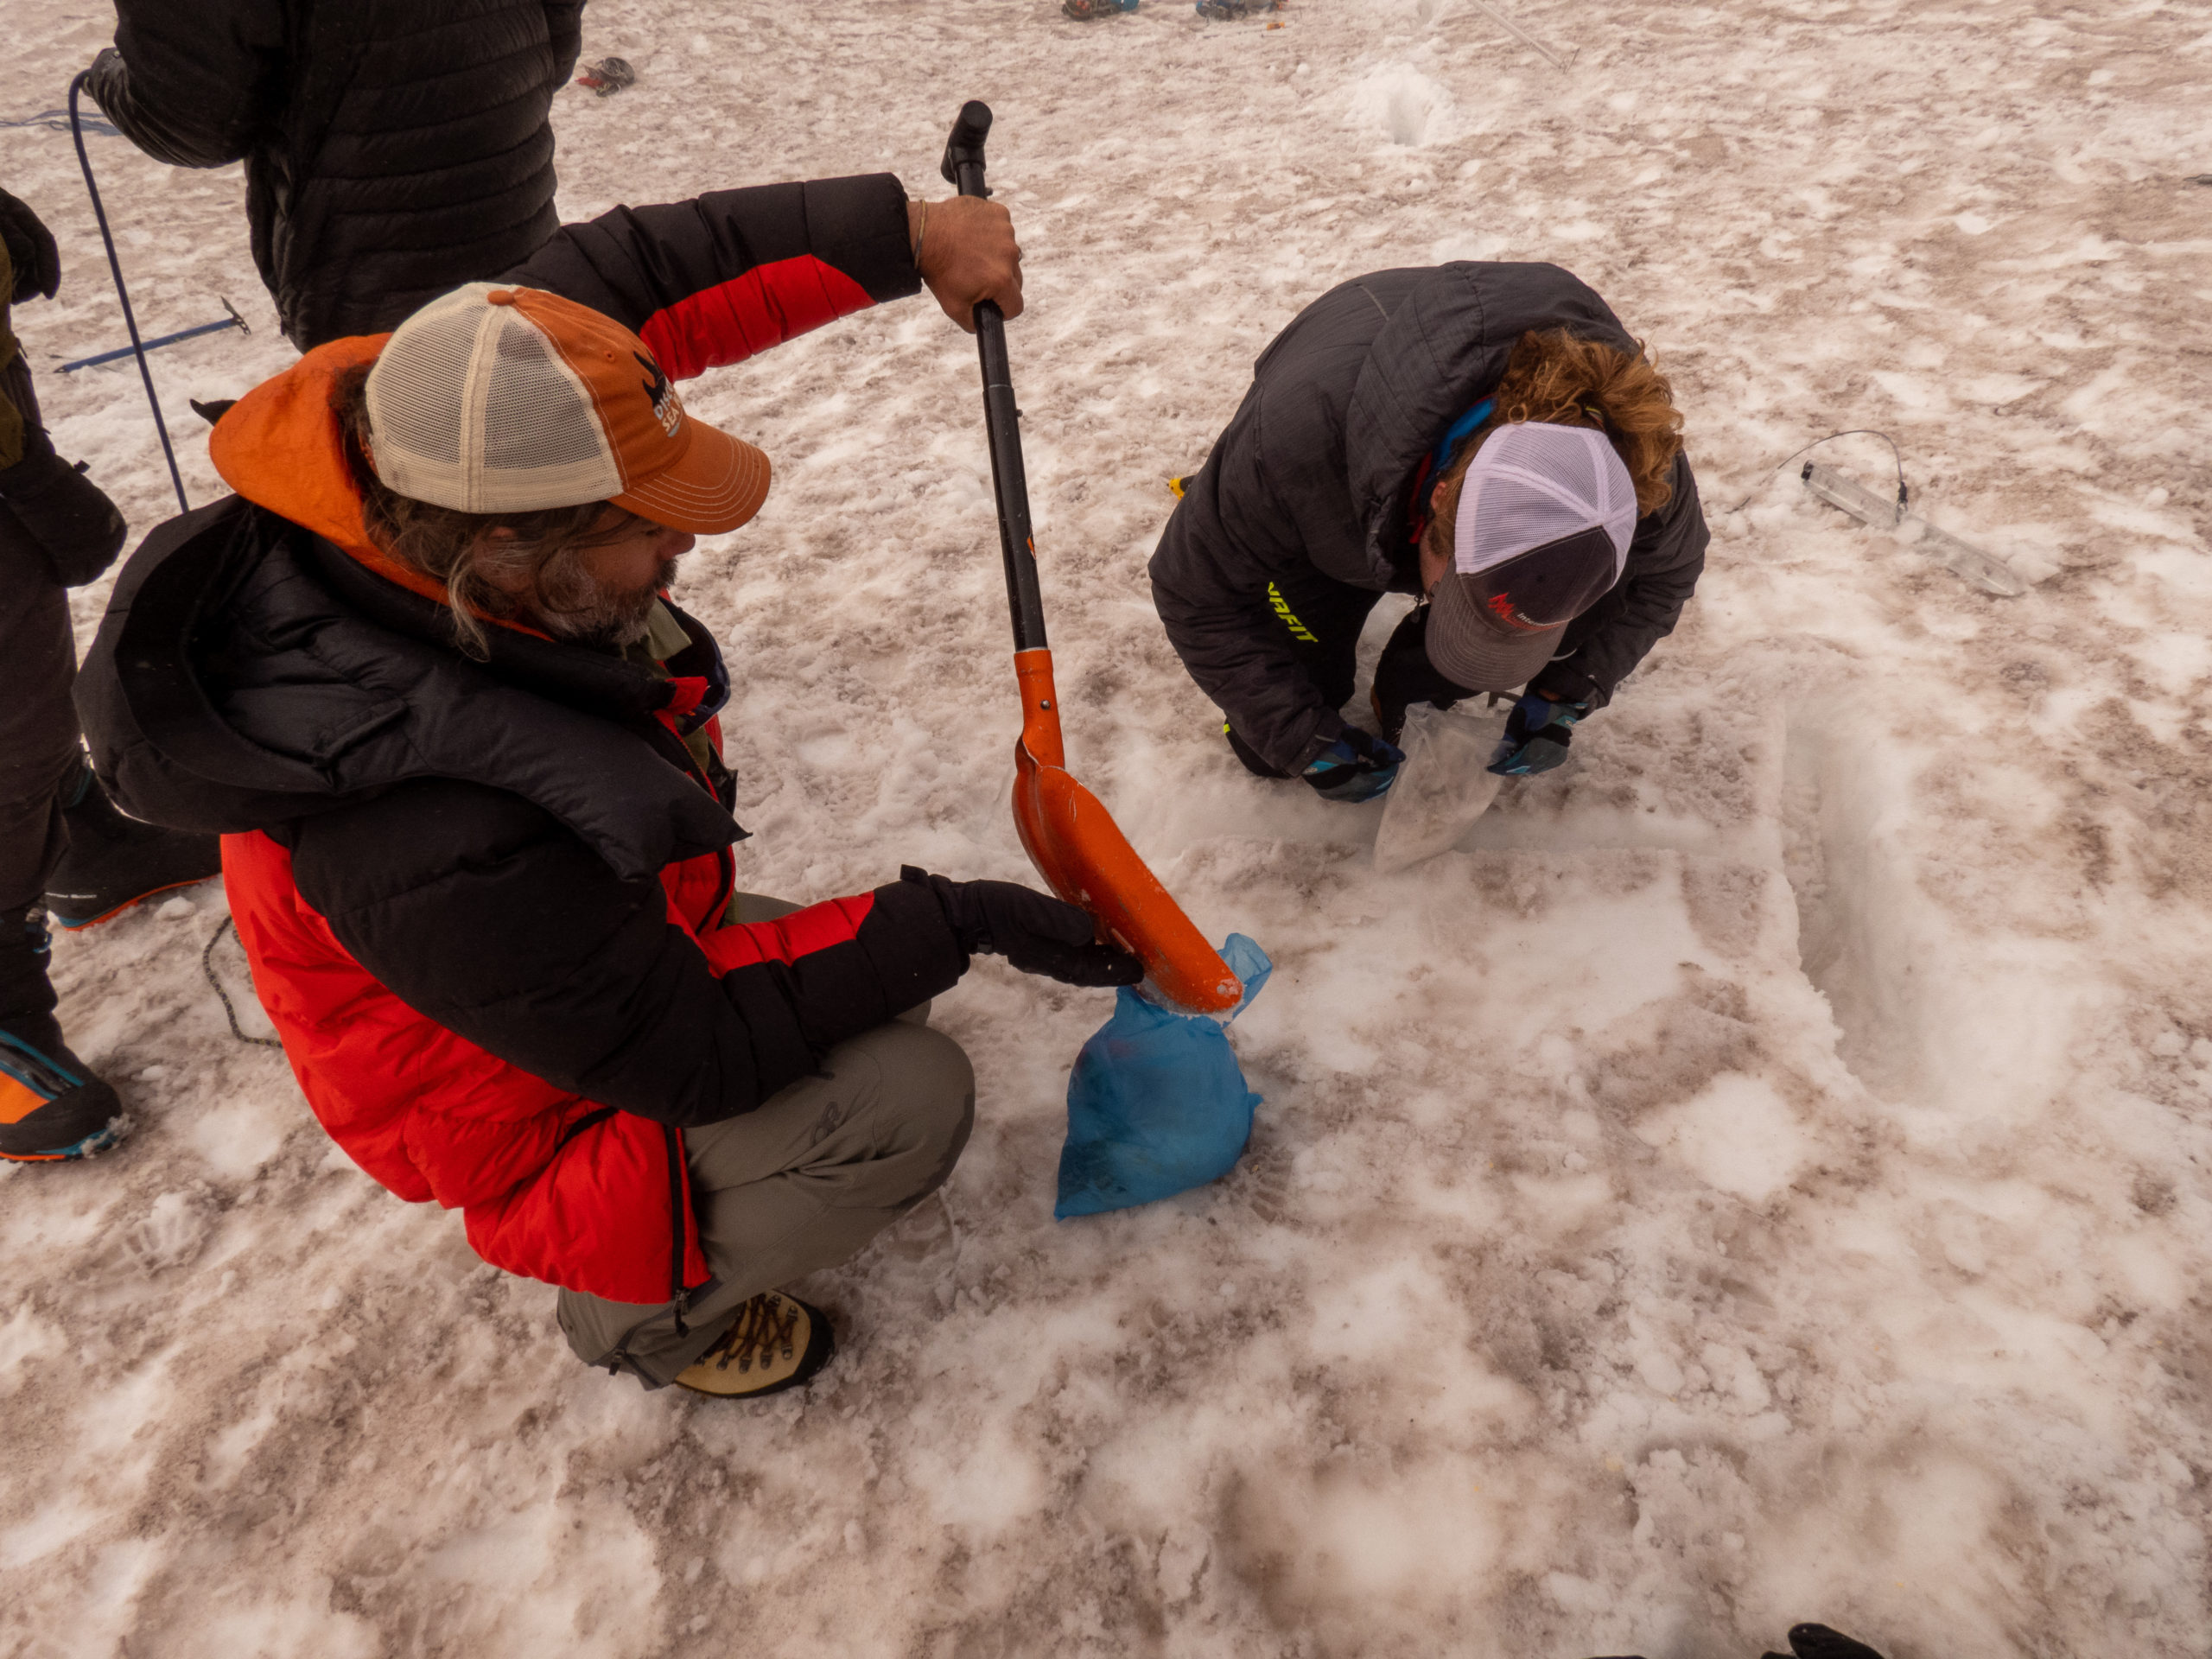
Every day we’d had to keep replanting our anchors for the tents due to snow melt. When the tents were removed, each left behind a little pedestal that showed how much snow had melted. It was a real eye-opener on how quickly things change on the glacier.
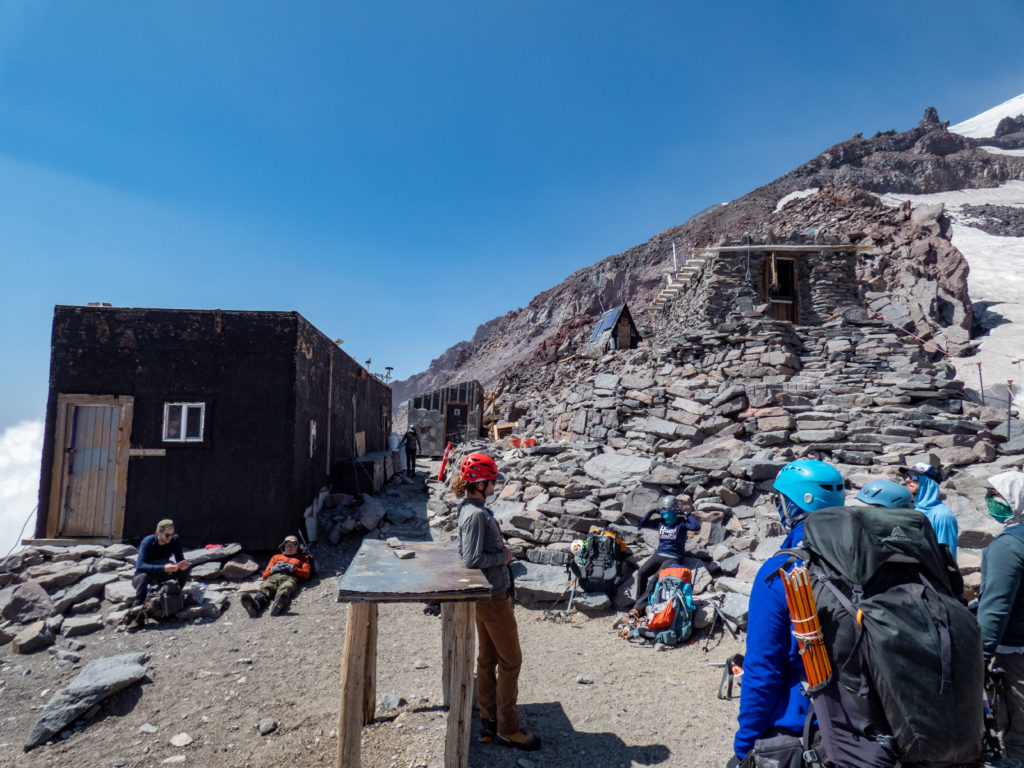
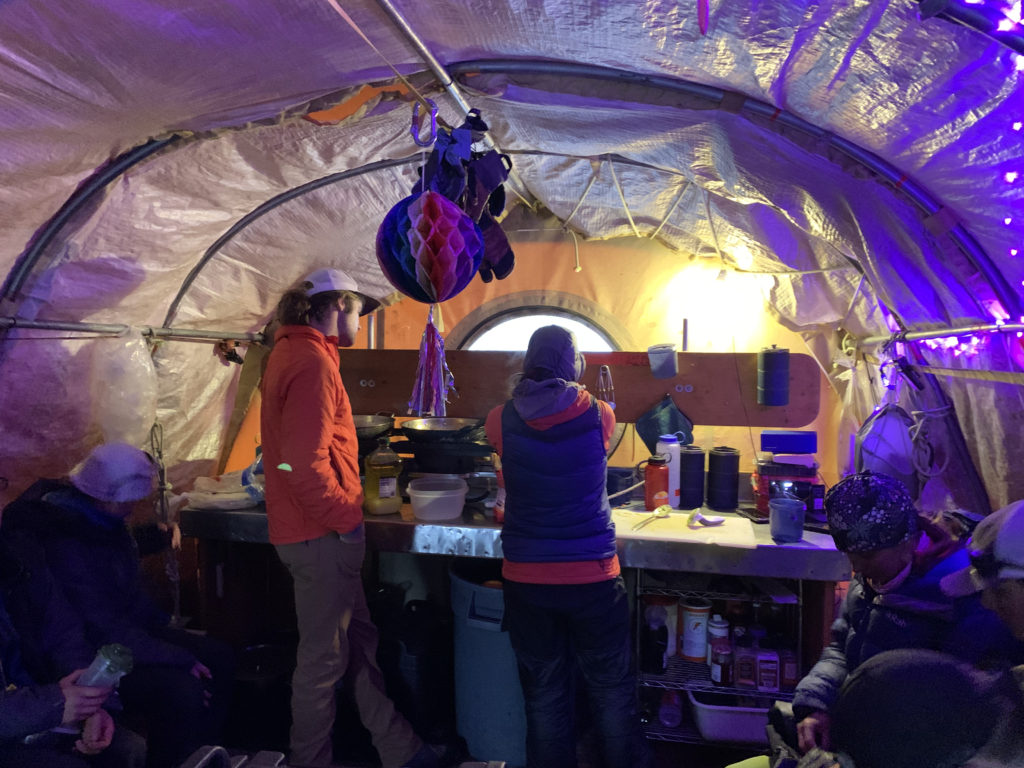
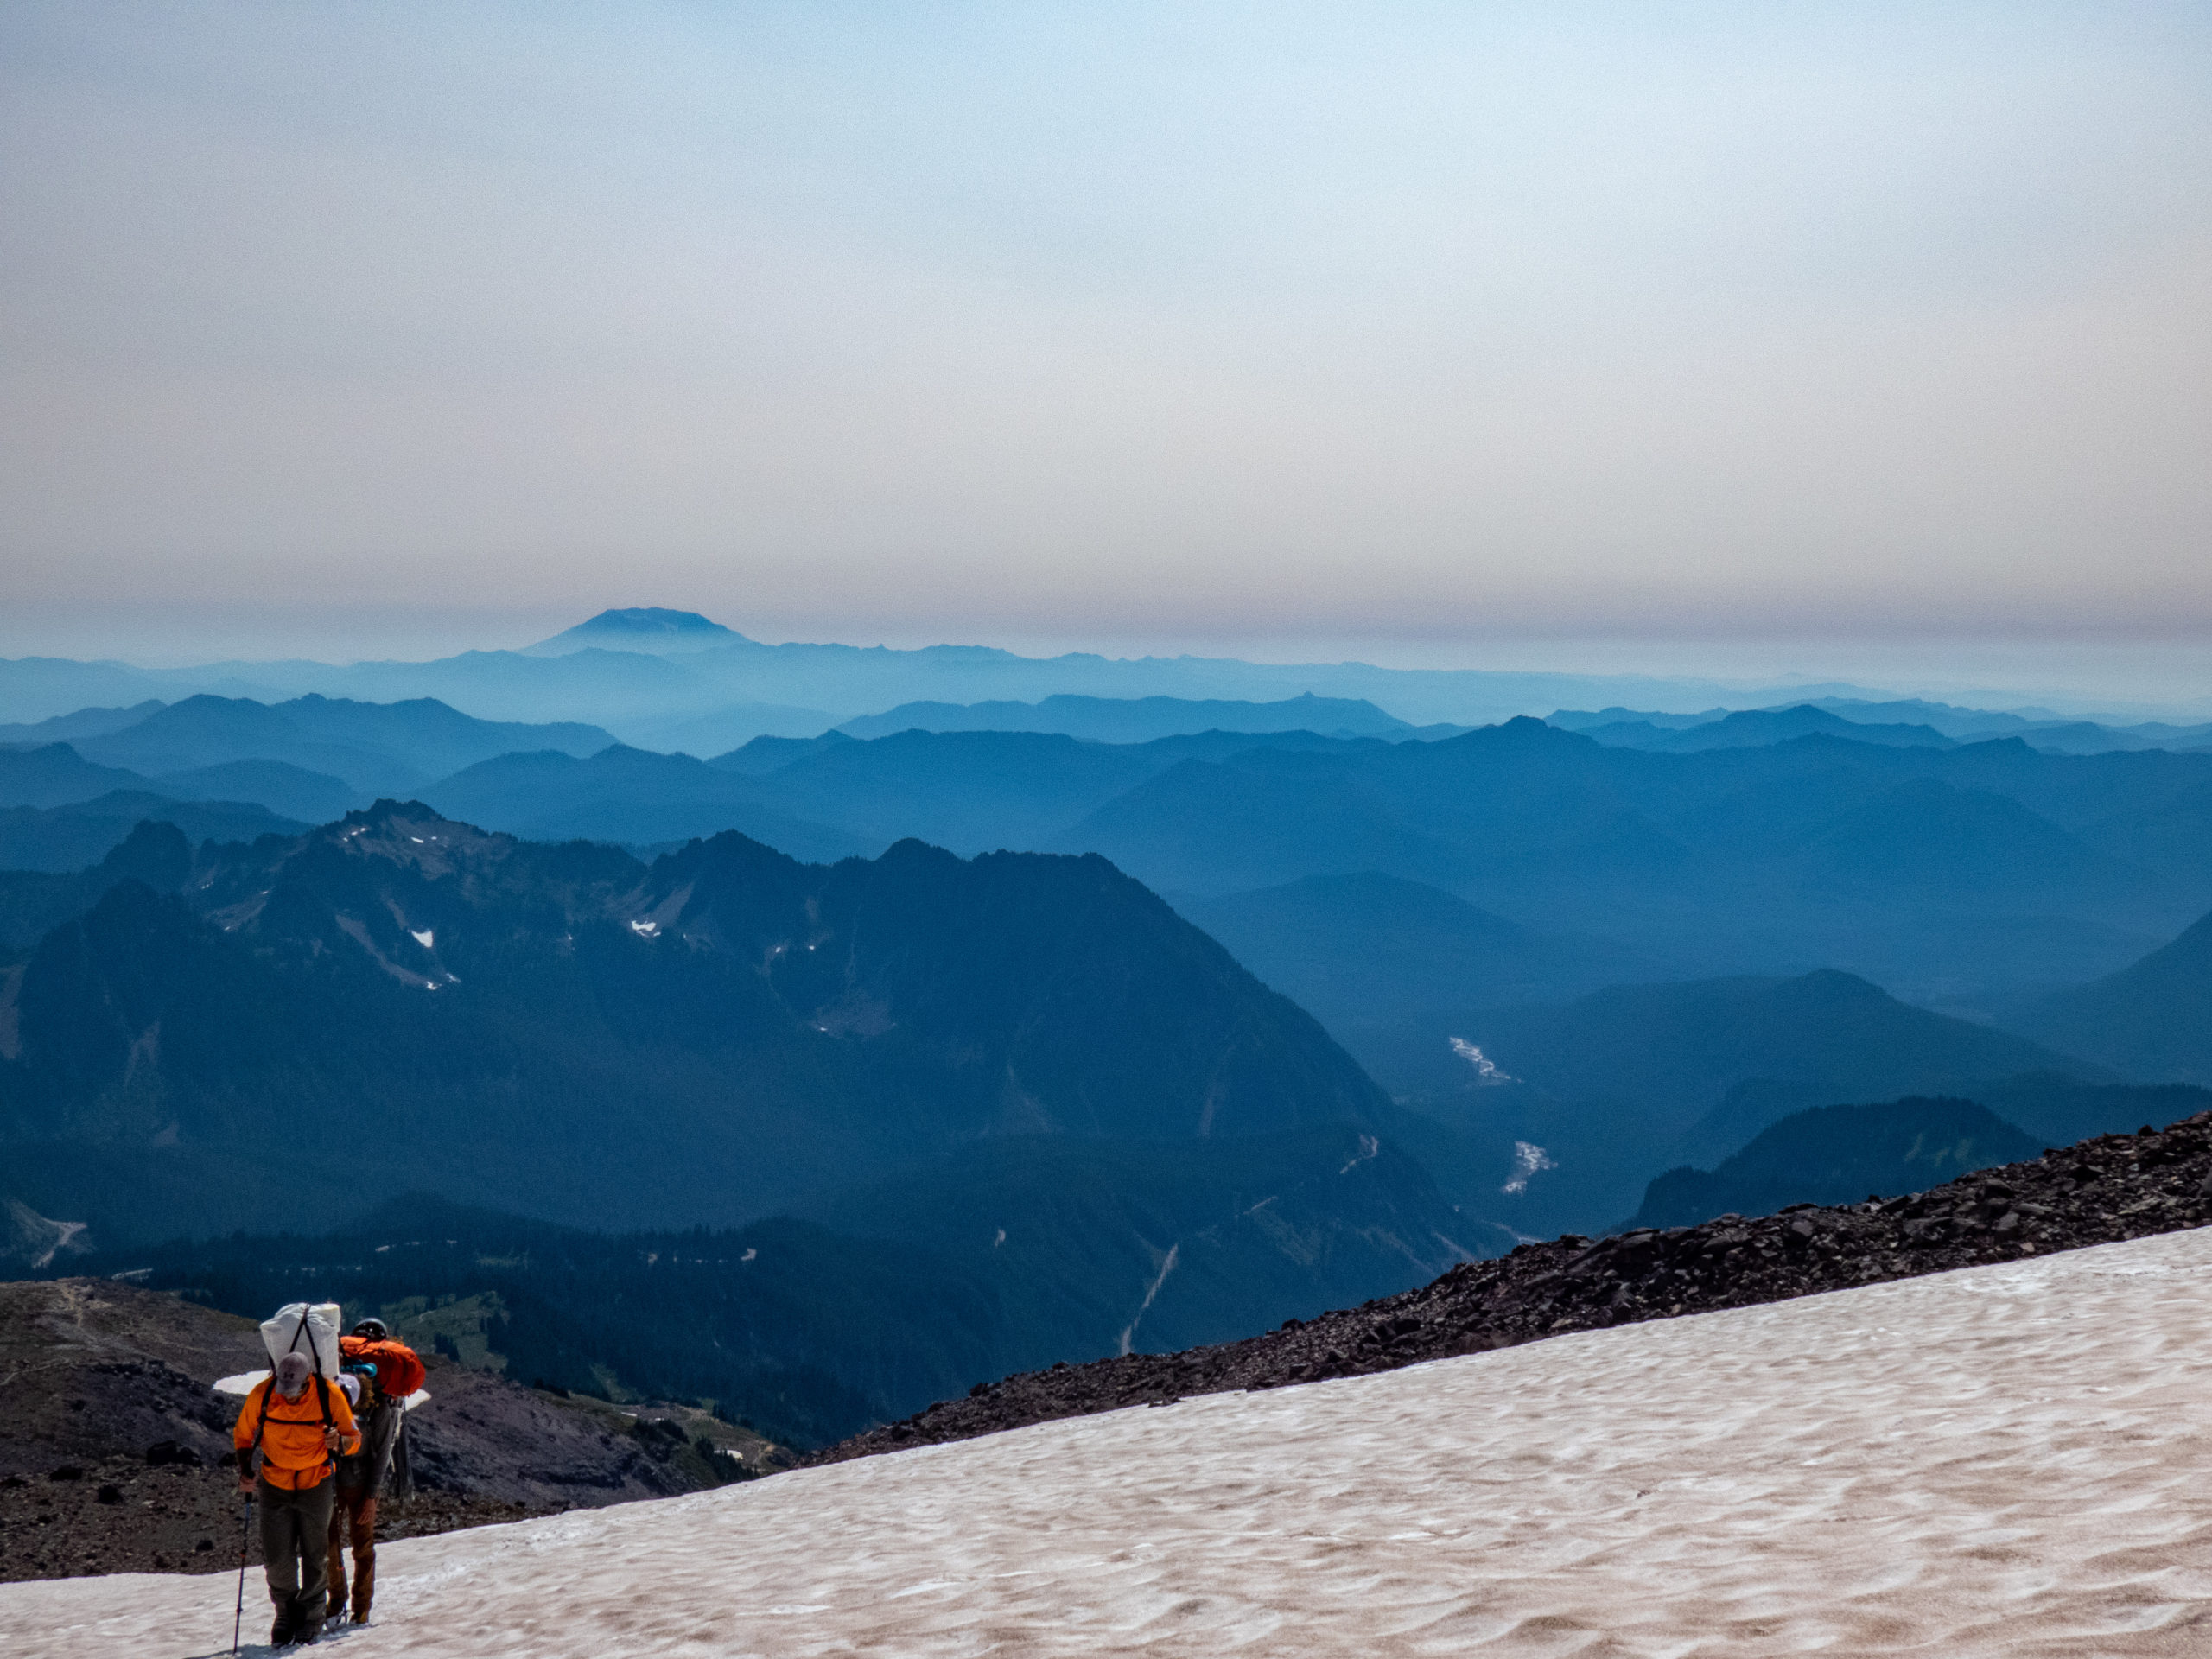
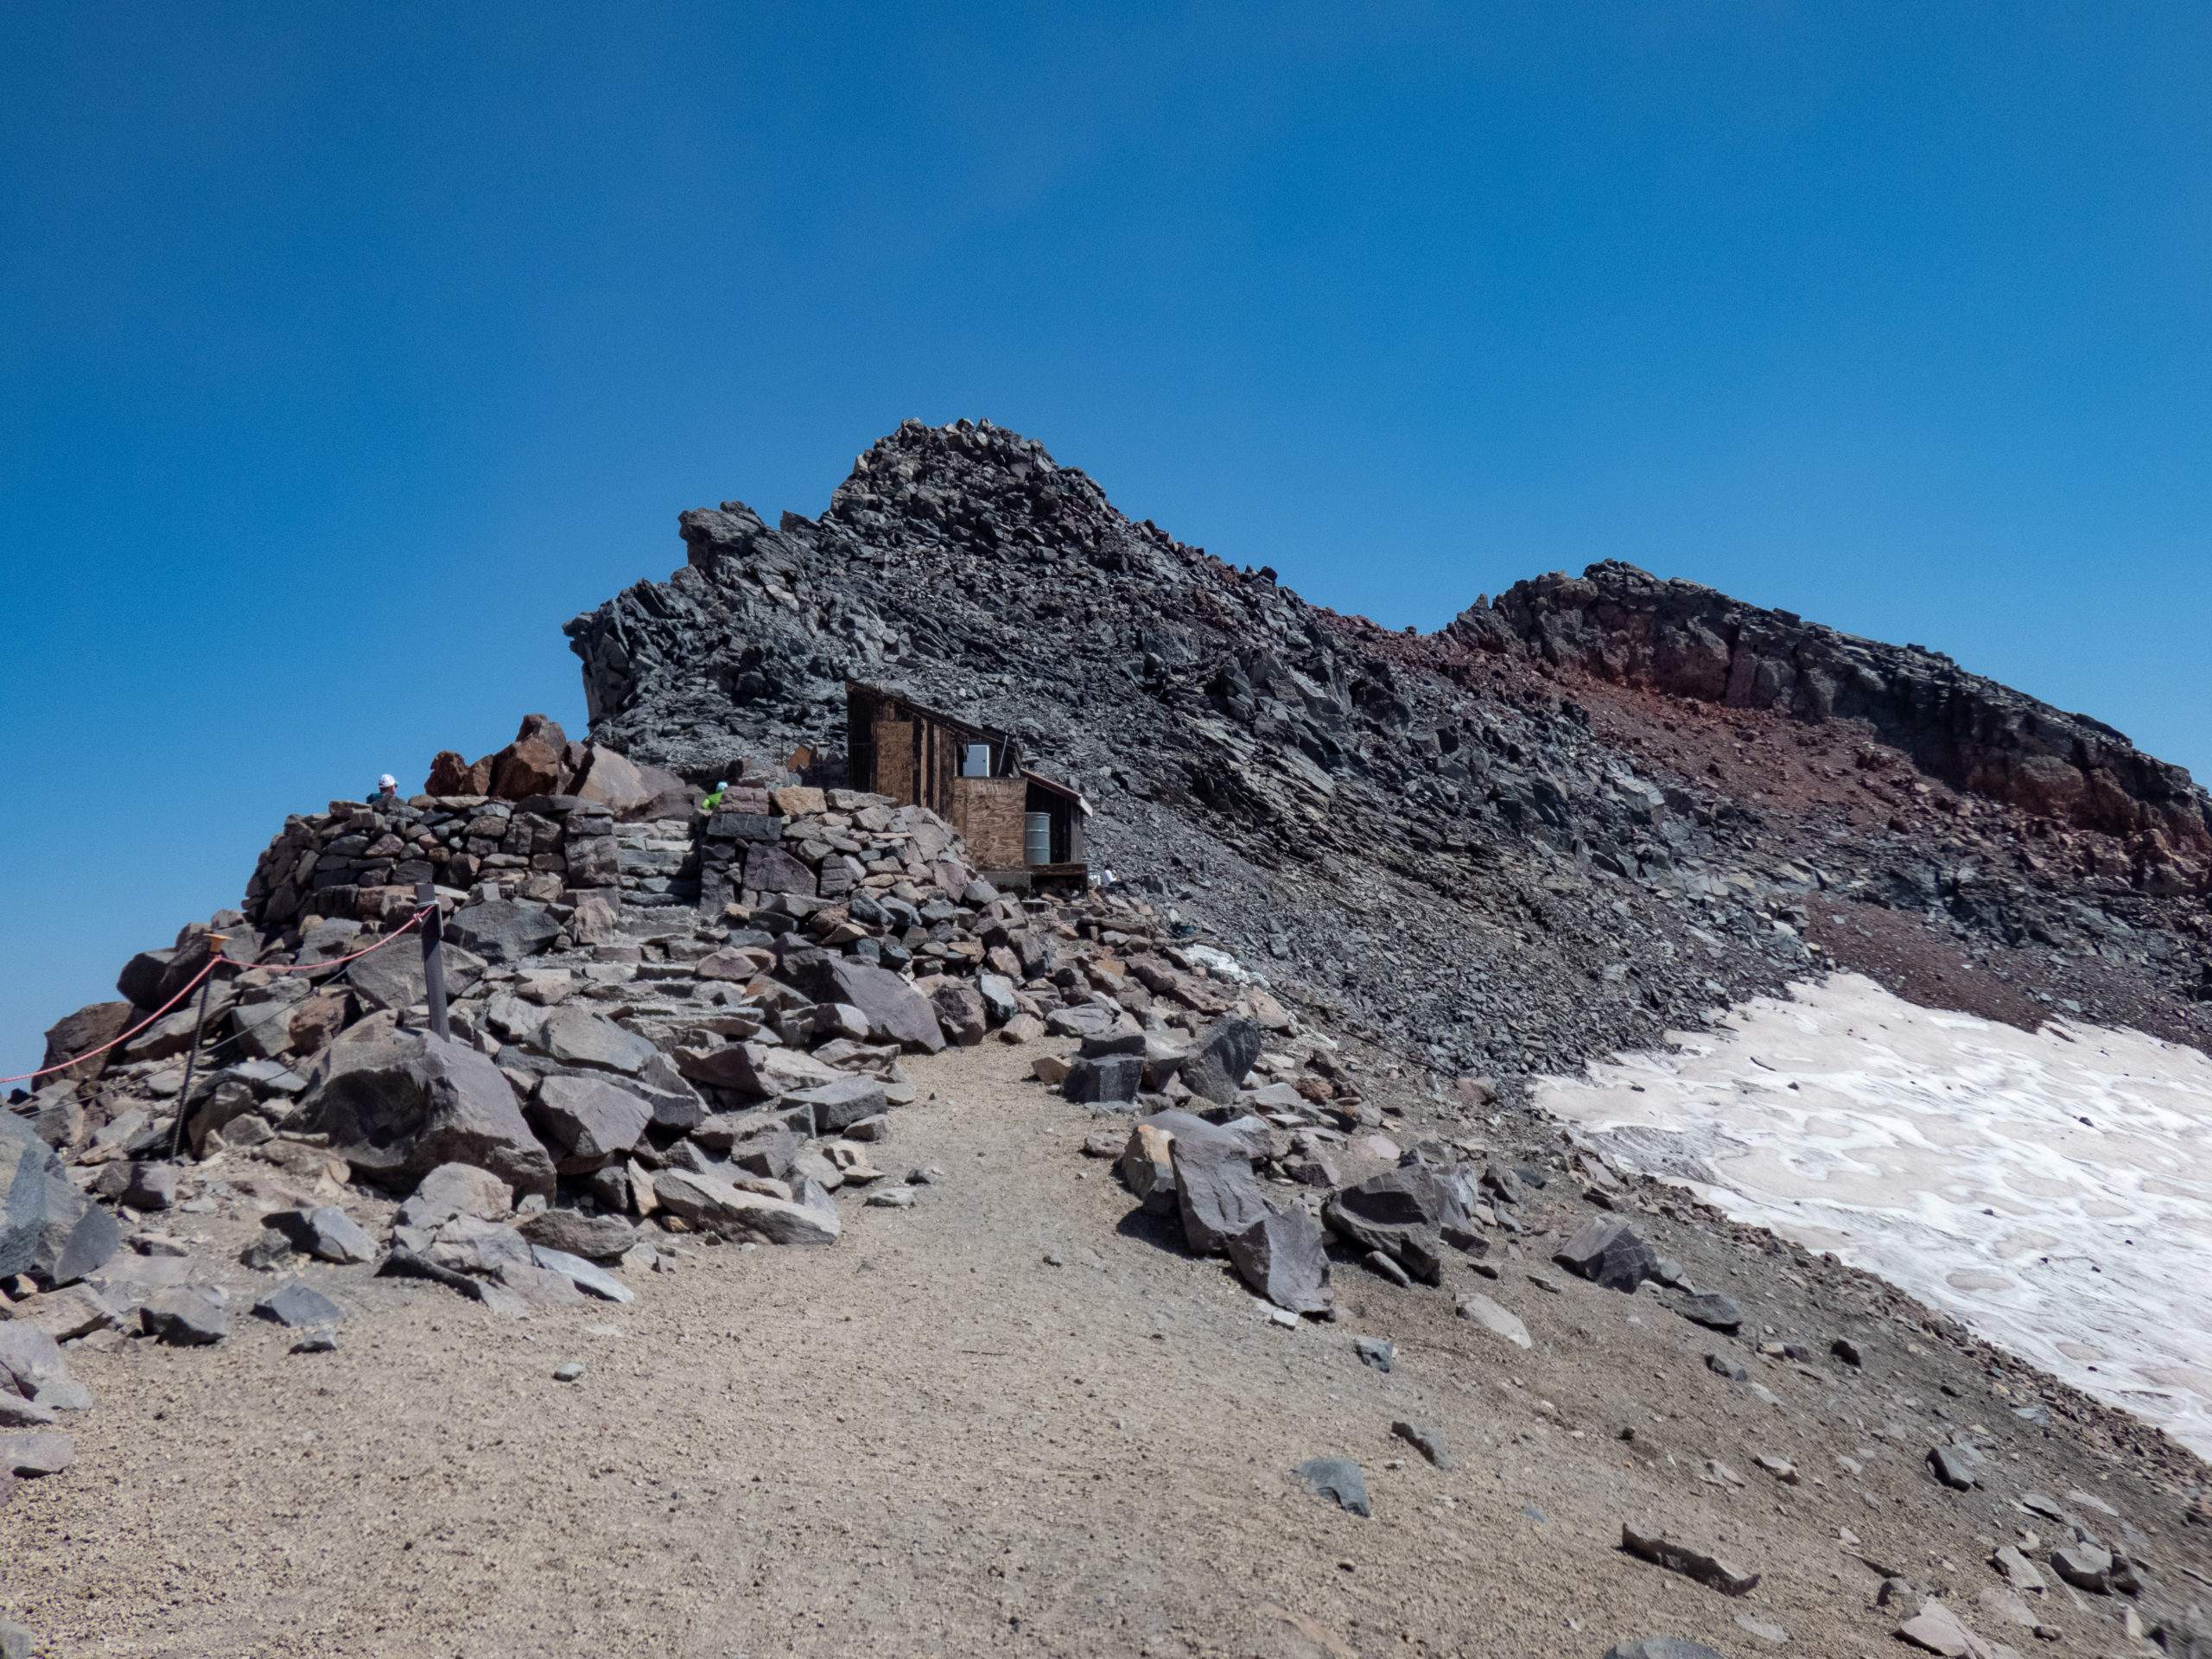
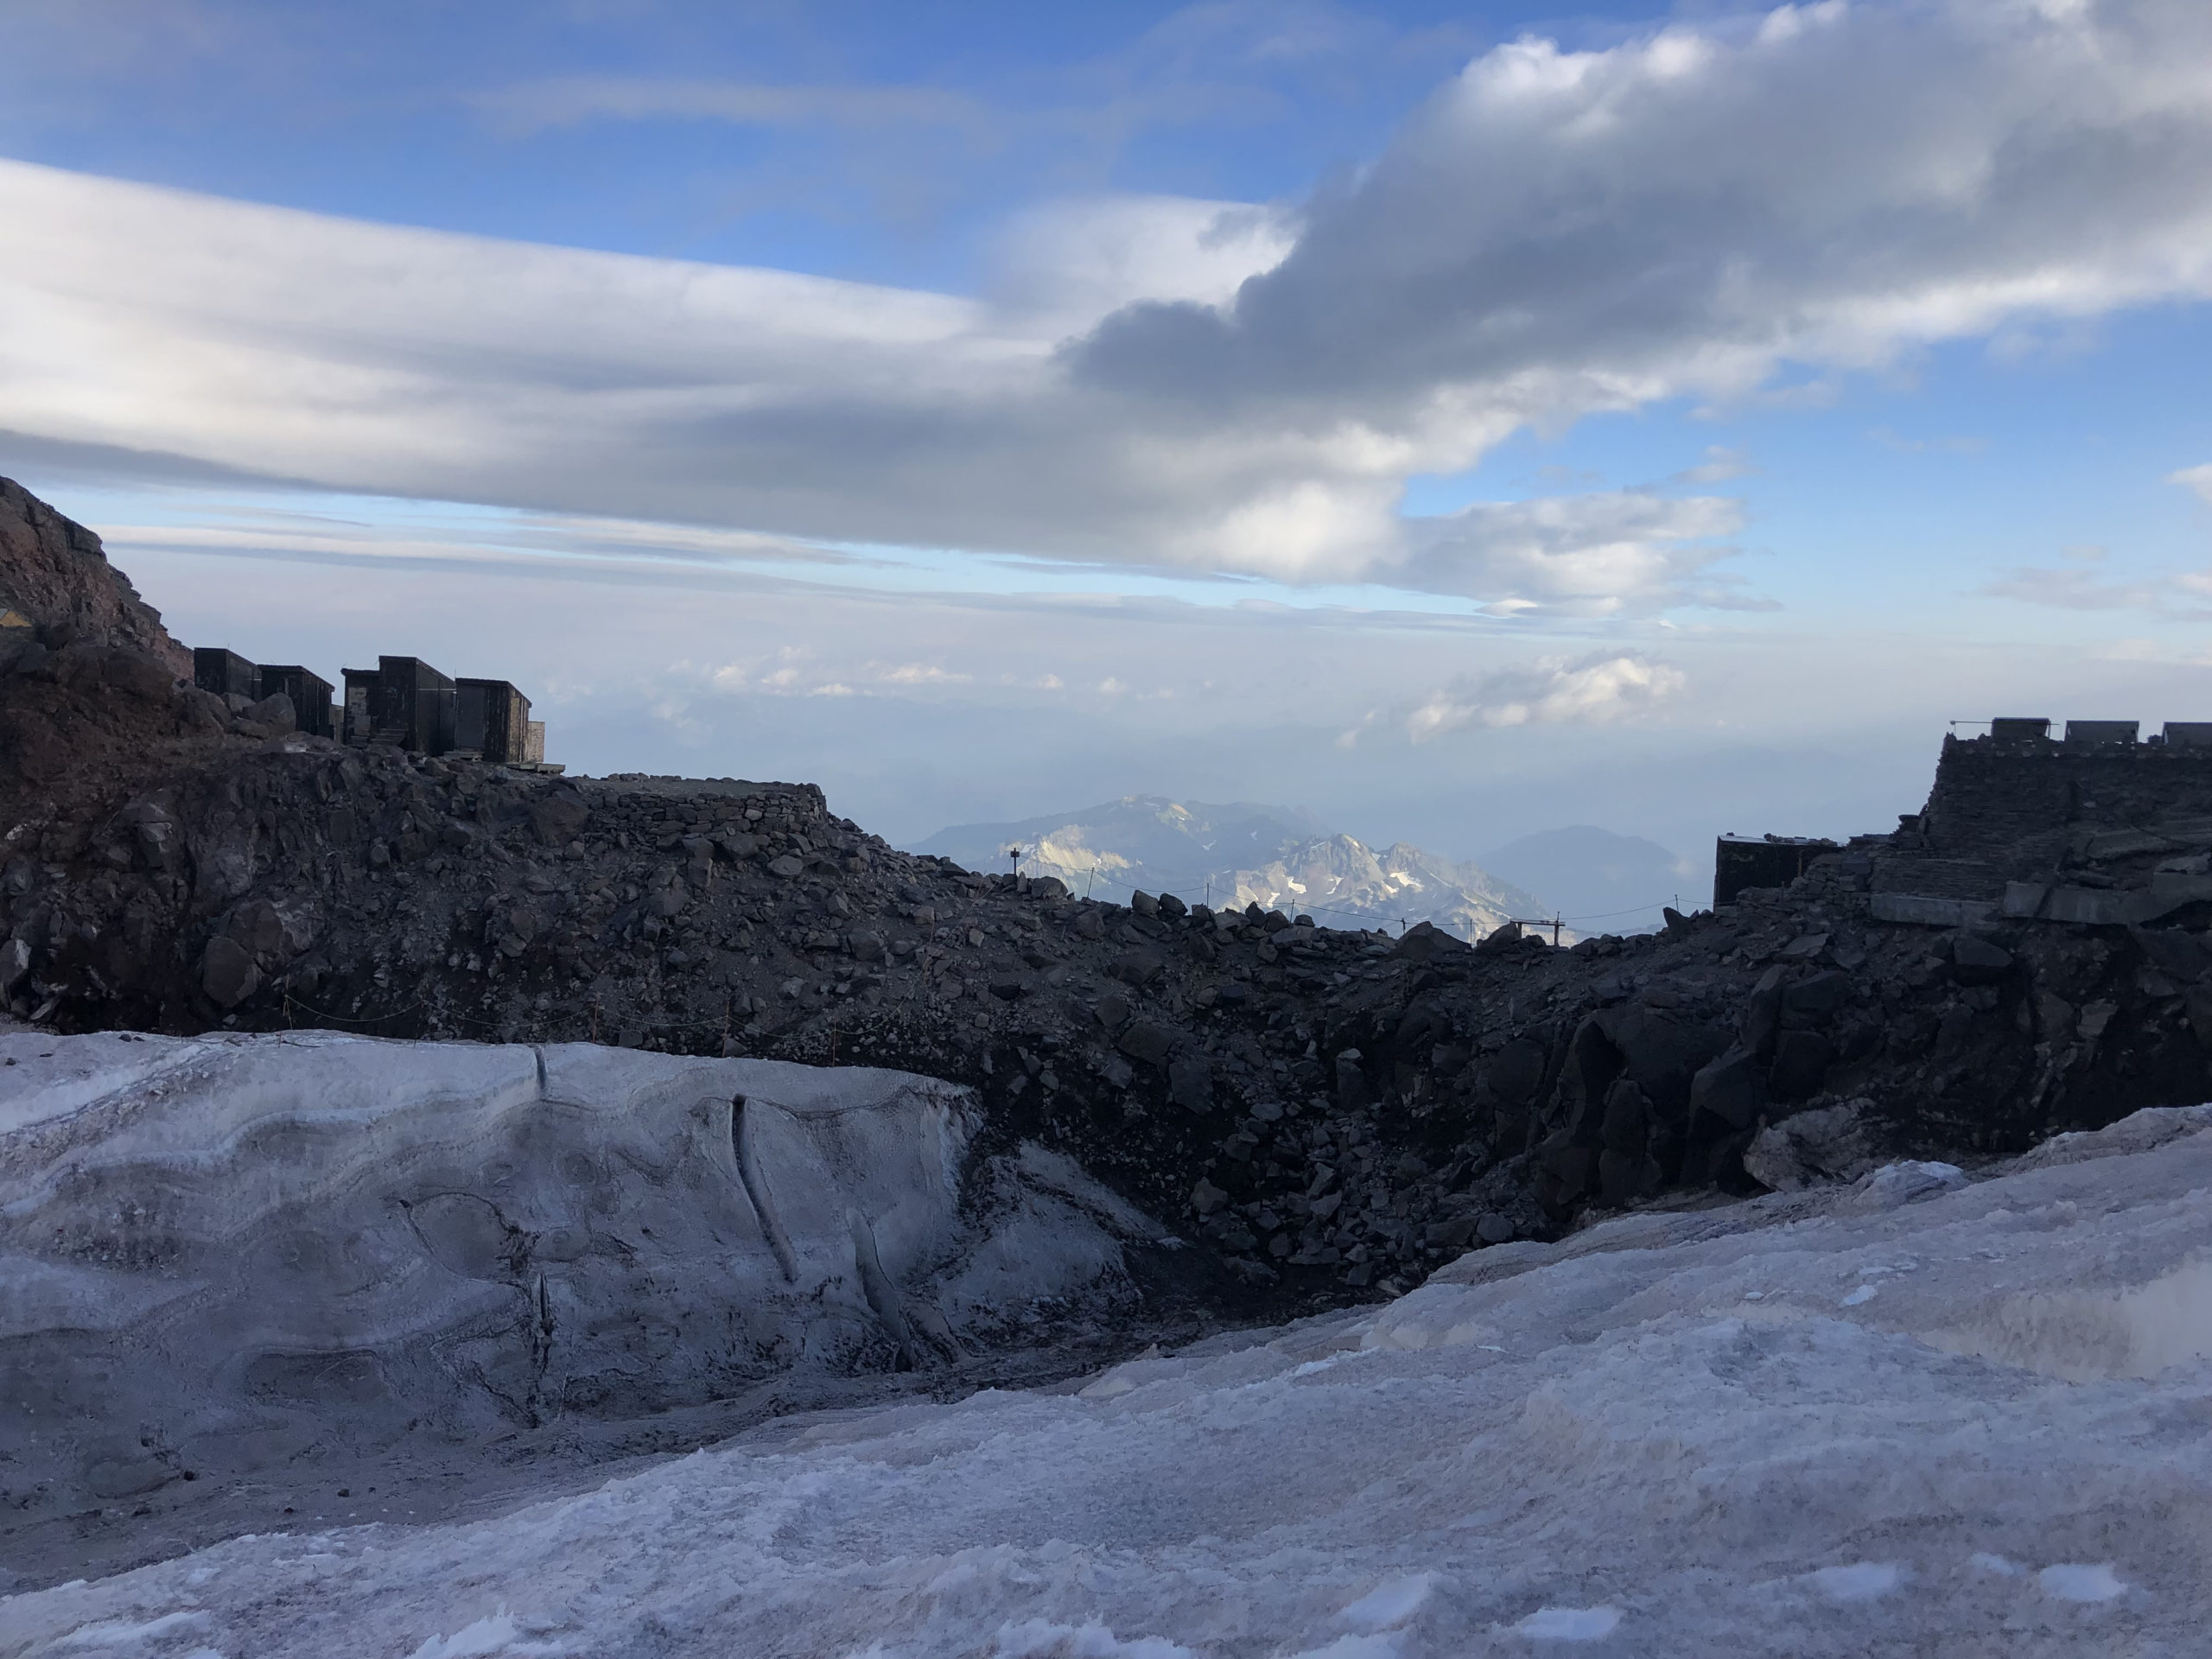
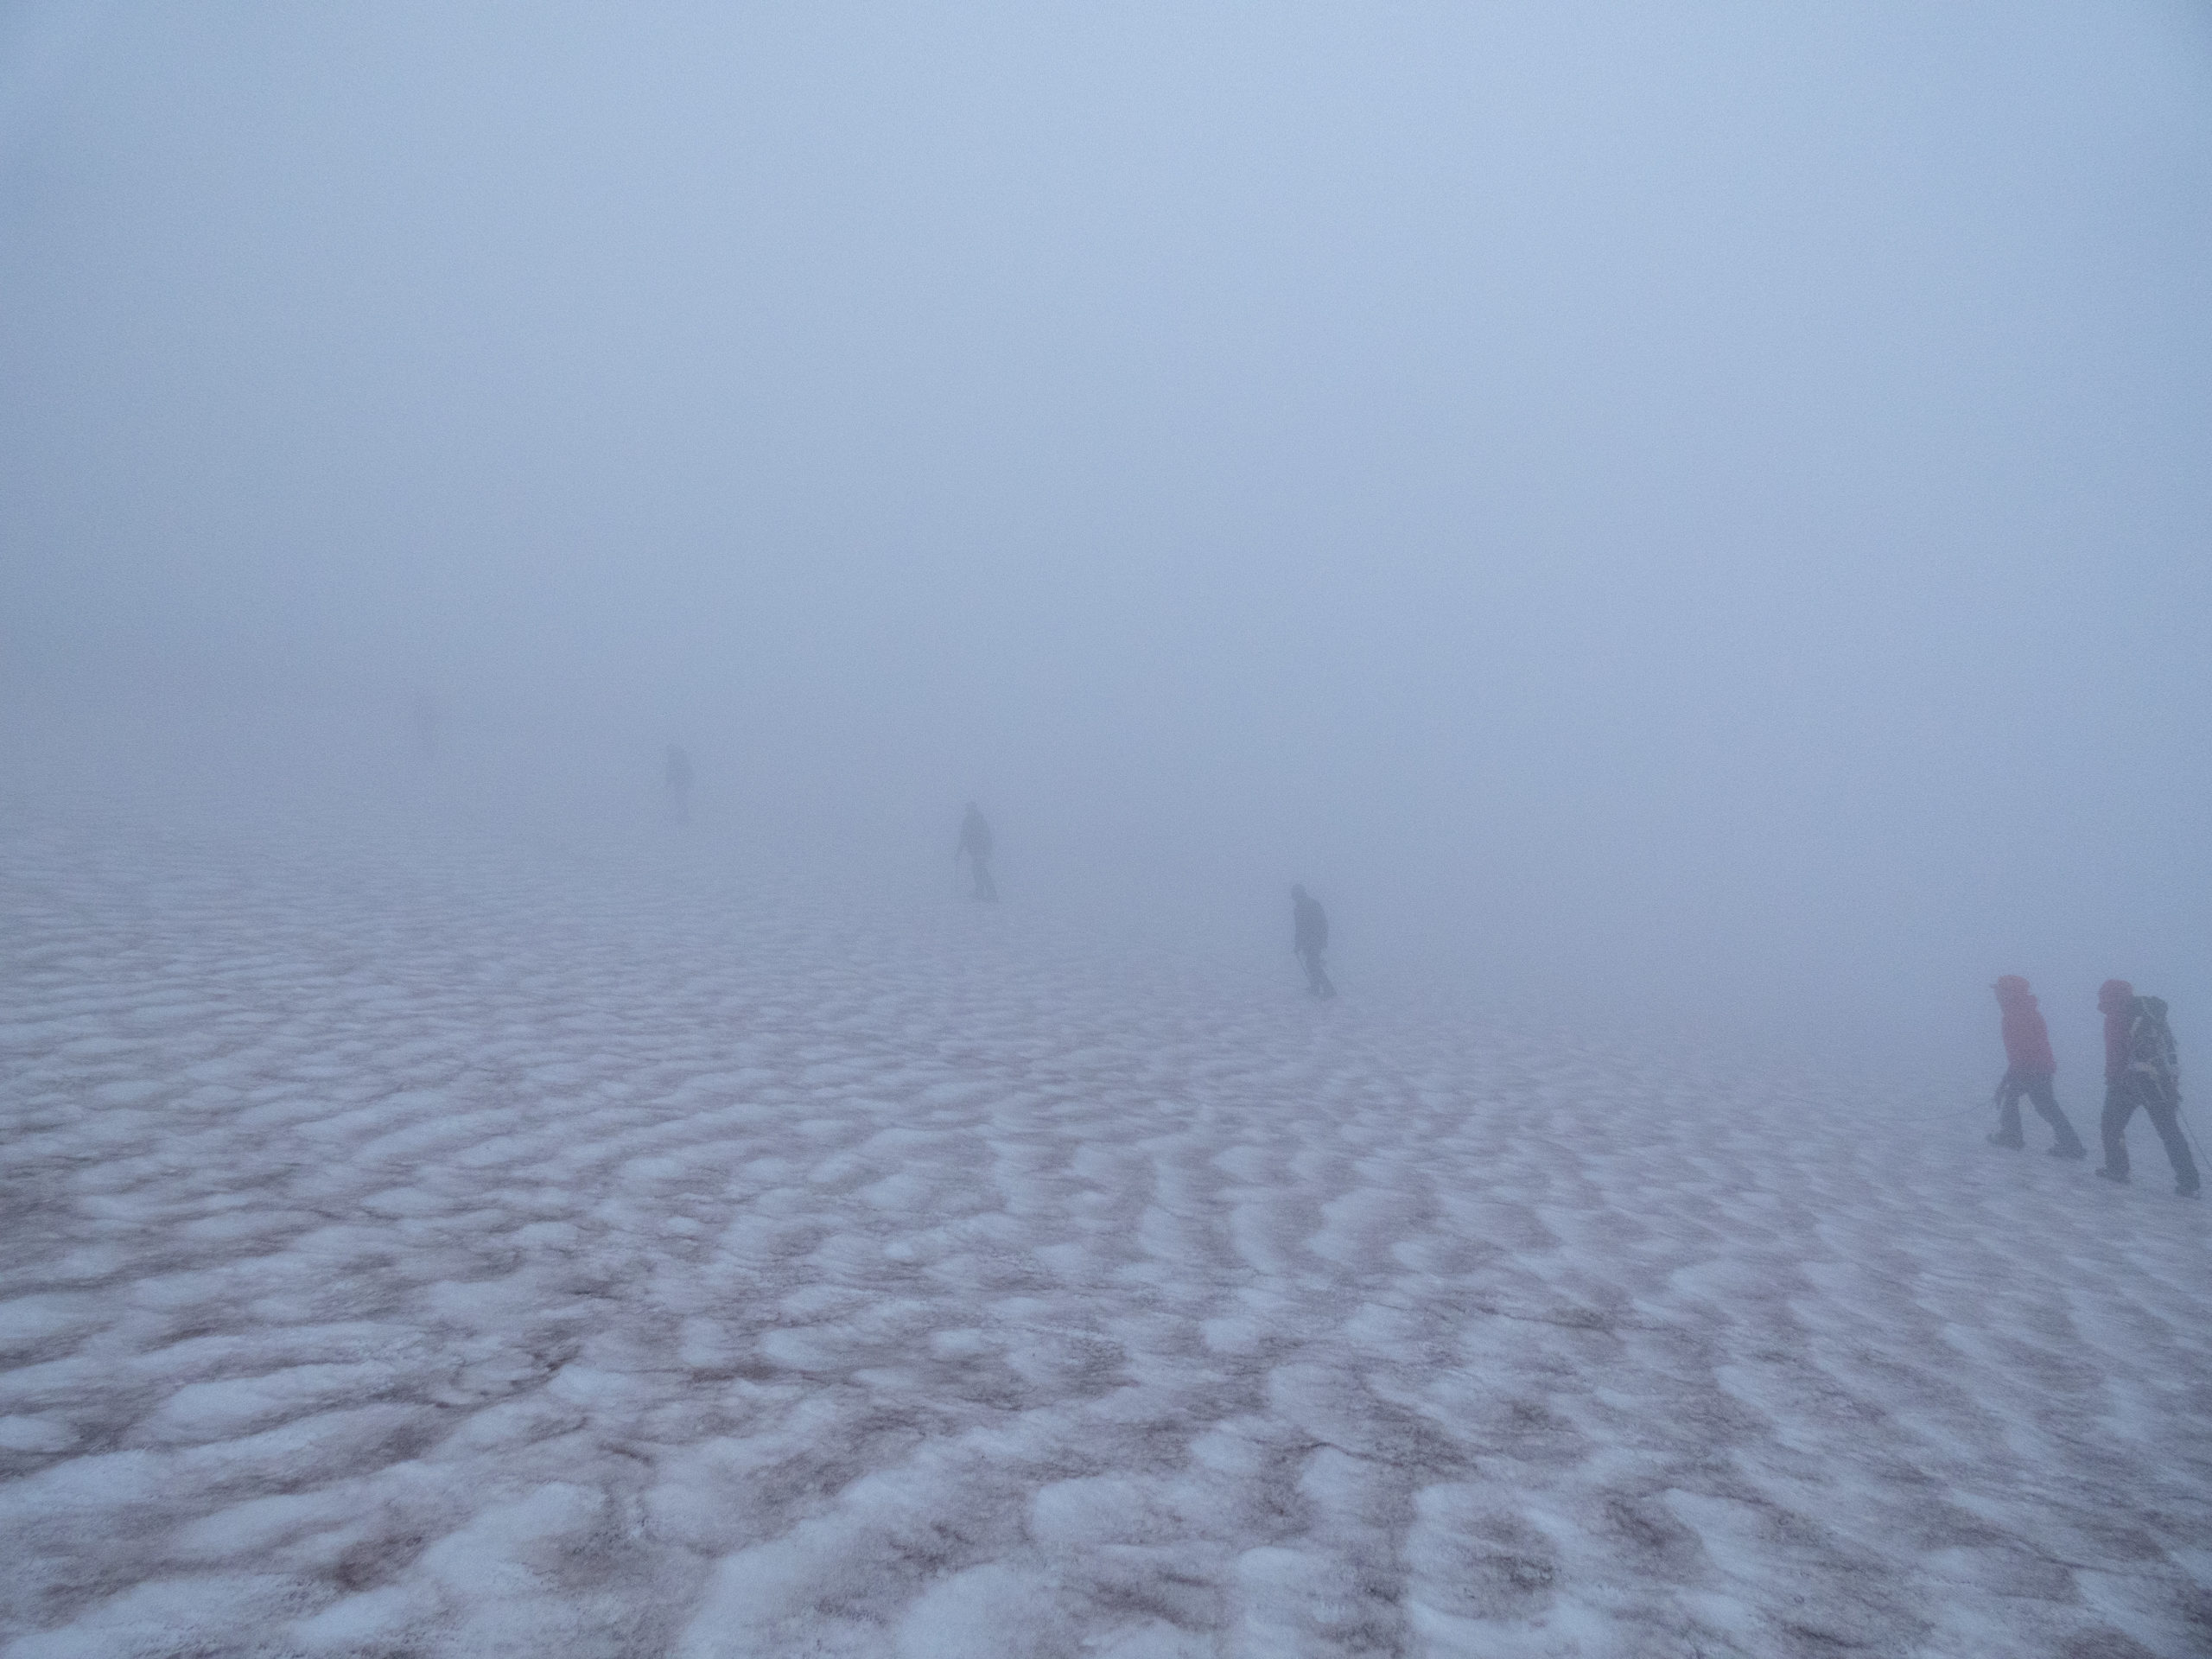
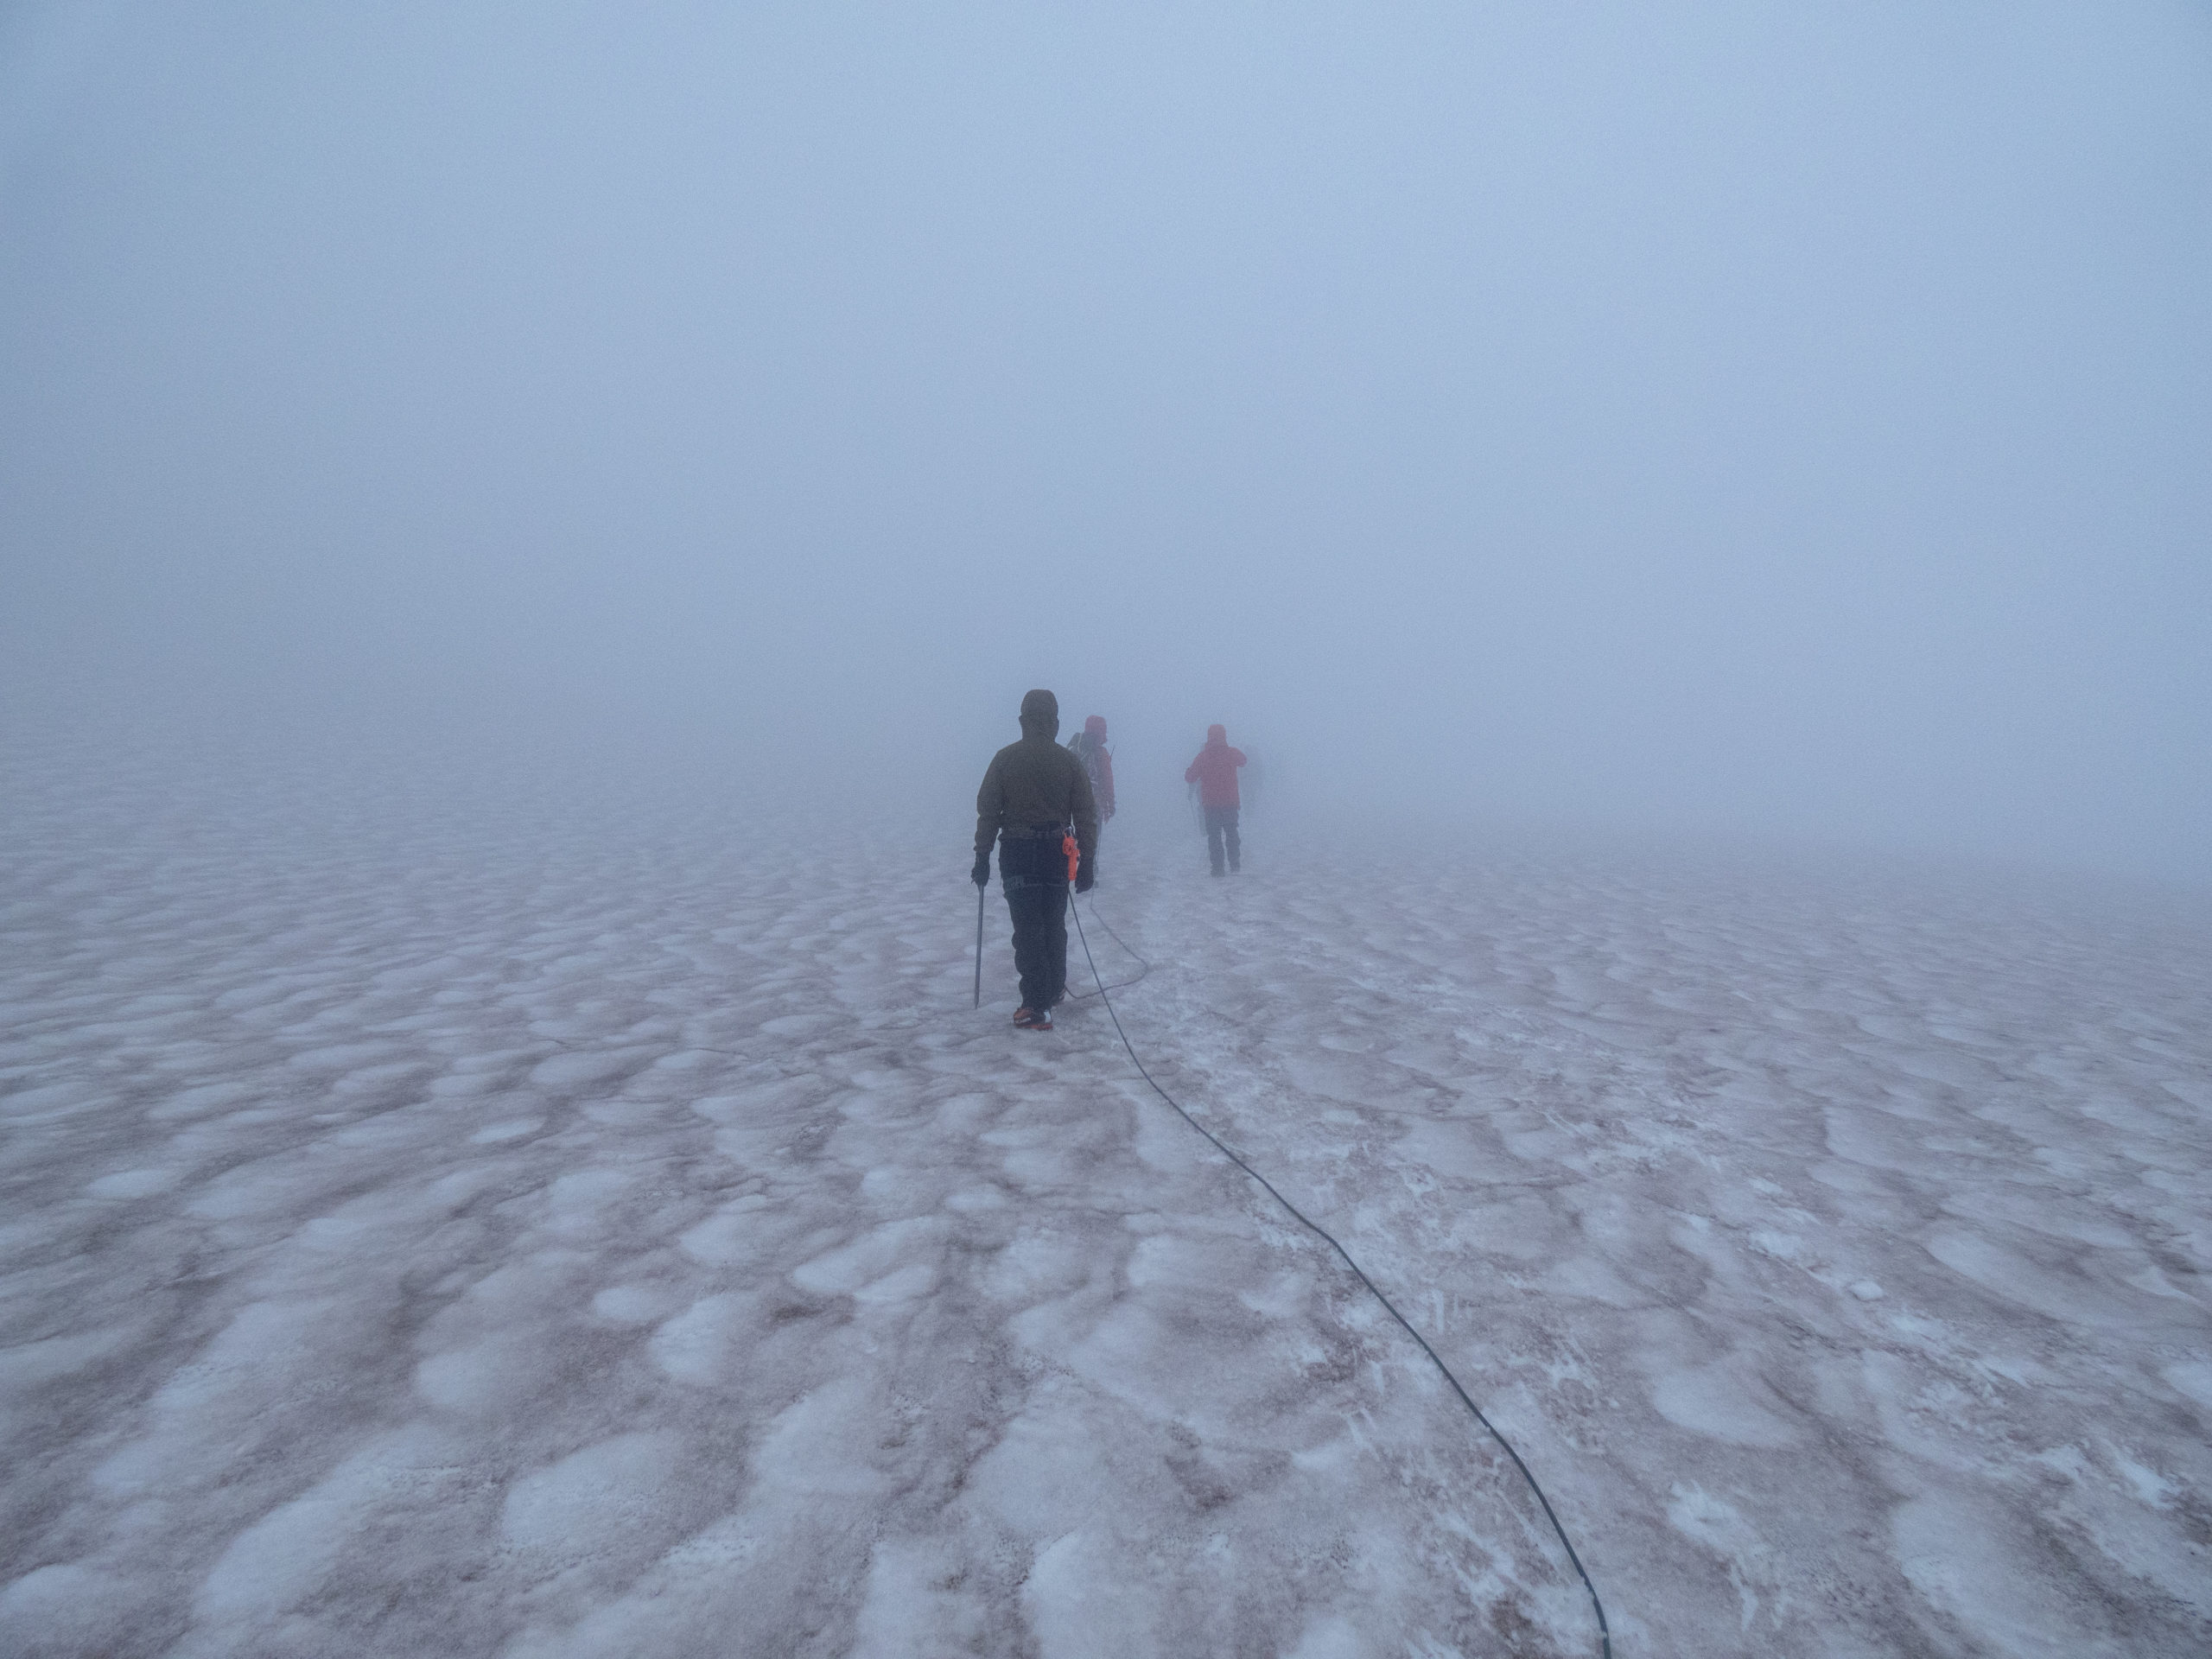
With camp broken down, and our heavier packs on again, we headed up the Paradise Glacier and crossed back over to the Muir Snowfield. We went slow and it wasn’t as bad of a hike as I thought it would be. Before too long, we were at Camp Muir. Here, we didn’t have to set up camp. There is a building the guide teams use. We stored our shared gear in this area, and we each set up a spot in the single-room setup. I felt like I was in a hostel in Costa Rica again since all 7 of us would be sleeping in the same room.
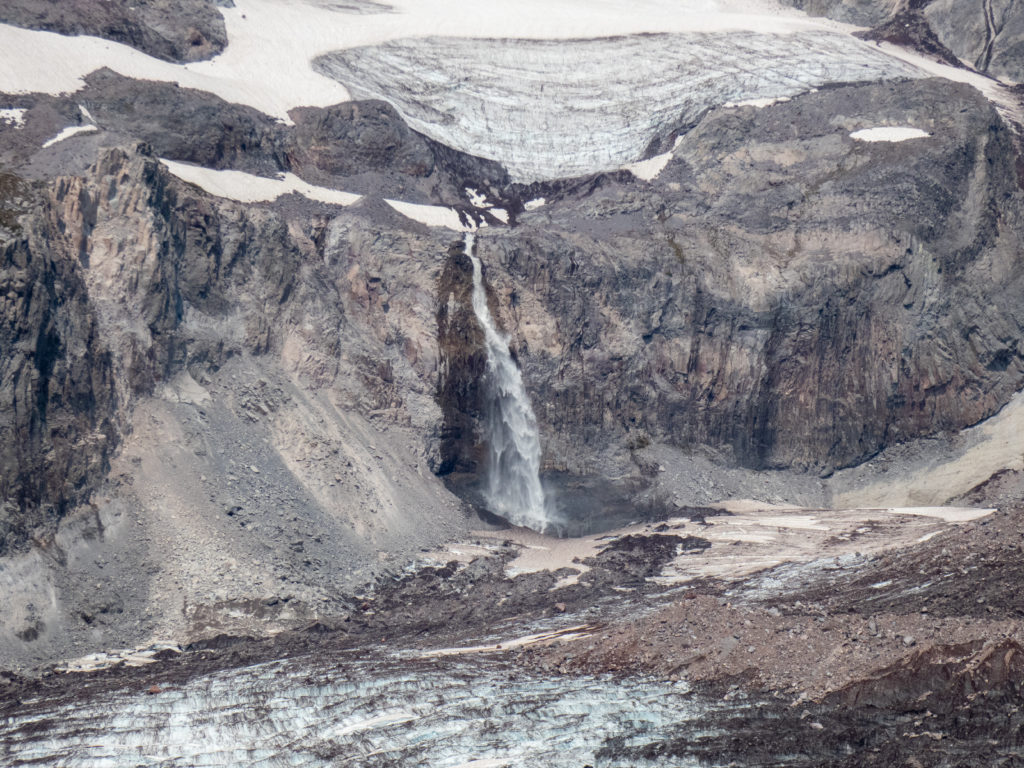
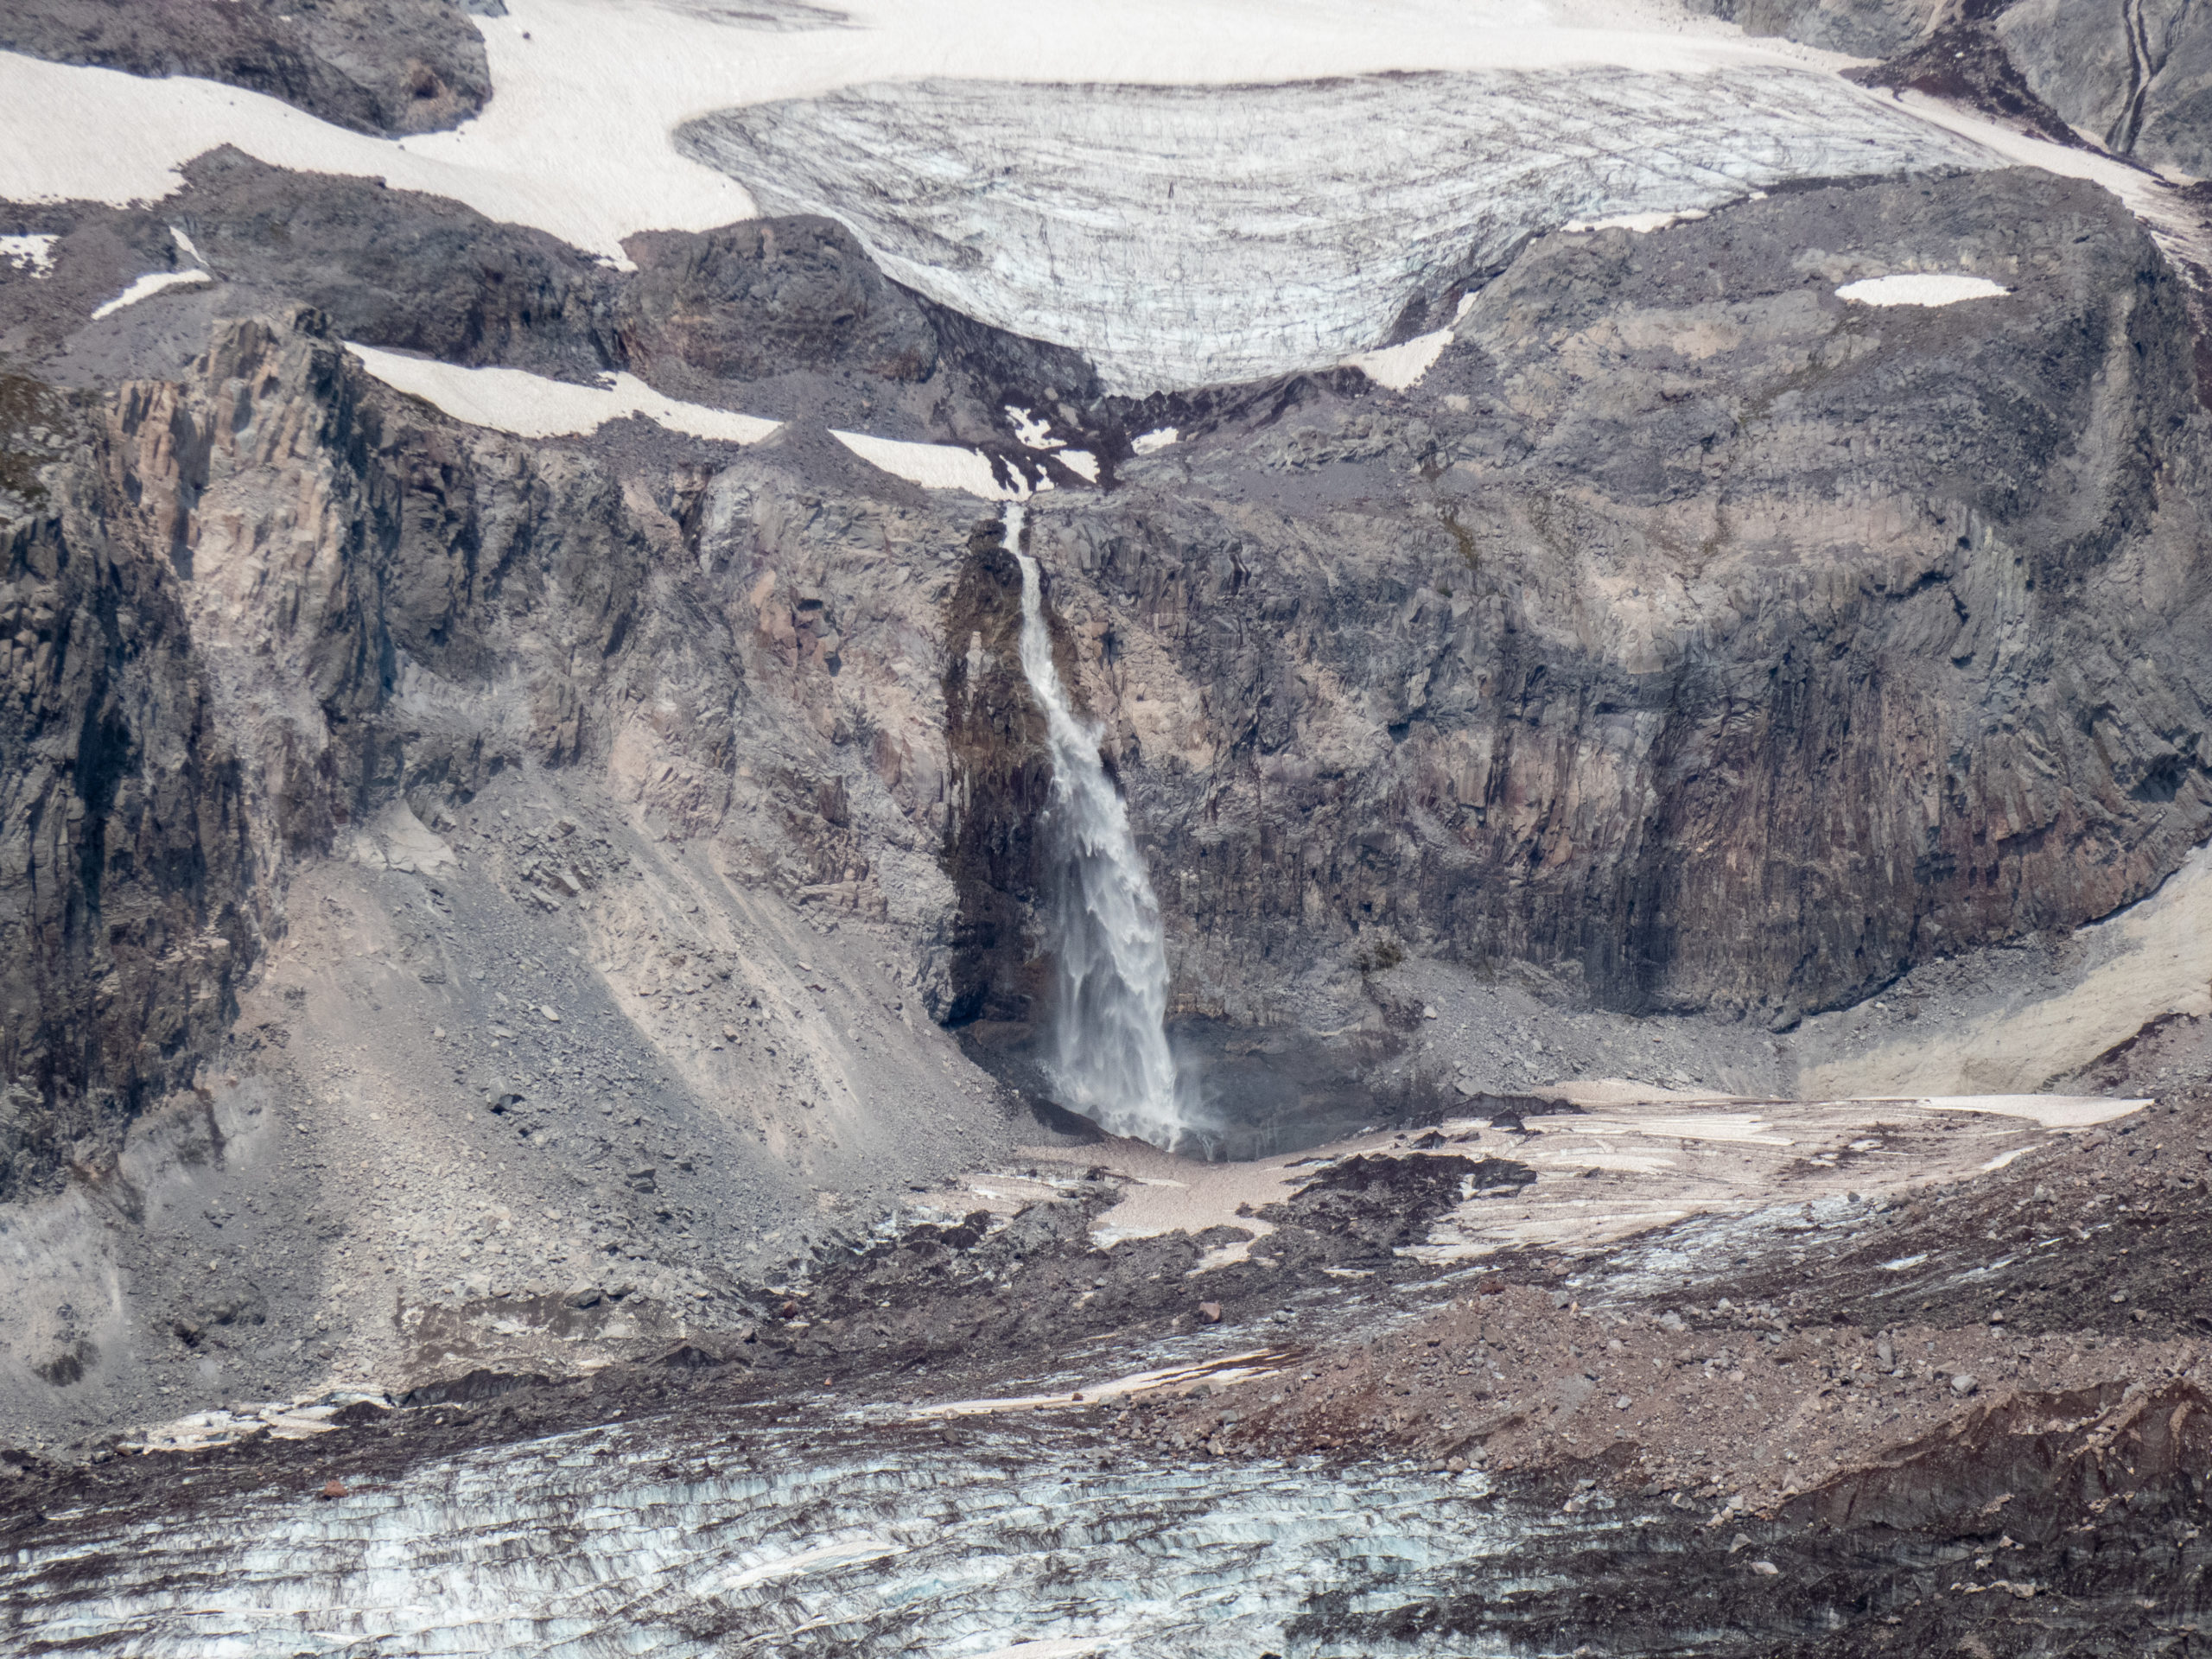
While we were coming up the Muir Snowfield, there was a very large rockfall on Gibraltar Rock which was pretty scary. The rockfall went down west of the guide huts and independent climbing area without anyone getting hurt. The constant ice and rock falls, however, reminded each of us who was boss on the mountain. Mother Nature always rules and we’re pretty helpless to avoid any wrath she may have.


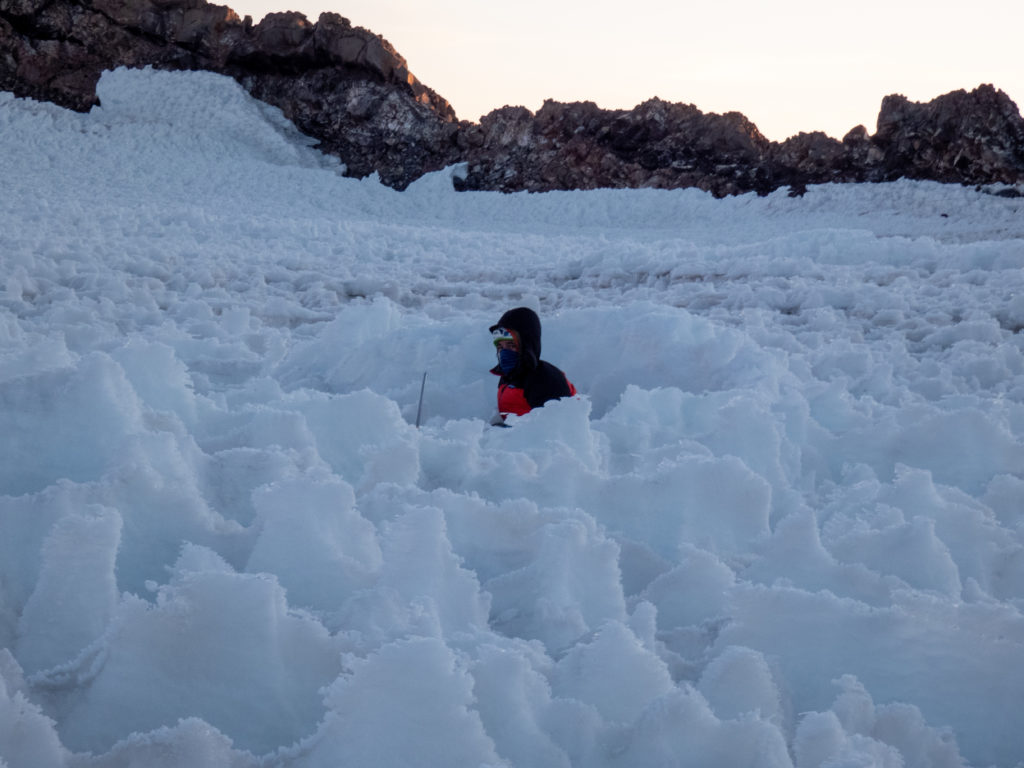
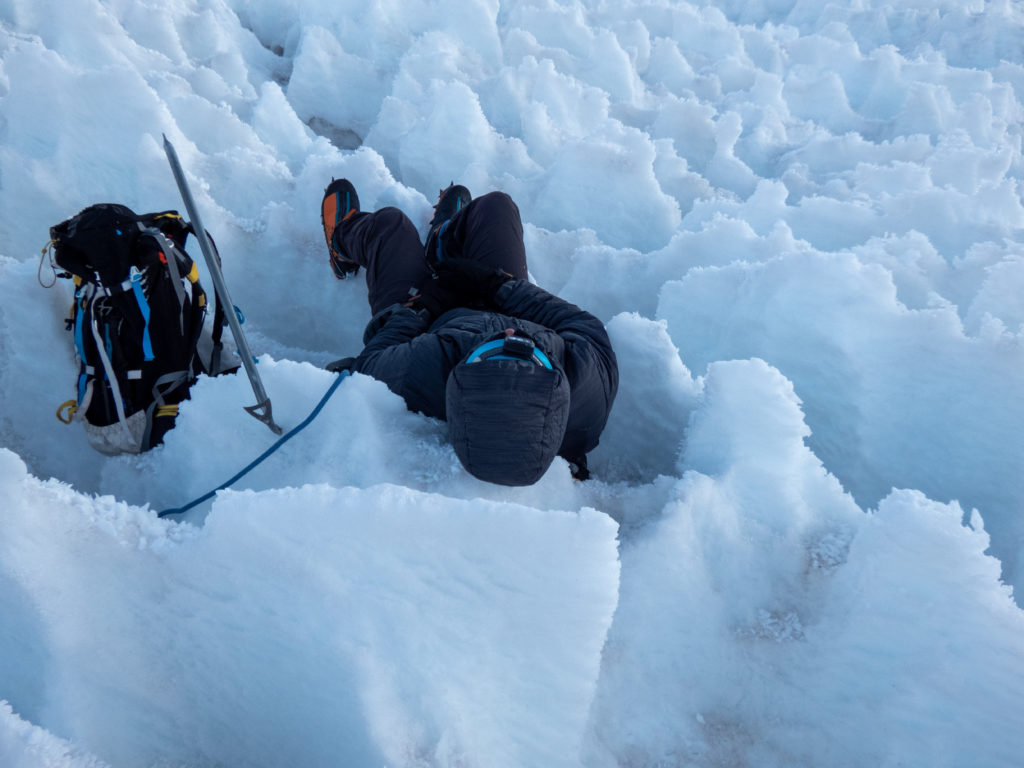
Day 4 – Live-fire crevasse rescue
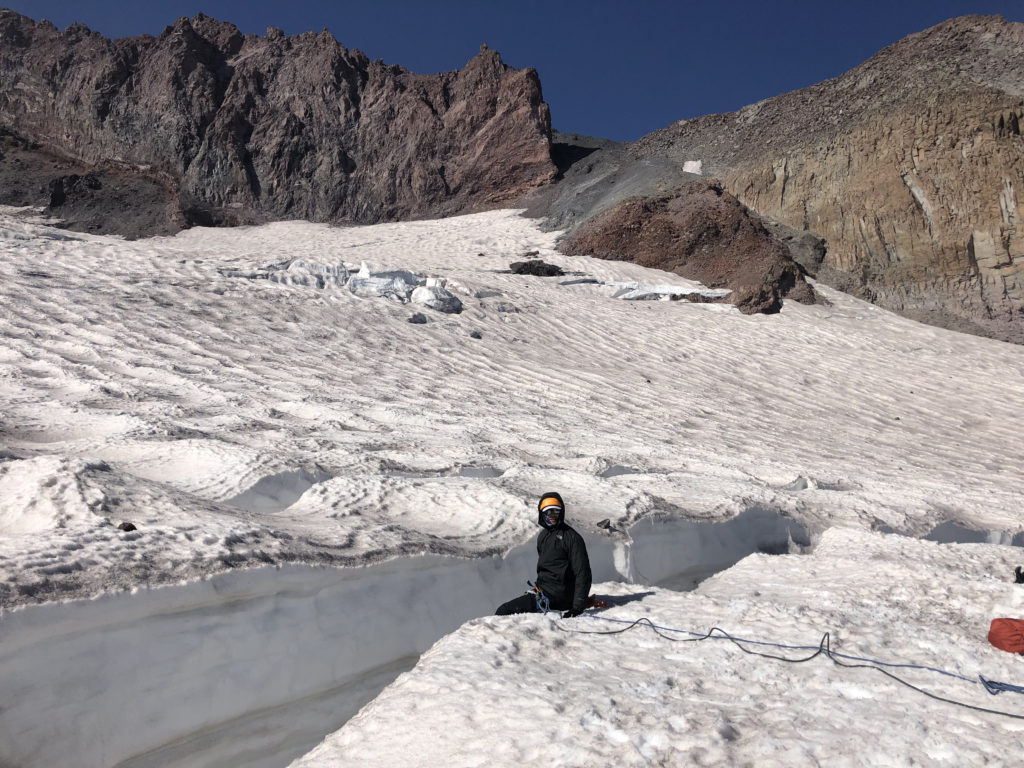
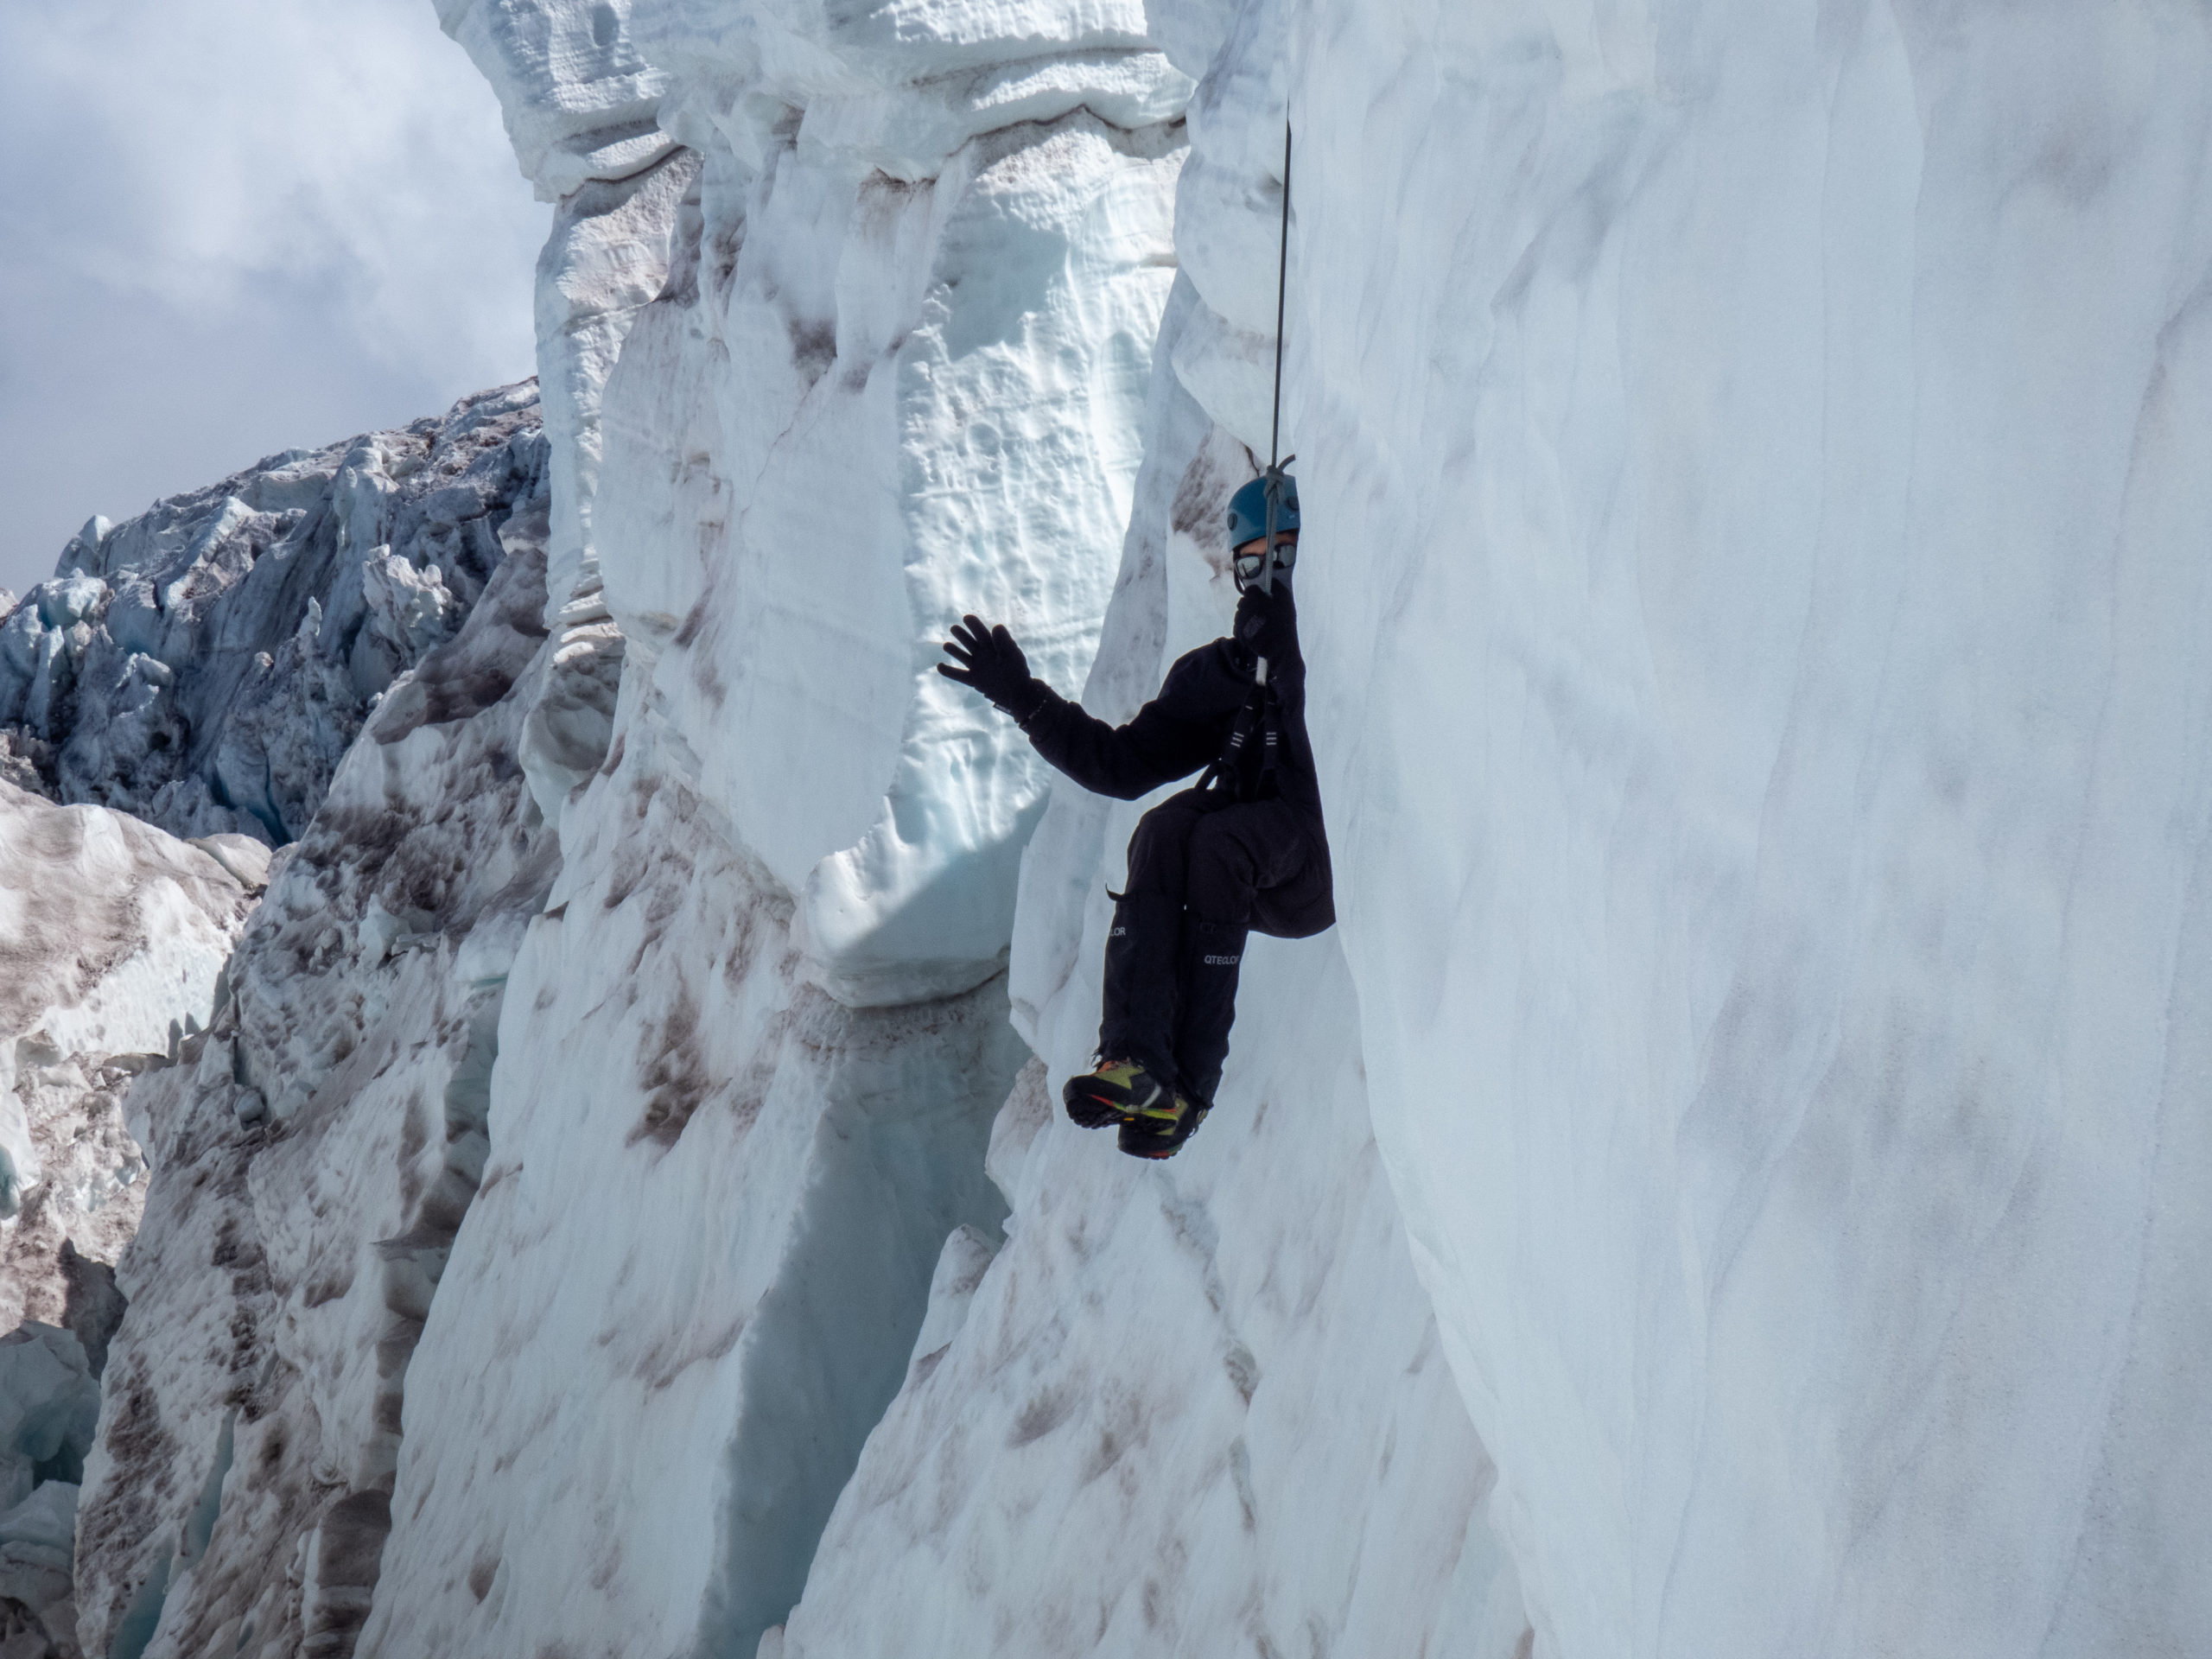
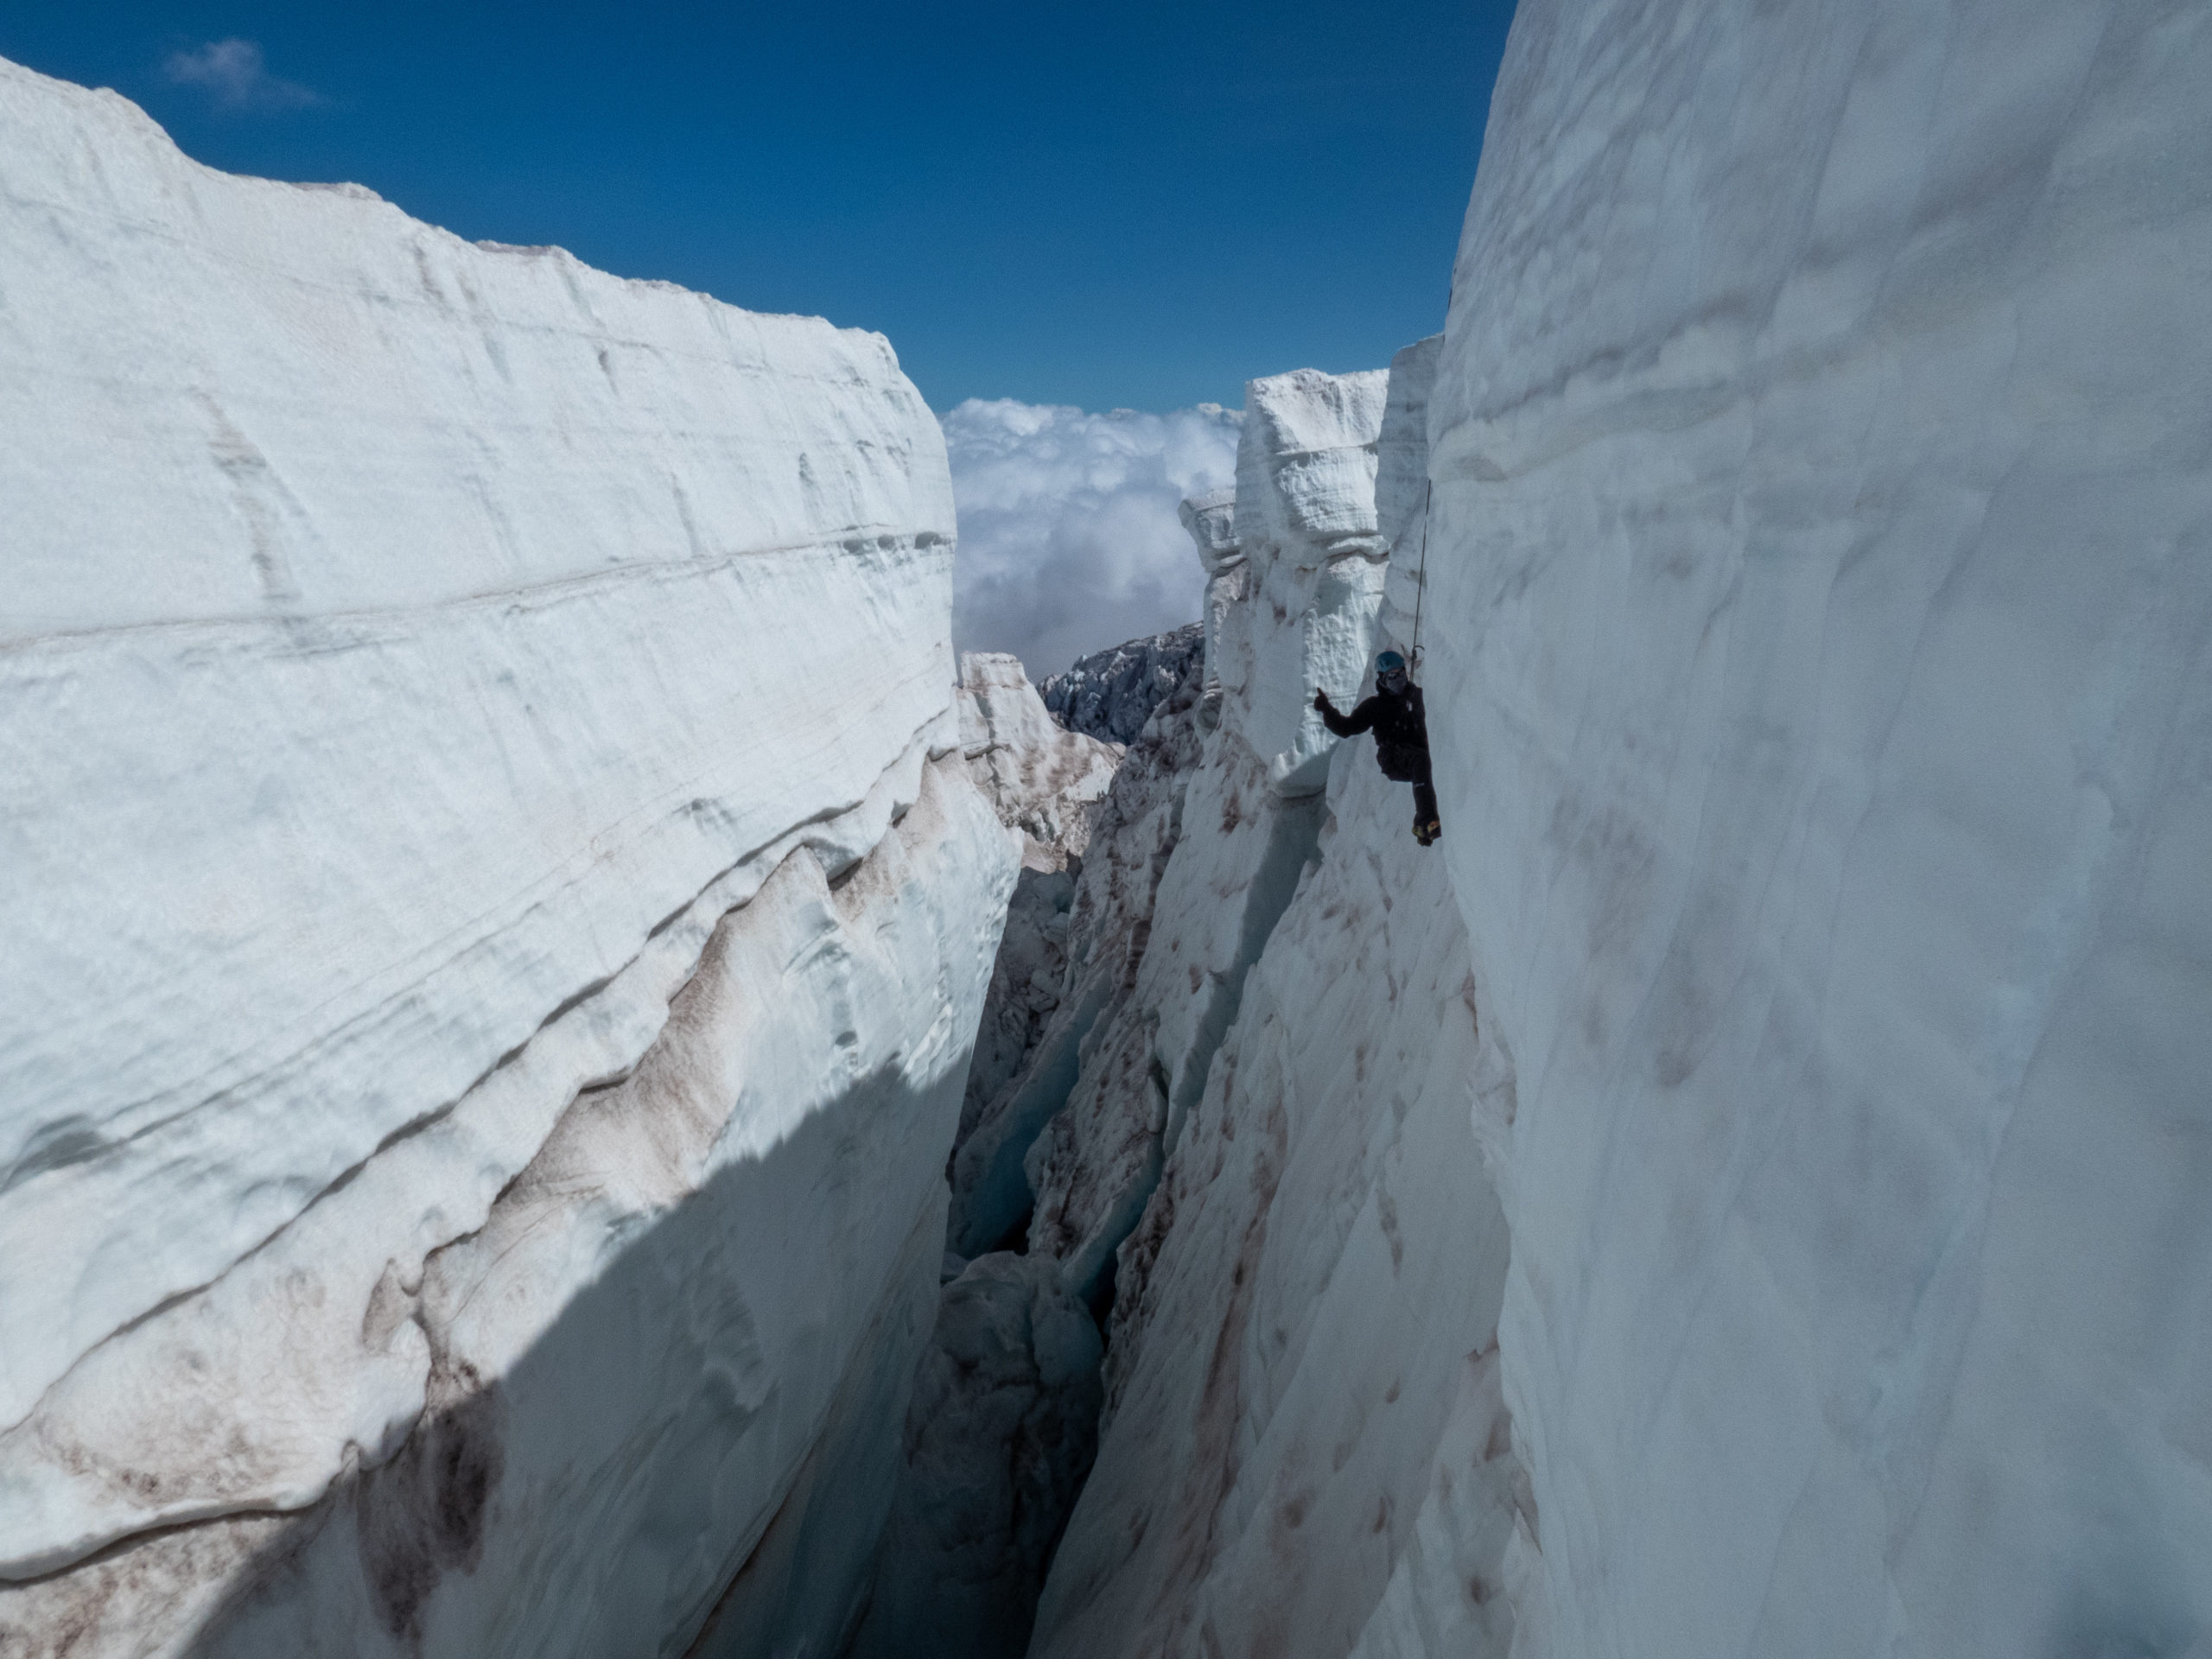
We went out to a big crevasse between Camp Muir and The Gap on what I think is the Cowlitz Glacier. We set up some pickets for safety ropes. Then the guides said we were going to have one of us go over the edge into the crevasse with other team members practicing self-arrest and “rescuing” us. My first thought was “Mom would not approve”. And to be fair, I was nervous, so I volunteered to be the first in our group to go over the edge. What the heck was I thinking?!?!?!
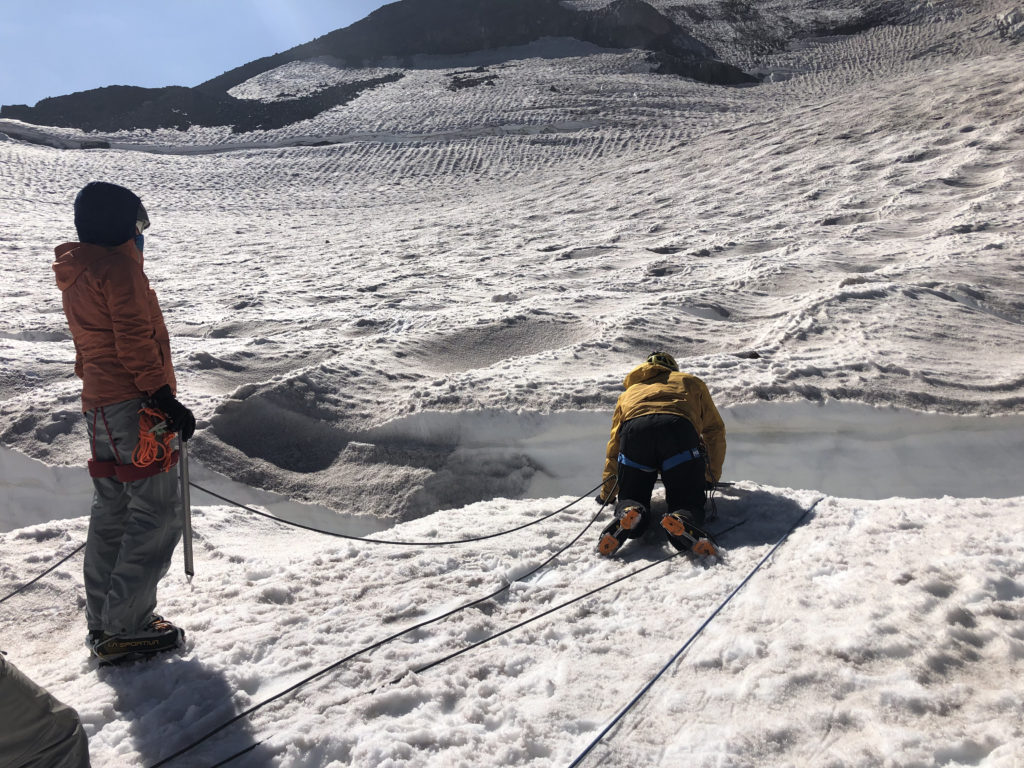
The way the exercise was set up is two of us were roped together just like we were doing a glacier traverse. Both the rescuer and “victim” were connected to a safety rope as a backup. All our connections and knots were overseen and double checked by the guides. Then the “victim” was supposed to slide into the crevasse yelling “Falling!” so the other rope member would know to self arrest and stop them.
Needless to say, the start of the exercise was kind of exciting. I didn’t take off my crampons so they hit the side of the crevasse as I fell about 10′-12′ into the crack yelling “Falling!”. It seemed like a lot more of a fall than it really was. My team member did arrest and stop me. Then I hung out for quite a while he went through the process of building the rescue system and pulling me up.
Next we reversed roles and I got to arrest the fall and “save” him. To say that stopping someone, holding them while setting up the rescue system, and then pulling them up was a bit taxing is a huge understatement. It’s hard work!

Day 4 – Ankle injury
My ankle wasn’t too bad the rest of the day. By evening, however, it was not feeling very good. The next day we were to hike up to High Camp on the Flats. I wasn’t sure I’d be able to do it. Luckily I’d brought along 15 pounds of ibuprofen so I started a regimen to see what would happen. Ah, the magic of modern medicine. 🙂 I still wasn’t sure I’d be able to make it, nevertheless, it sure felt better.
Day 4 – Burritos!!
The IMG guides have a hut up at Camp Muir. We were joined by two more guides that would accompany us past Camp Muir. Other guides also were up on the mountain doing route work. They fixed us burritos for dinner. It was the best meal of the trip! We were all in a good mood after the wonderful food, and being able to use a bathroom after several days versus the “blue bags”. You can read about blue bags here (https://www.nps.gov/mora/planyourvisit/things-to-know-before-you-climb.htm). Just know, you don’t let it hit the snow since that isn’t real Leave No Trace. It’s a skill I’ll treasure forever.

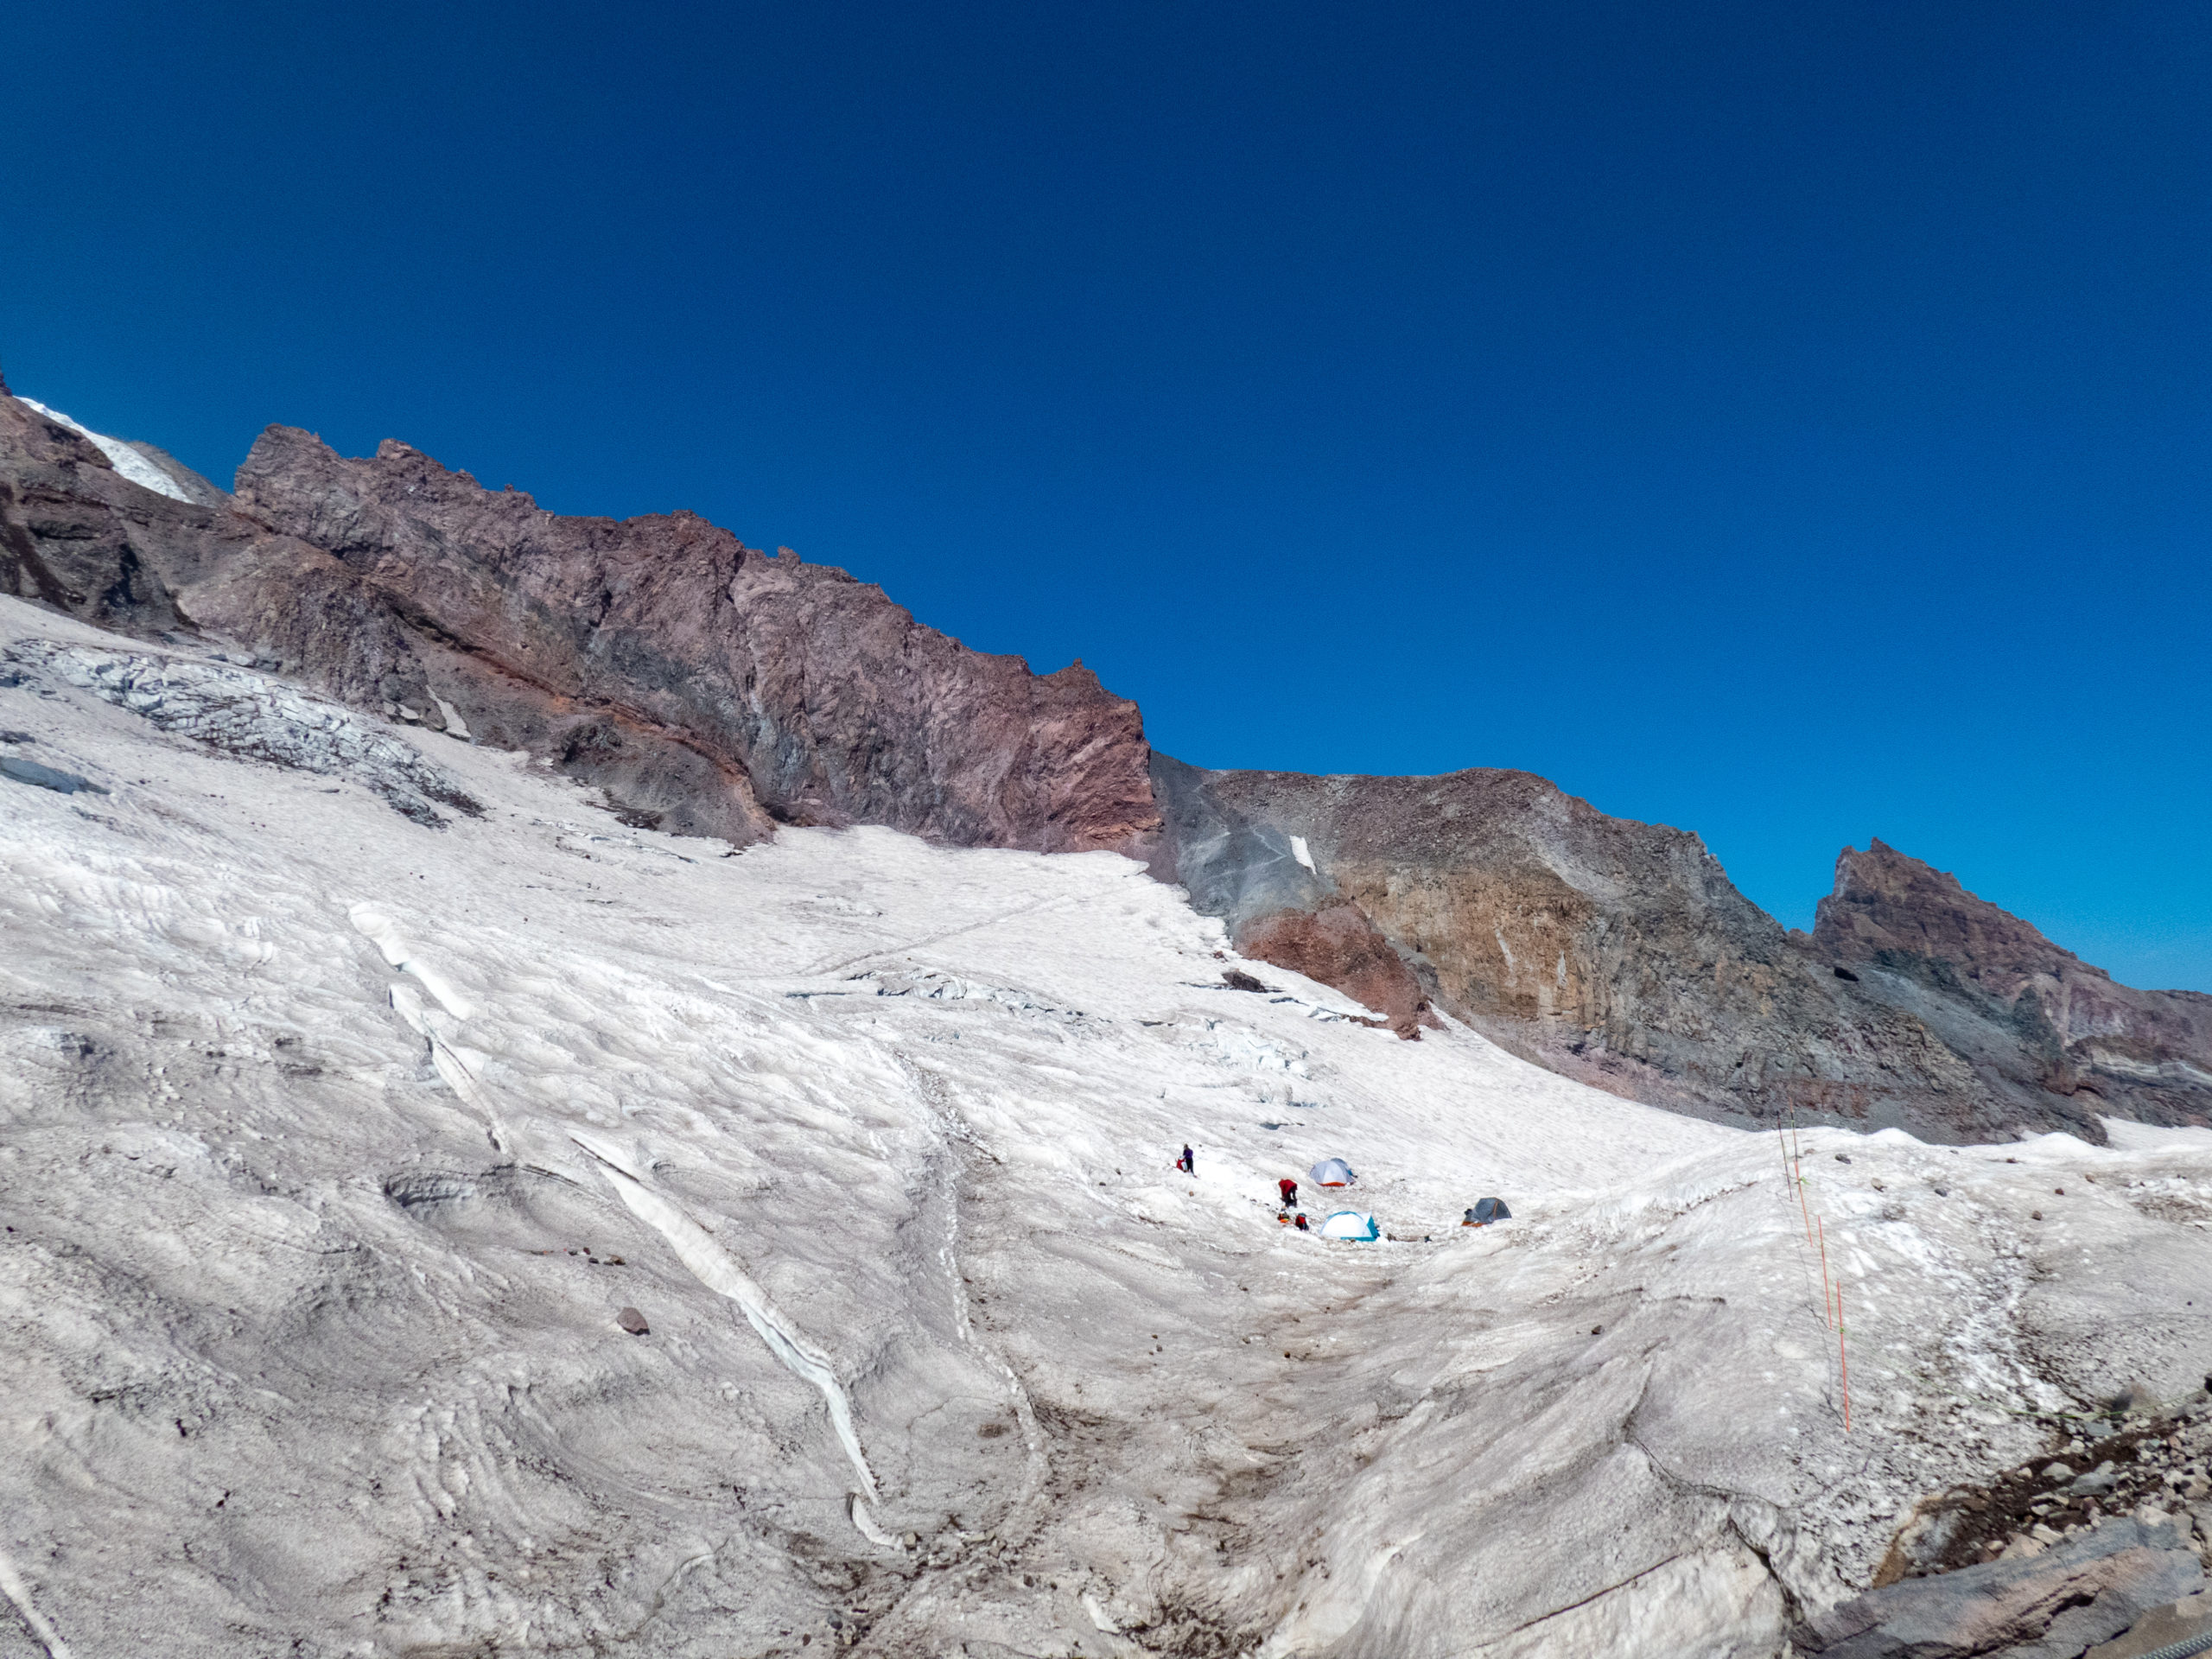
Day 5 – High camp and more crevasse work
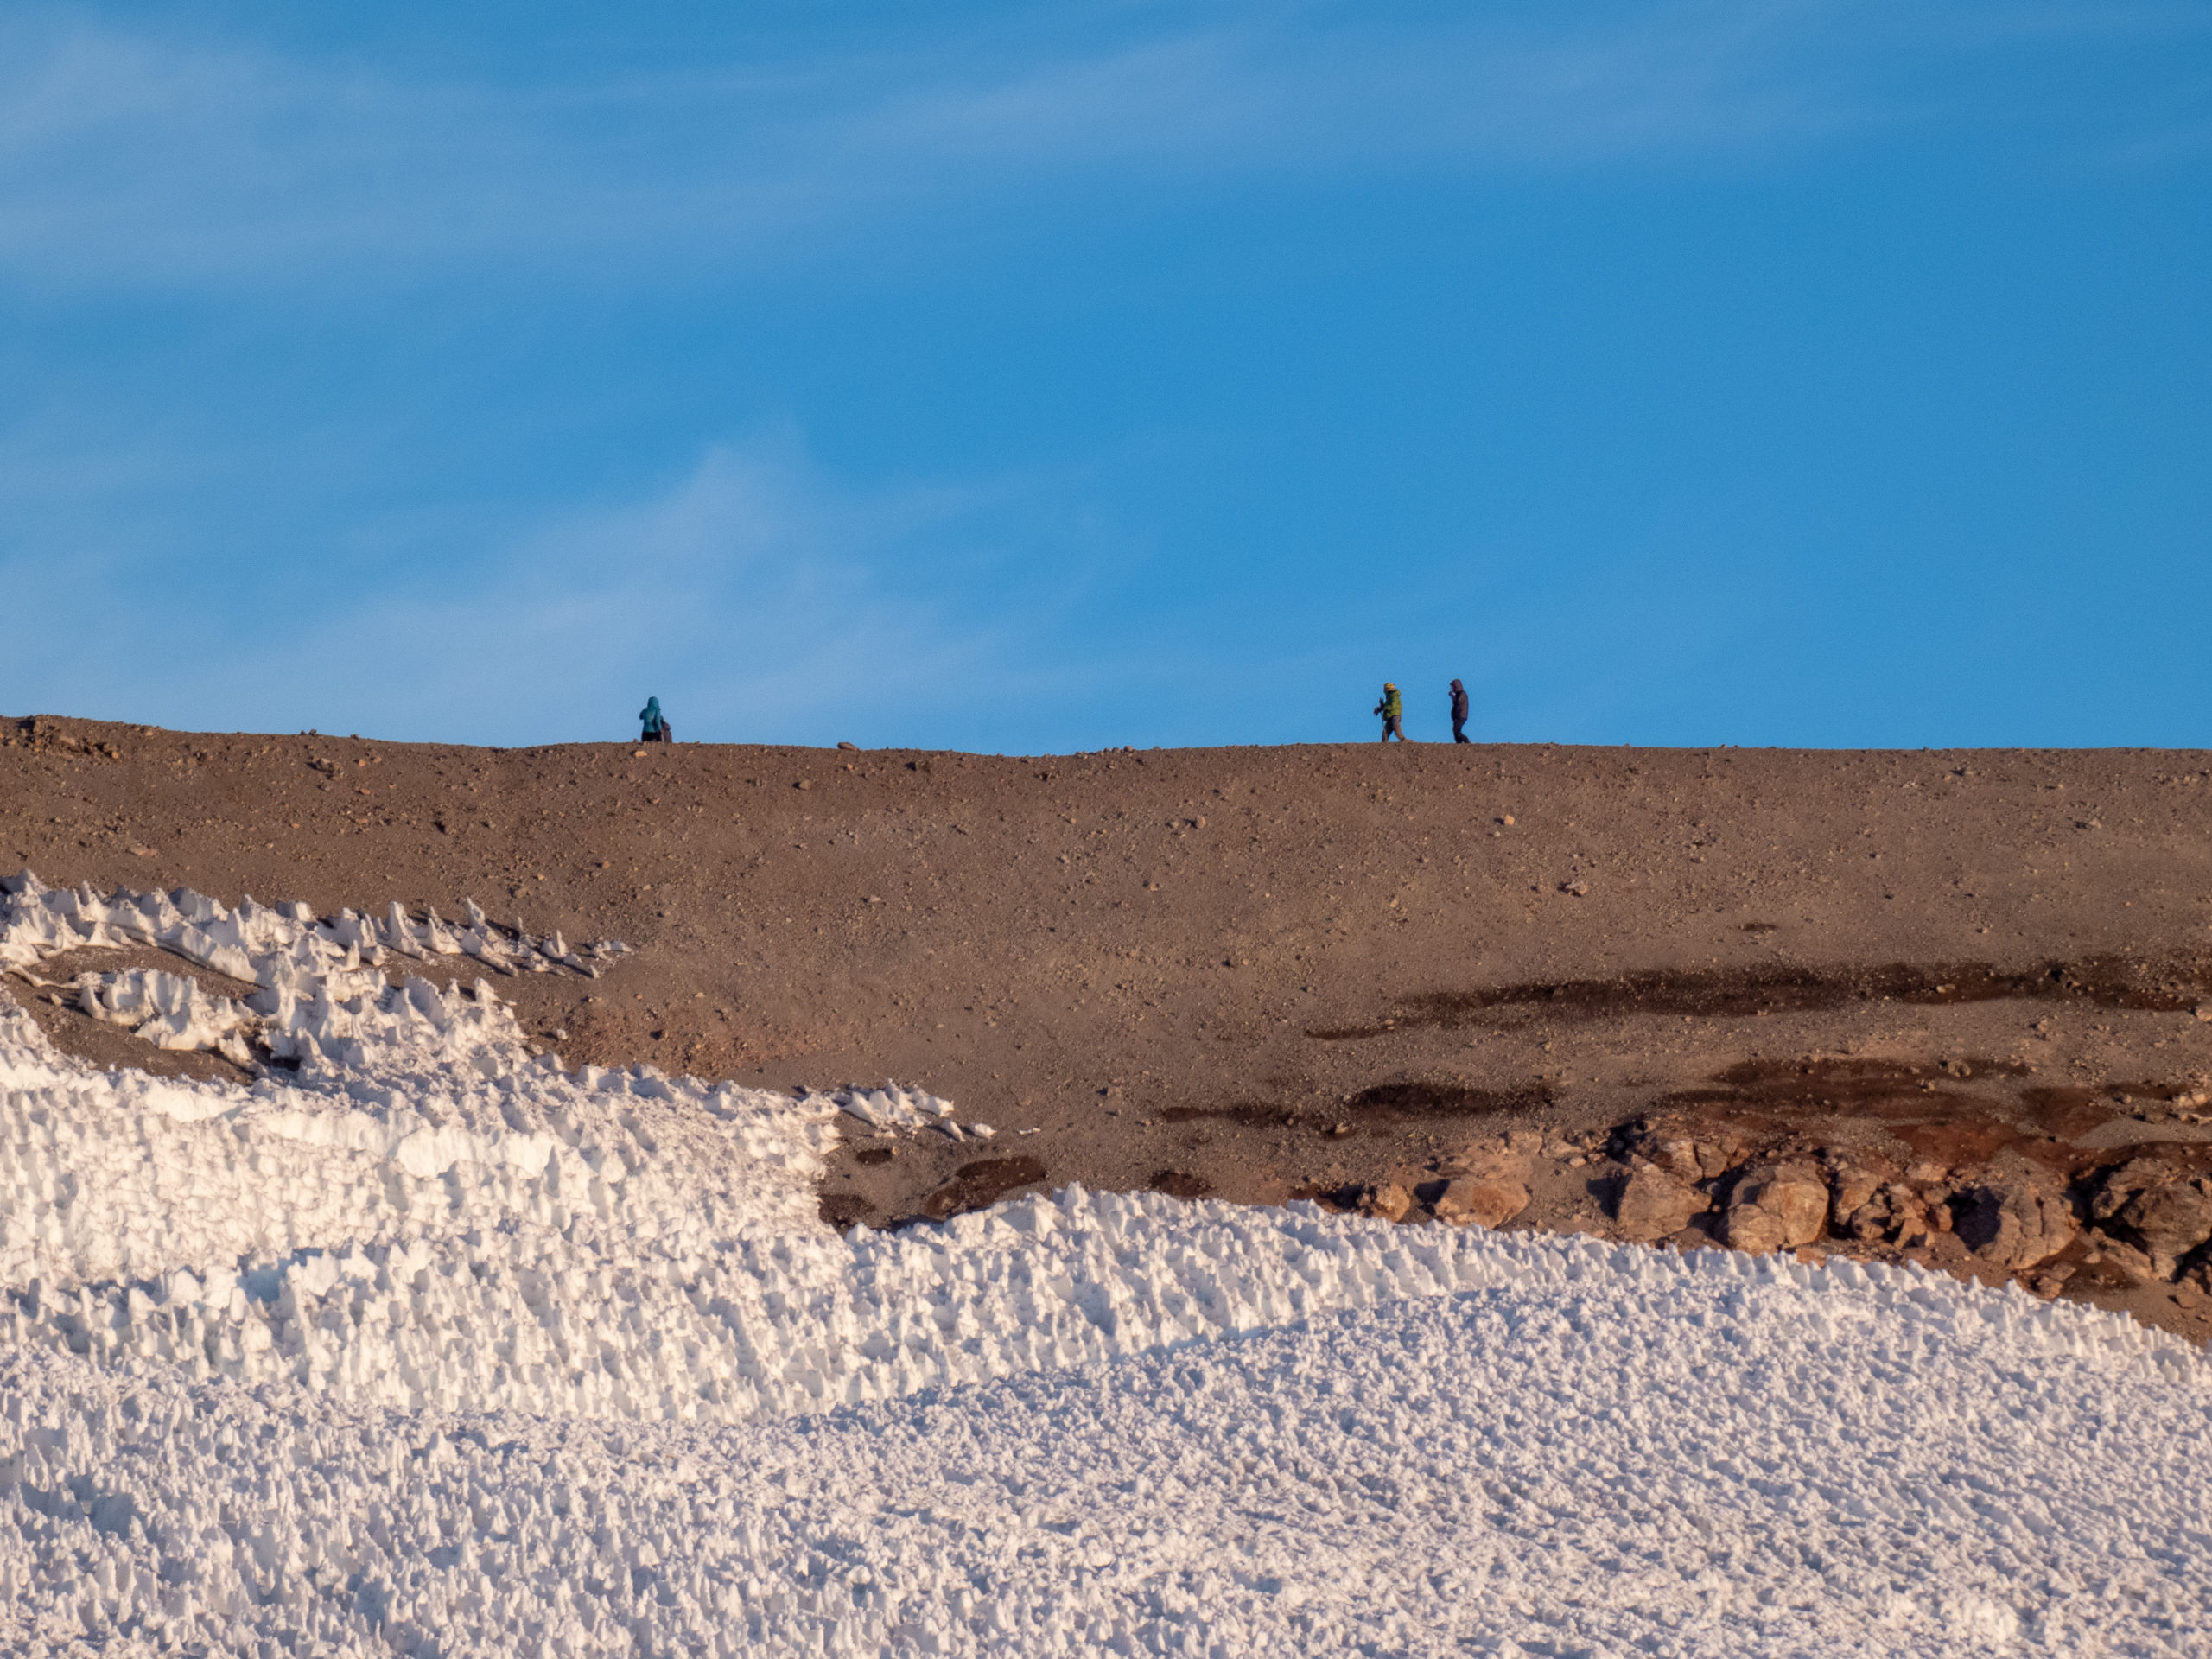
By morning, my ankle was feeling well enough that I felt the hike up to the Flats would be no problem. Of course, I’d kept up the ibuprofen regimen so who knows how it really felt! The hike from Camp Muir to the Flats isn’t too far or difficult. In the end, the workout seemed to actually make it feel a little better. Or was that the ibuprofen? Does it matter?
Once at the Flats, we received an update from Nicole on summit routes. We still didn’t think we’d be summiting the mountain. The plan was for us to do ice climbing and a more realistic rescue while she and Justin scouted out the routes.
The day was fantastic and warm. I did the ice climbing which was a blast, though I passed on the rescue work. I didn’t want to stress my ankle…right, whatever, I’m pretty sure I was just avoiding the hard work. The crew that did the training had to set the pickets for the rescue in addition to all the steps they did before. Previously the pickets had been “staged” which doesn’t represent a real rescue. They did a great job. What a learning experience!


Day 5 – Summit update
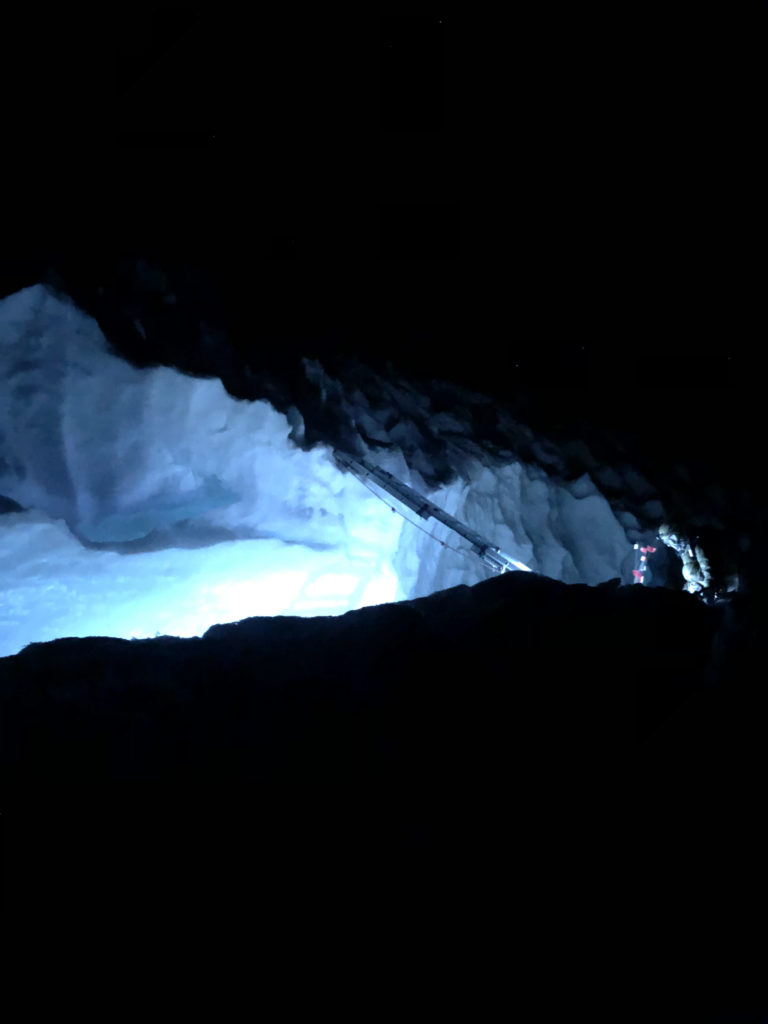
Nicole and Justin returned from their scouting efforts and said we’d be meeting at 4:00, and that from this point everything was going to be run tightly in terms of taking direction. This made us think that maybe, just maybe, we’d be going up? Nicole confirmed at our 4:00 meeting that she felt the route up to 13,000′ and the 3-section ladder was good. She didn’t know what was beyond that yet it was worth heading up. We’d be getting up at 11:00PM, leaving camp at 12:30AM with a planned summit around 6:00AM. Needless to say, everyone was very excited!
We quickly ate dinner, prepared our packs, and settled down in our tents to try to get some sleep. I did finally fall asleep at 7:00PM and woke up at 9:30PM. There was no going back to sleep…I was too excited.
Day 6 – Summit Day
Six of us were up at 11:00PM of Day 5, preparing for a long day. We had breakfast and fueled up as best we could to take on the summit. It felt like early morning rather than late at night since I’d fallen asleep for a few hours. My ankle felt good and I helped it along with some more ibuprofen.
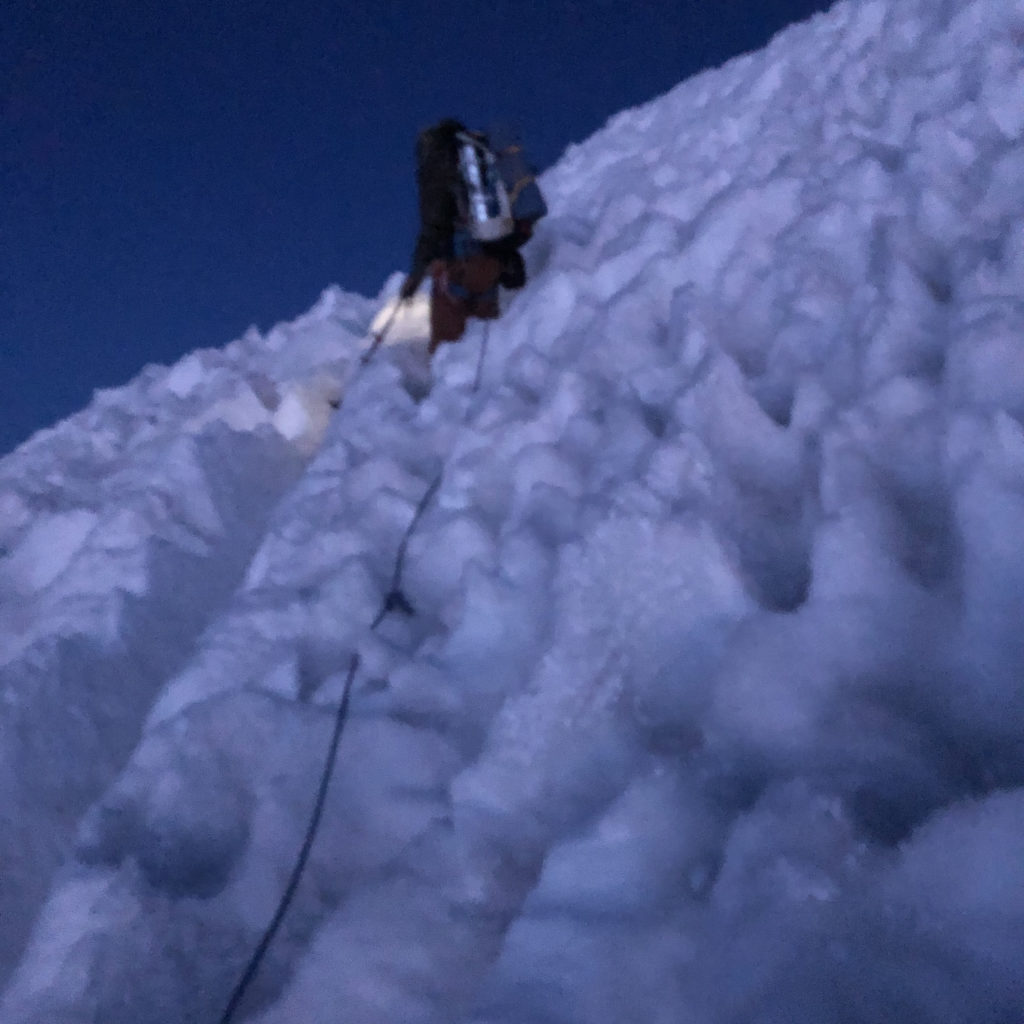
Shortly after midnight we prepared the ropes for the ascent. We started walking with our headlamps at 12:30 sharp. I’d packed my camera into my backpack since I didn’t want it to get in the way of all the gear I had on. As a result, the pictures are from Josh, one of the gang.

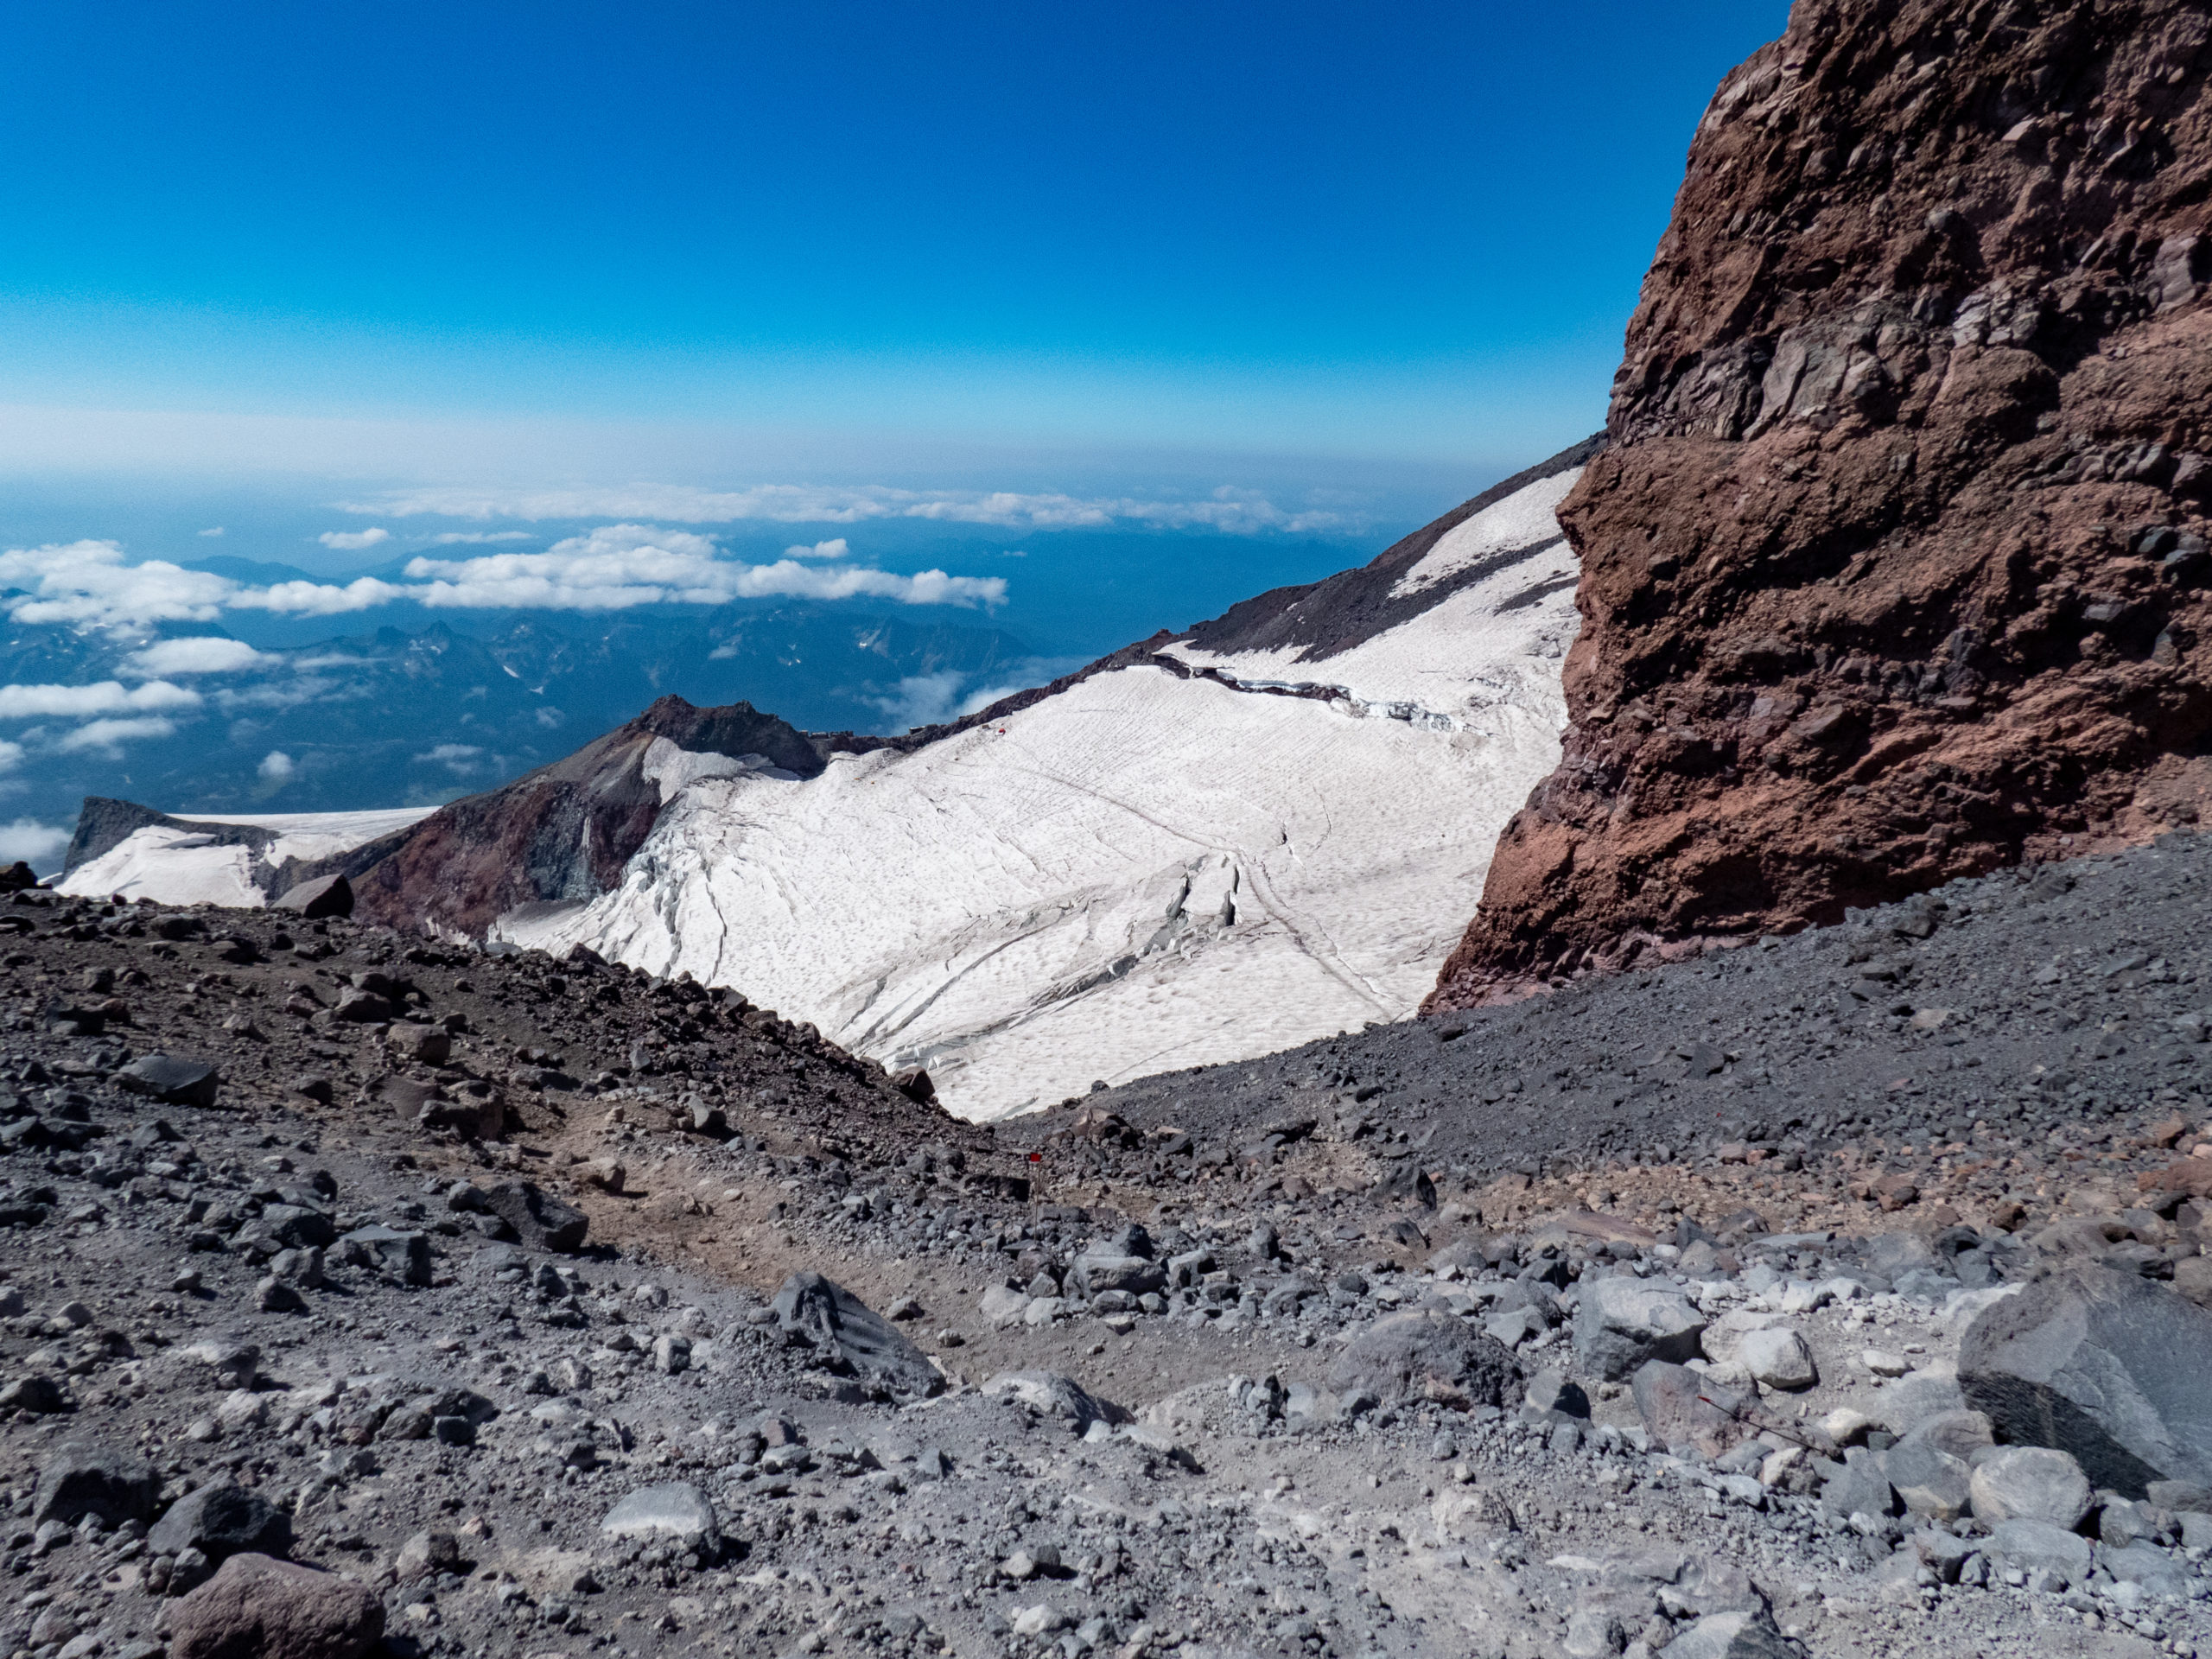
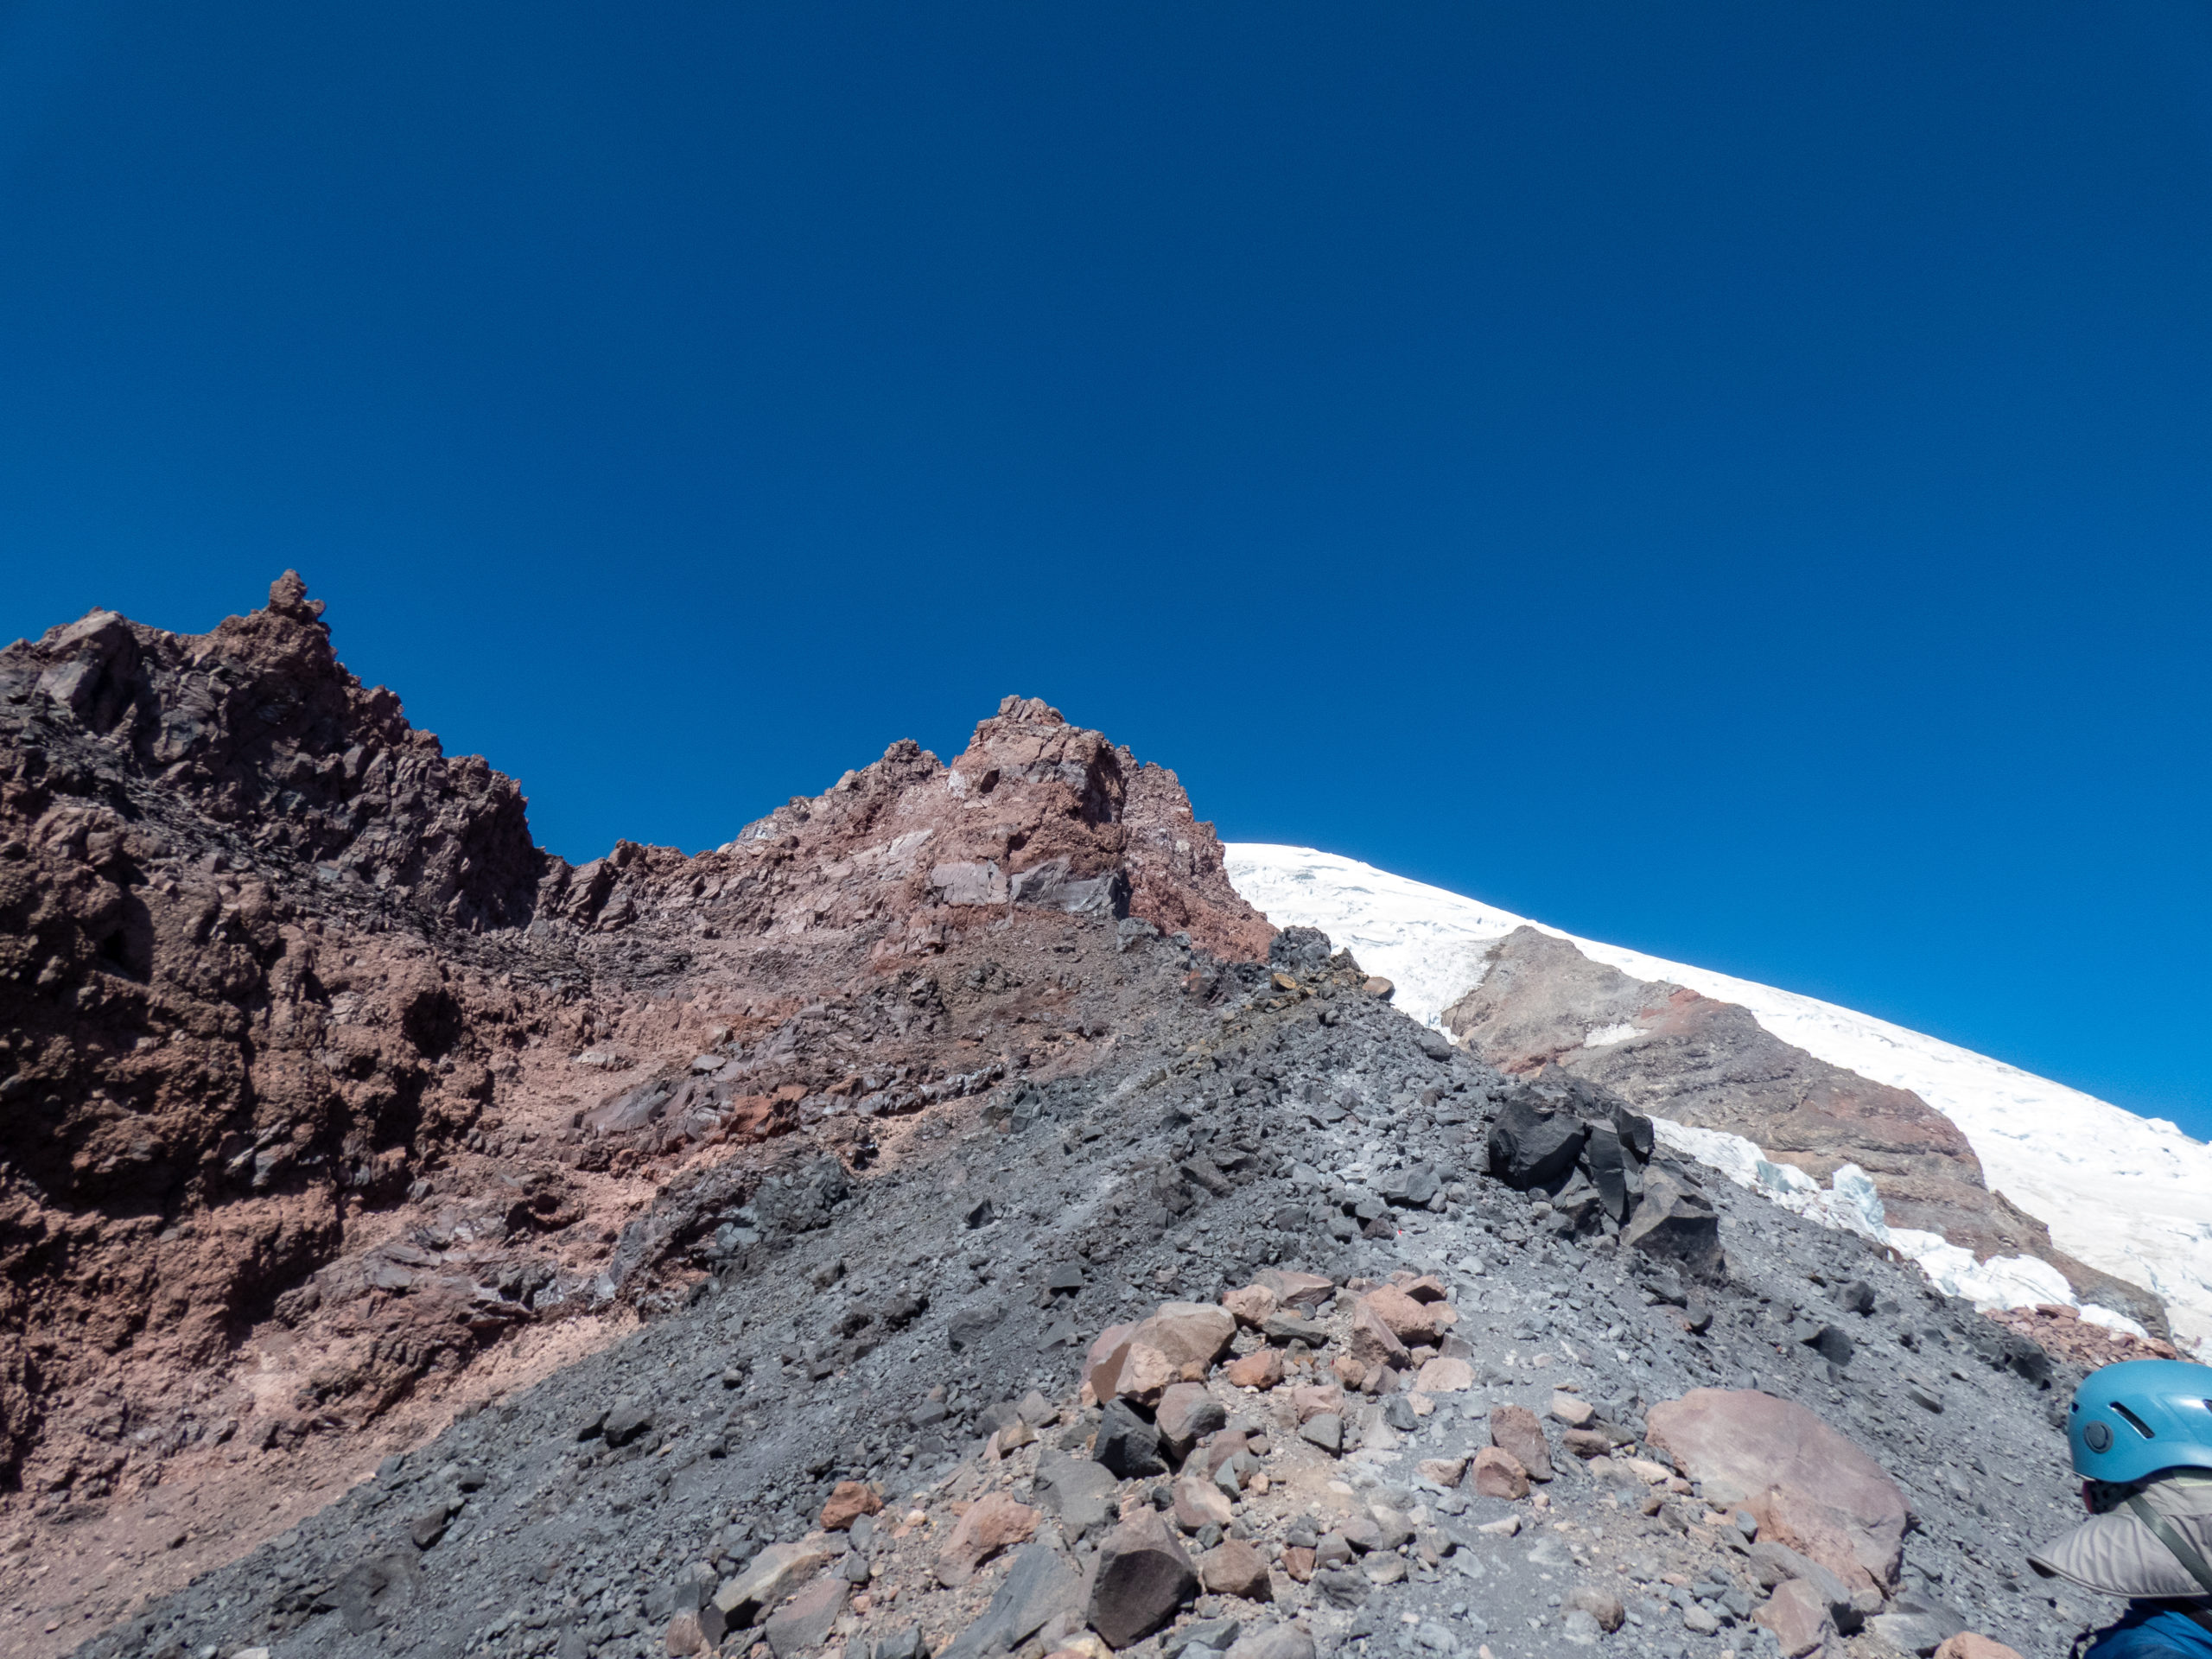
The route took us up past High Crack. This is a huge crevasse in the Ingraham Glacier that we have to navigate through. It wasn’t too big of a deal except for the sharp drop-off into nothingness if you slipped. Just kidding Mom, it wasn’t risky at all. From there, we crossed the Bowling Alley, called that since you get the fun of avoiding any rockfalls from above. No one was above us so we were fairly safe in this area. Still, after the rockfall we saw on Day 4, maybe I was a little nervous.
Next was the slog up the Disappointment Cleaver. Going over rocks in crampons is not any fun as I discovered. Plus, the mountaineering boots full shanks make it difficult to navigate rocks. Still, it wasn’t too bad physically. When we reached the top, we rested for a bit in the cold wind. That wasn’t as much fun.
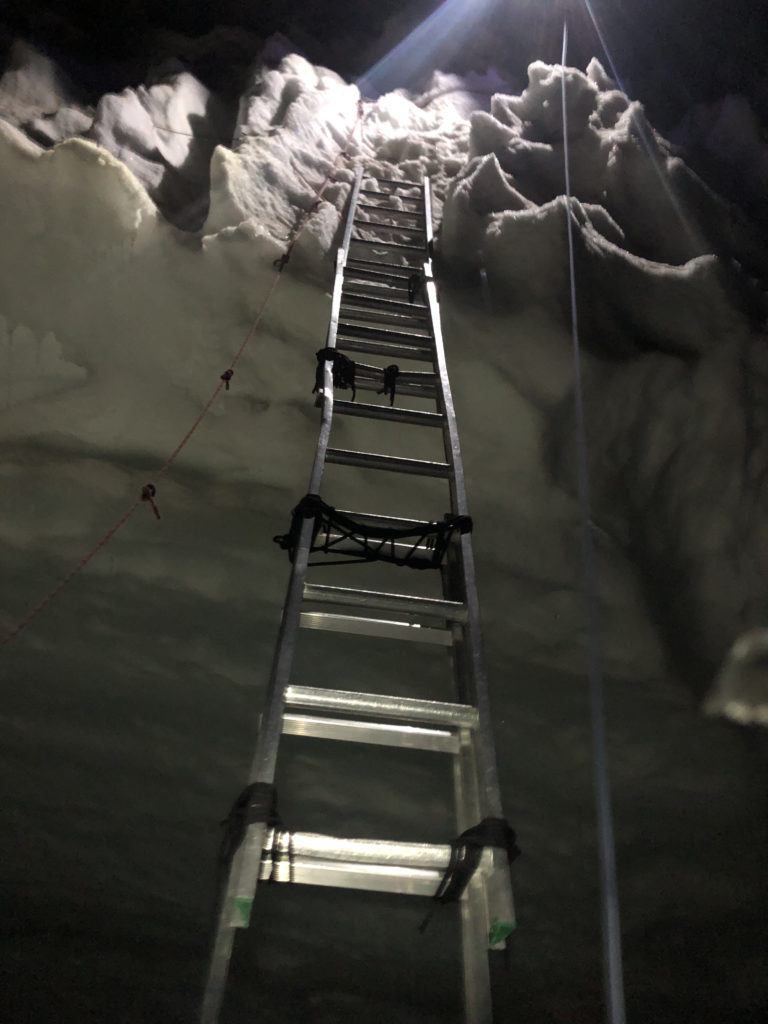
We continued up and came across a fairly exposed section of our route just before the ladder at 13,000′. For safety, Nicole set a picket and clipped in the rope for all 3 crews (each crew had 1 guide and 2 tourists because yes, we were tourists). I was kind of glad it was dark so I didn’t see much of the exposure. Right after this, we crossed the ladder. It was fun crossing a large crevasse using three sections of aluminum ladder connected together. Of course, we were on belay so it wasn’t like we’re risking our lives (were we?). I didn’t find that bad at all…I like ladders!
The rest of the route was a grind to the top. We did come across a section where the snow bridge was missing. Nicole scouted out and found another route for us to go around several crevasses and eventually get back onto the old route. Then it became putting one foot in front of the other to get to the top. Like a 14er, just harder. The cardio was not the hard part, it was working through the steps with the mountaineering boots and crampons into the old trail ruts. Not easy.

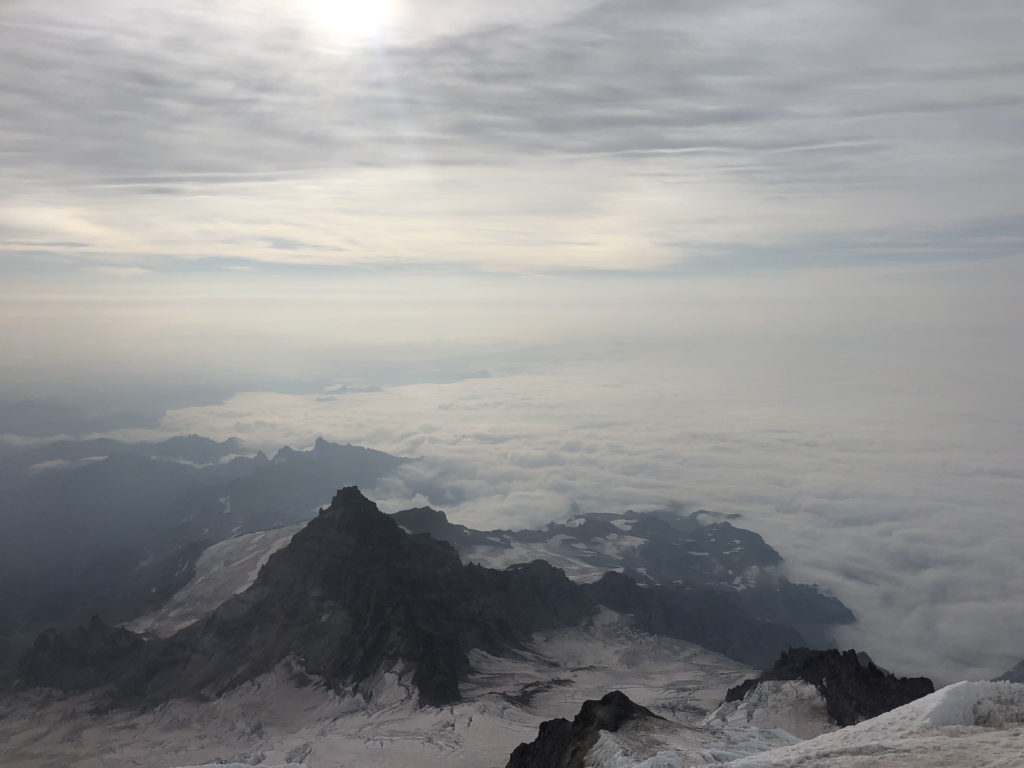
Day 6 – Summit!!
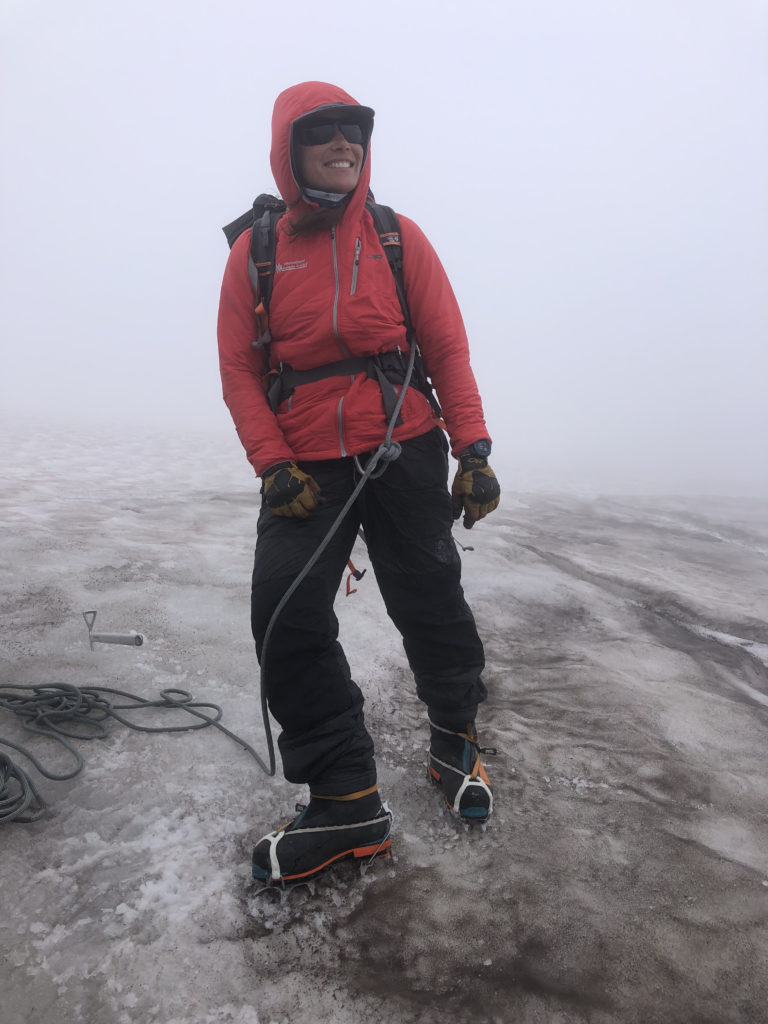
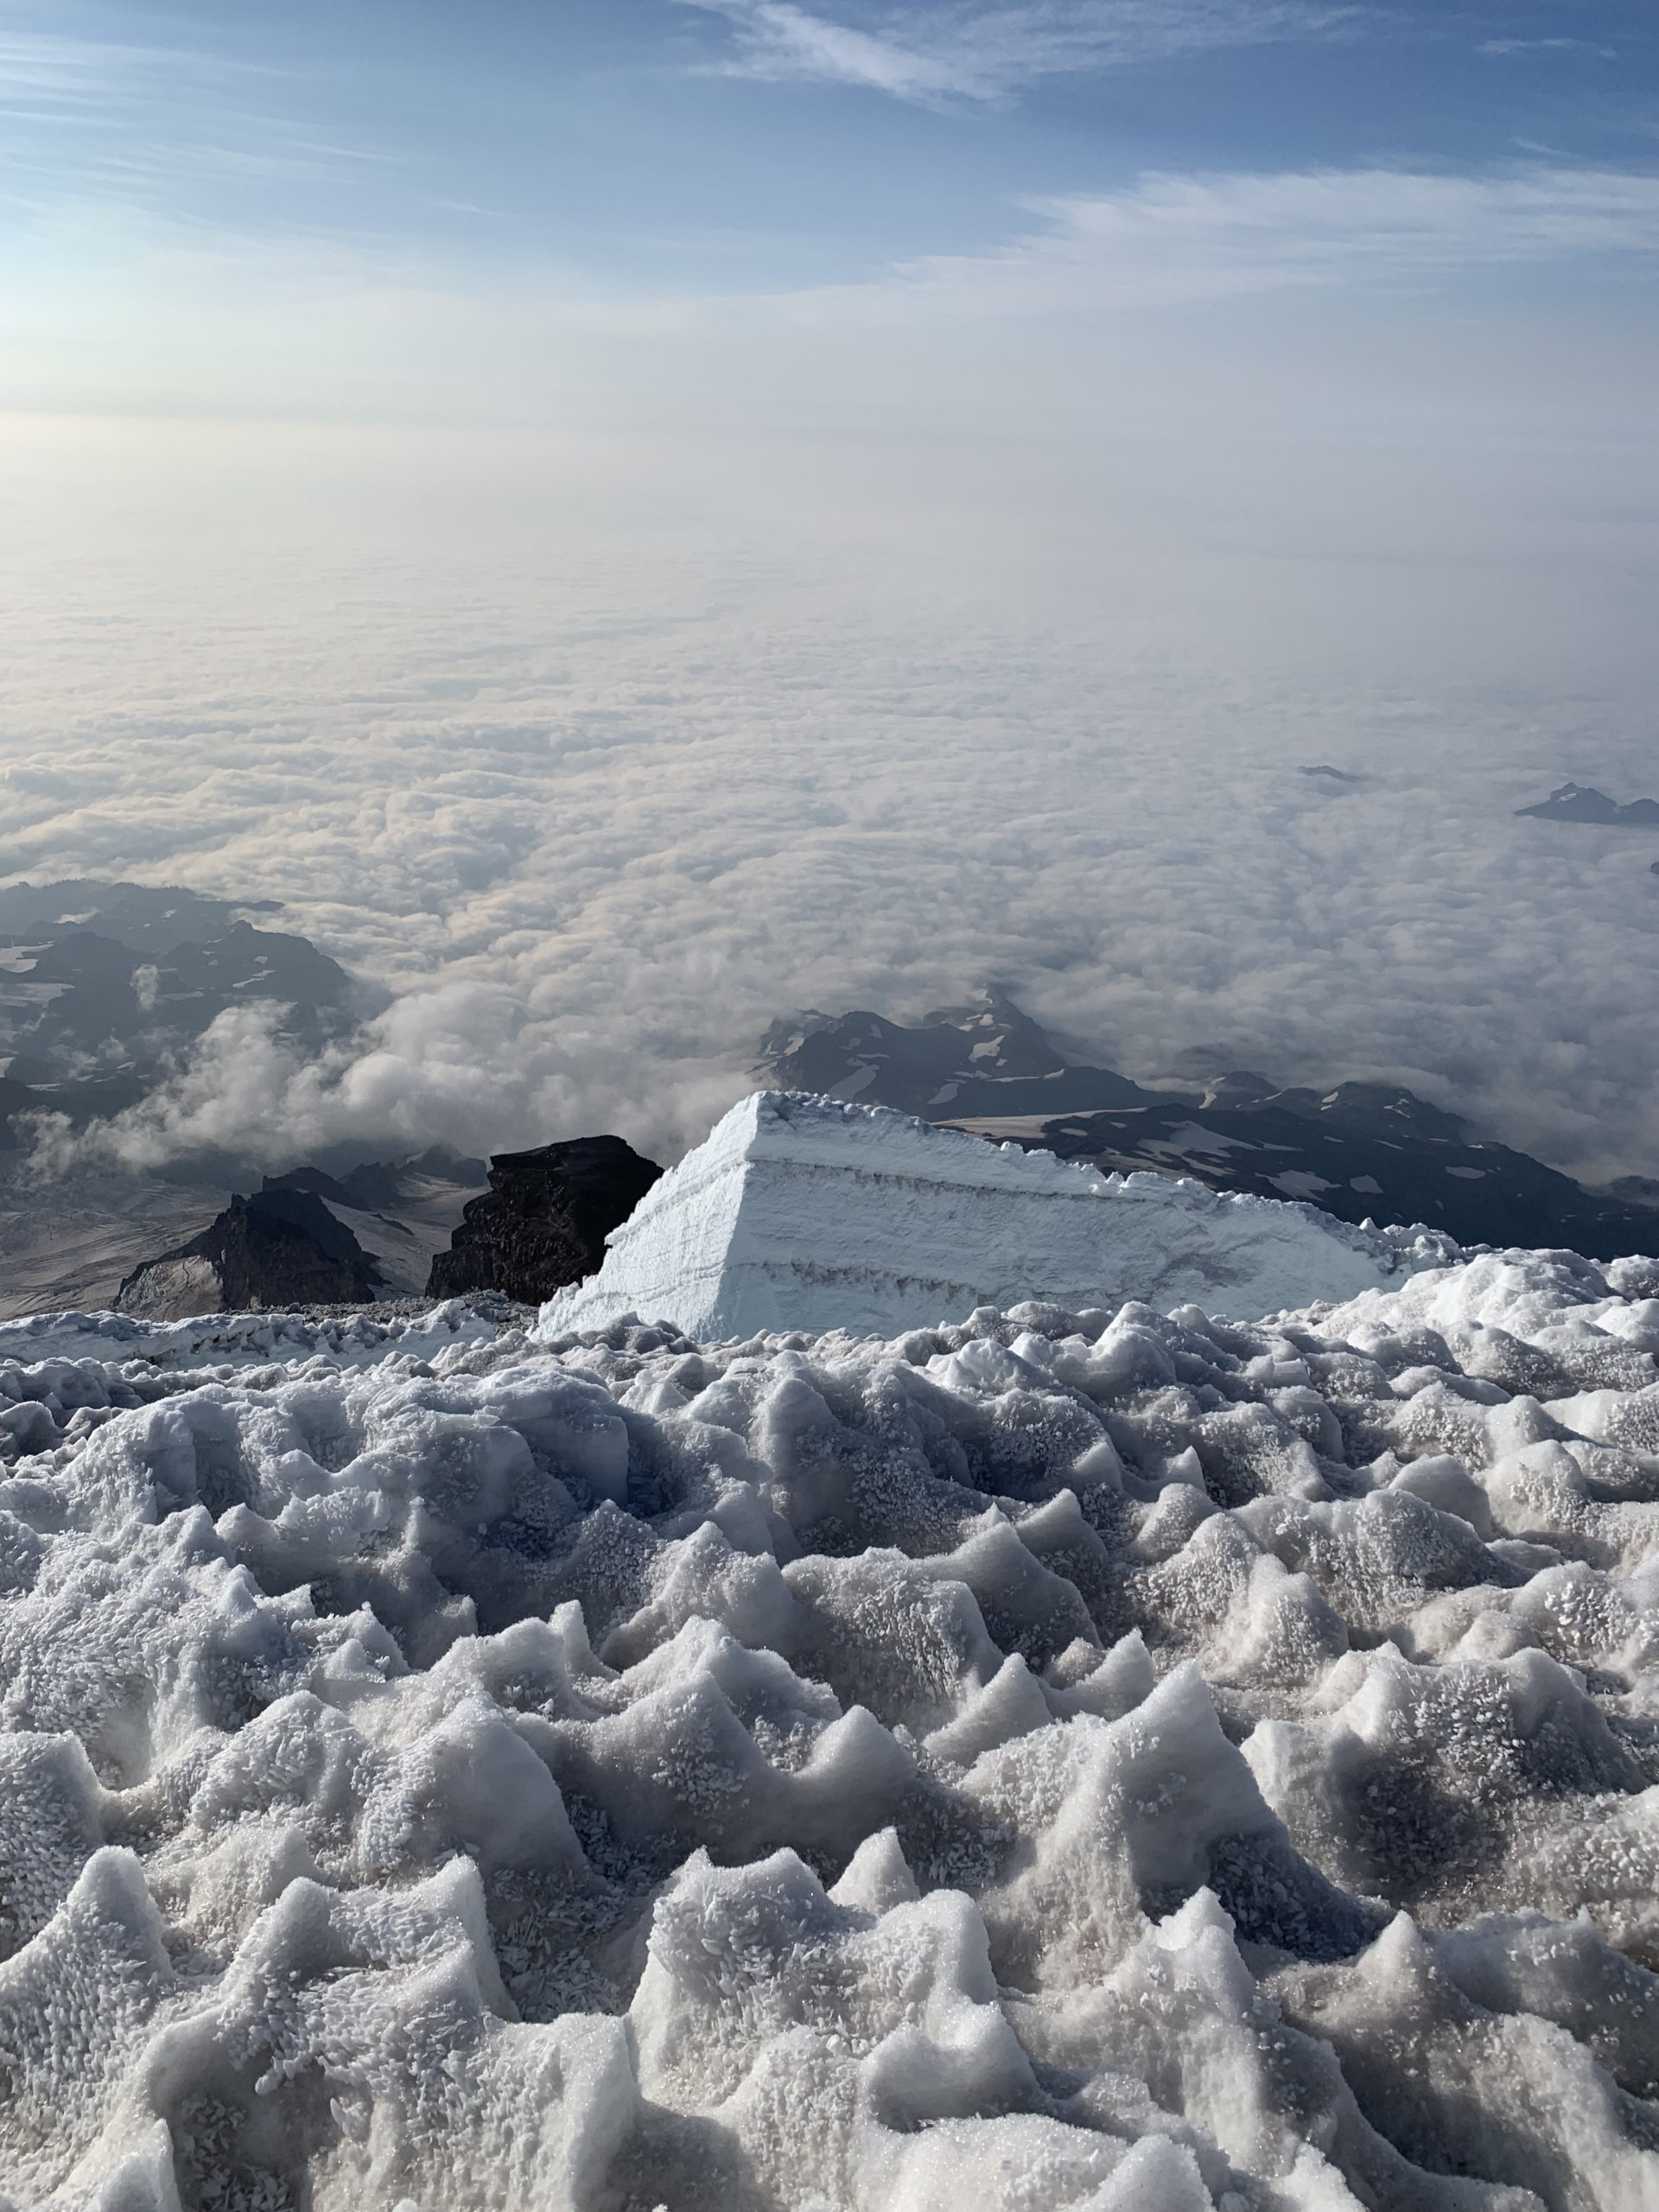
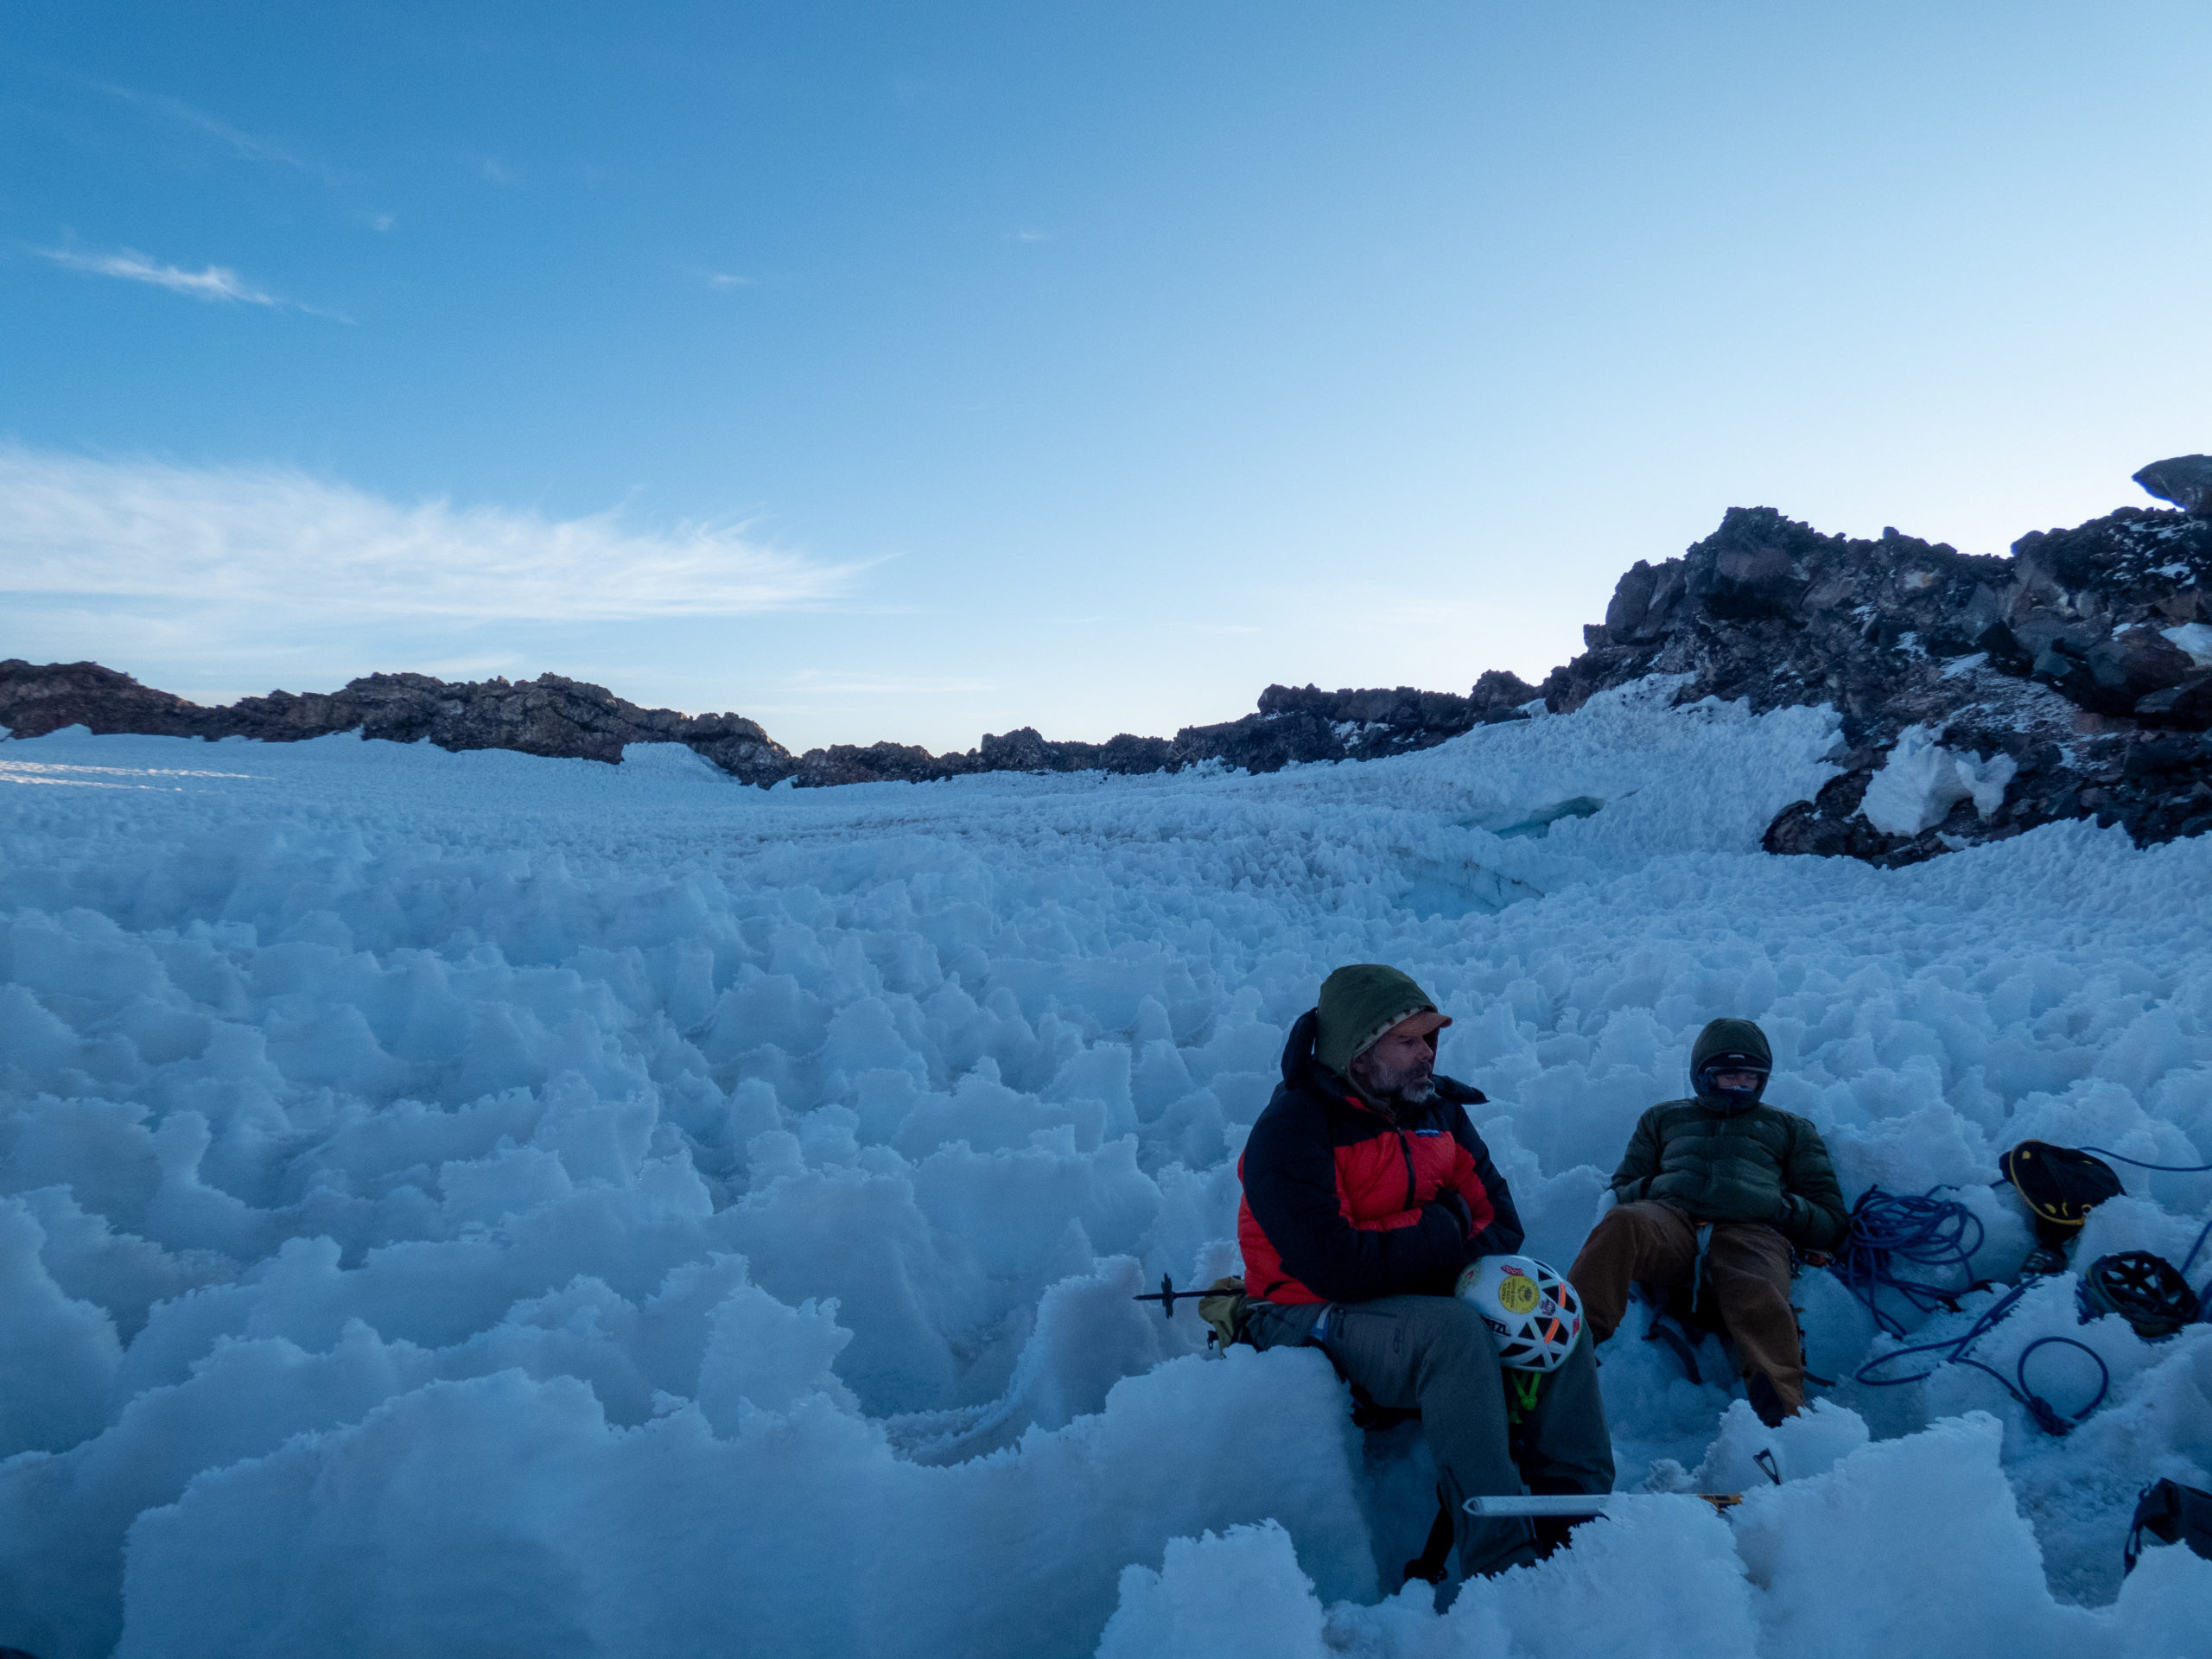
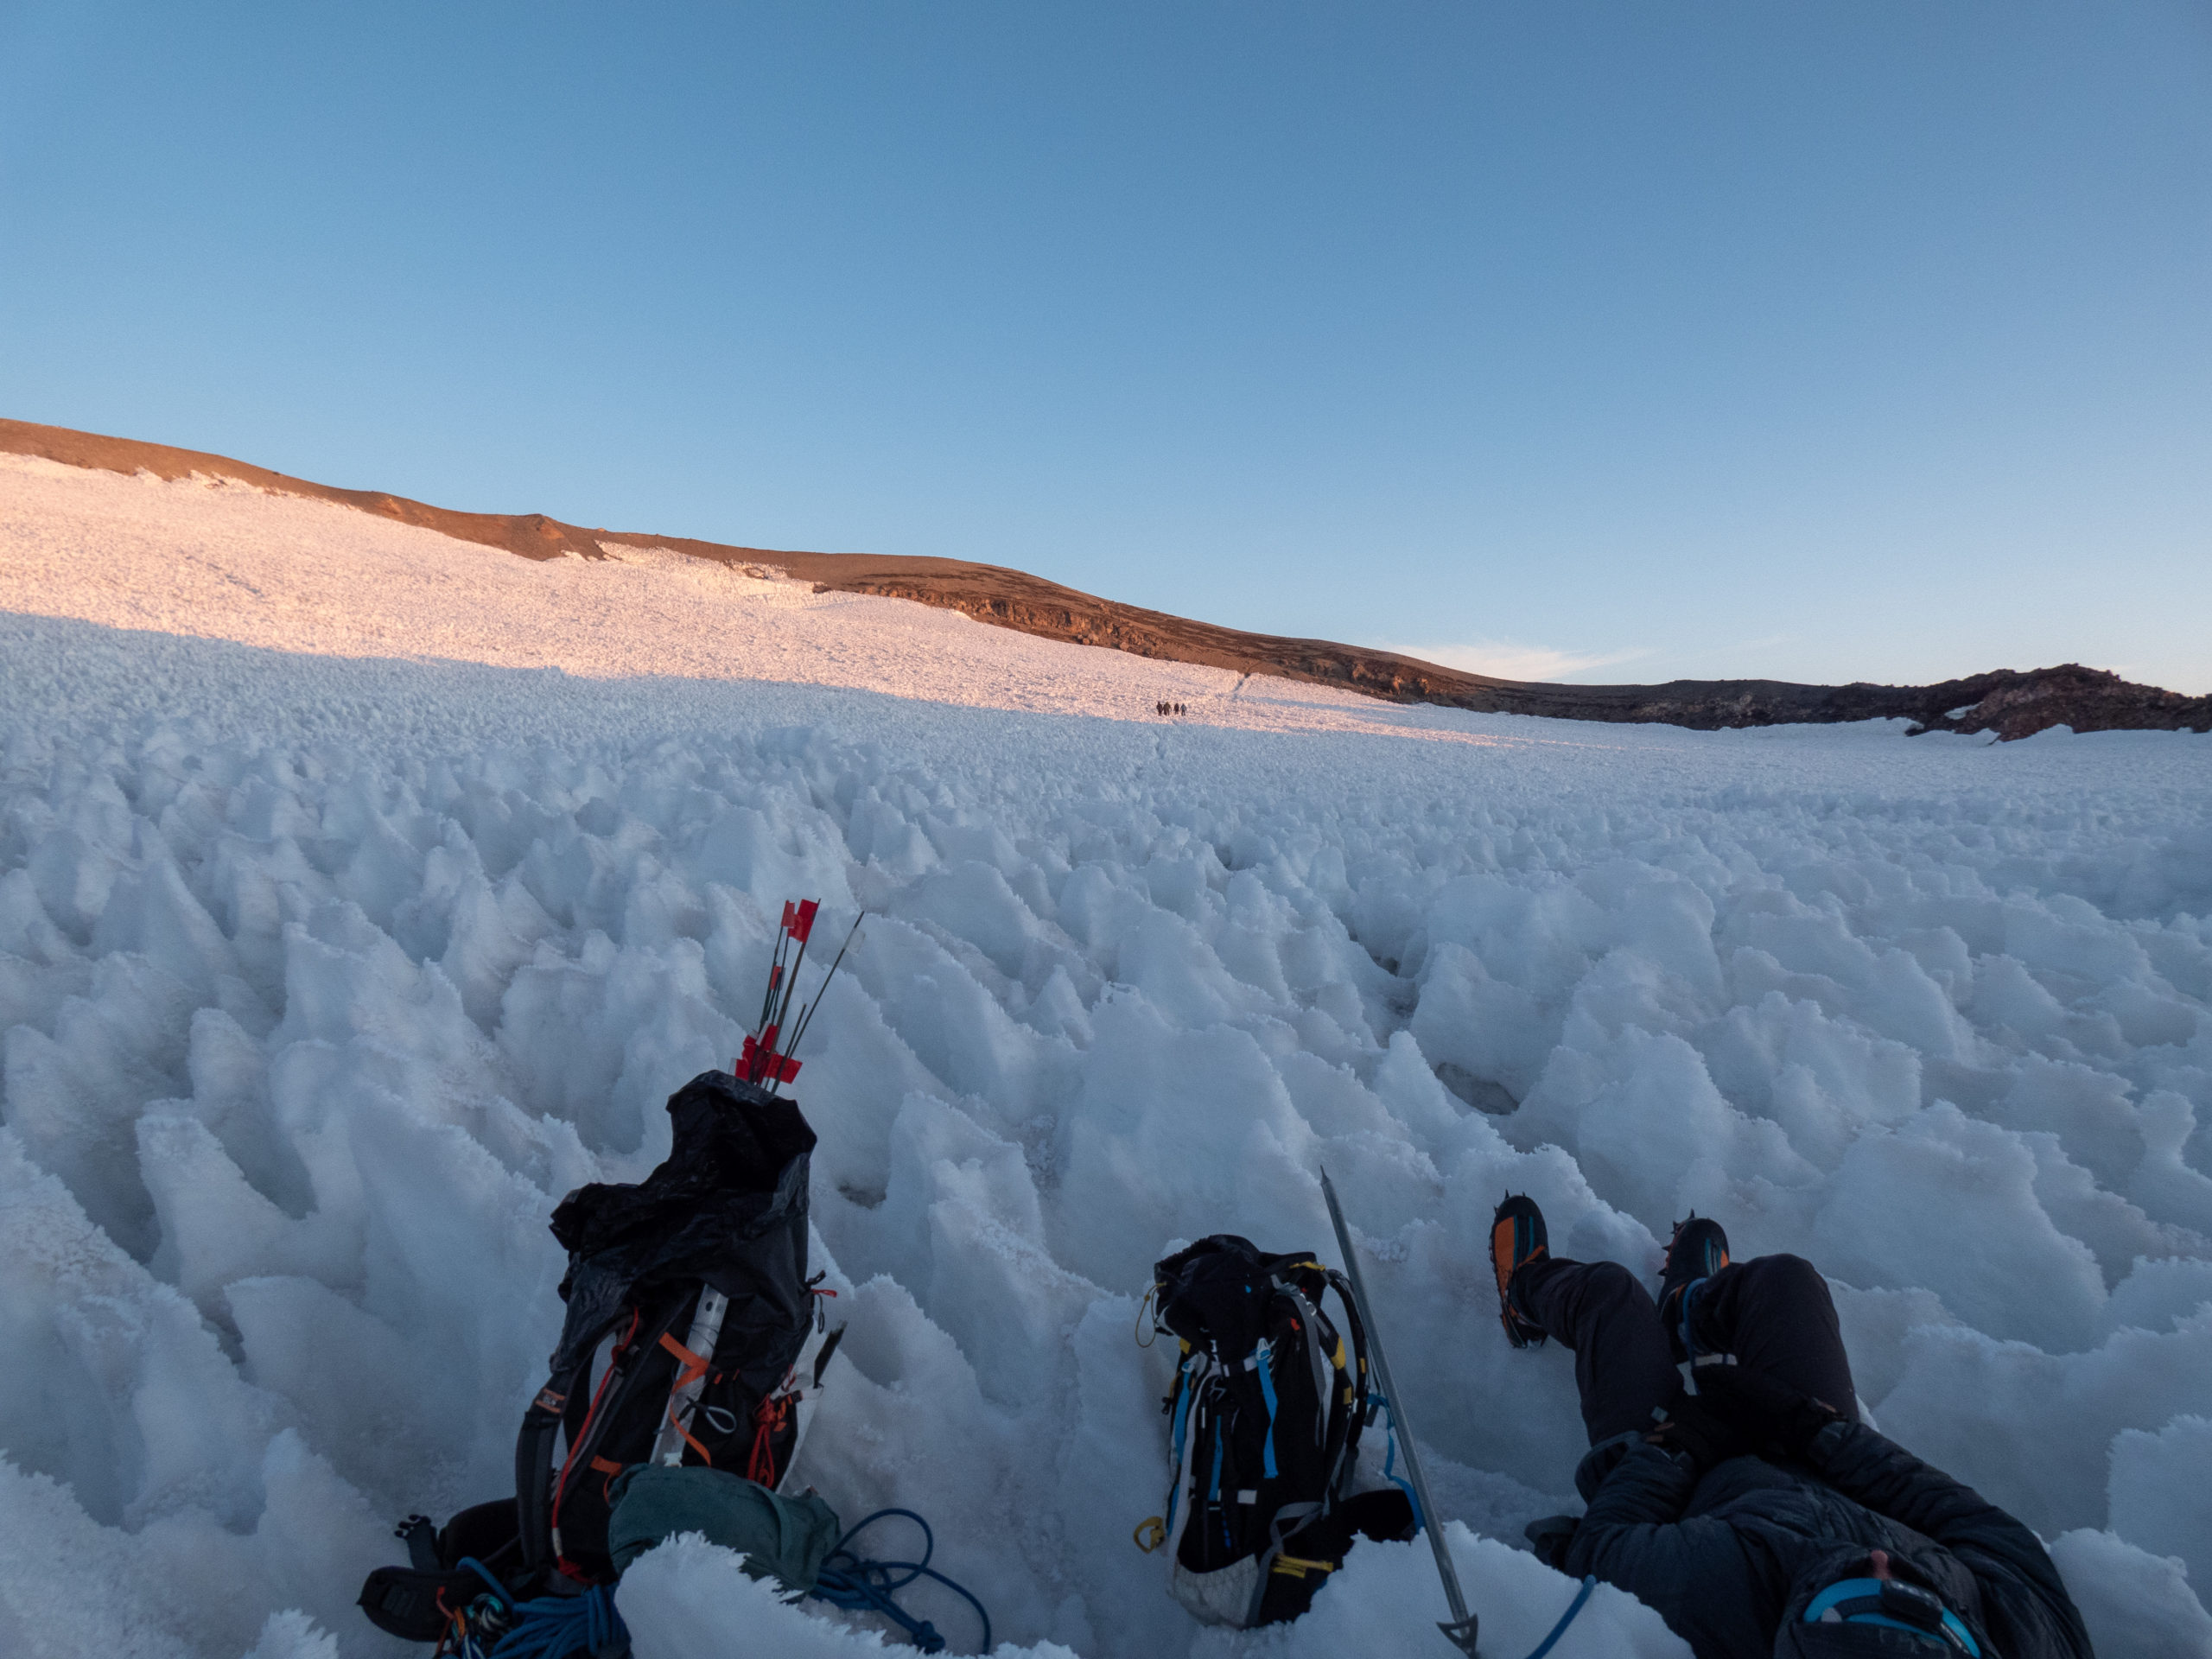
The sunrise colors started around 5:30 and I really wished I had my camera handy. Alas, not to be so. Around 5:45, you could see the crater above us. With a last slog, we made the crater and, technically, the summit. We went into the crater where it was about 15-18 by the thermometer on my pack. The wind was whipping through it so I was very glad to have my heavy parka with me. It kept me nice and toasty, worth every penny!!
Five of our team (guides Nicole and Justin, team members Kevin, Aaron and Alec) decided to do the additional hour hike to Columbia Crest, the highest point of Mt. Rainier. I knew the trip down was going to be really long so I passed. Instead, I enjoyed bread Josh had brought up as a summit treat and rested my tired bones. You can call me wimpy, I’d do the same thing again!


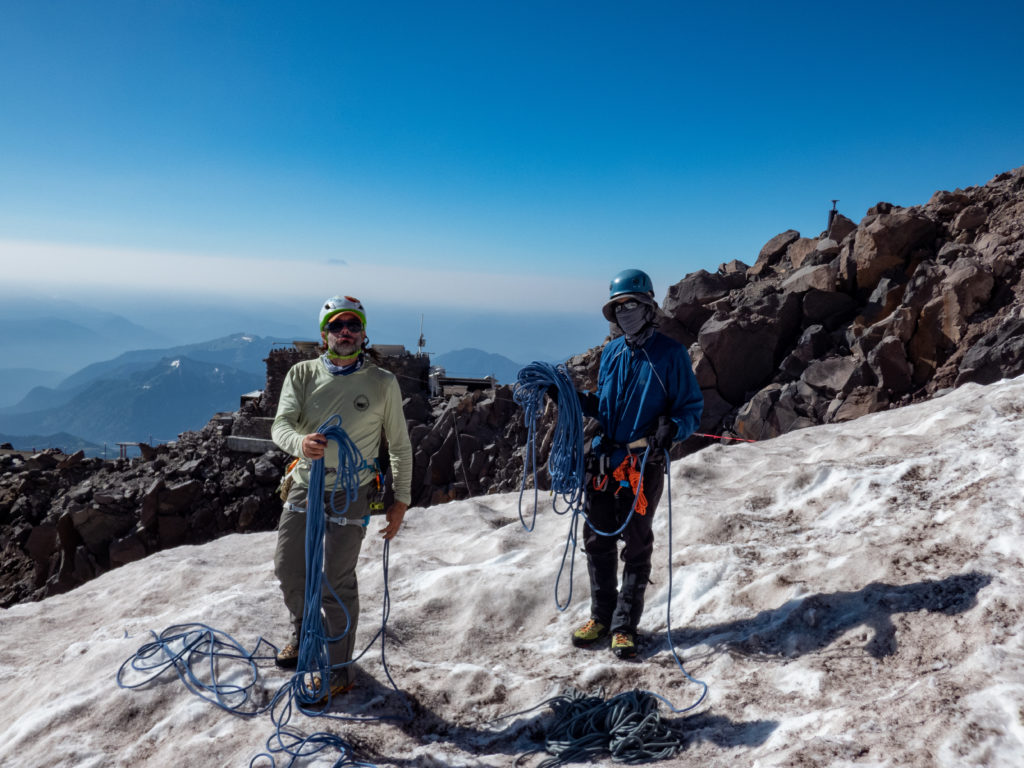
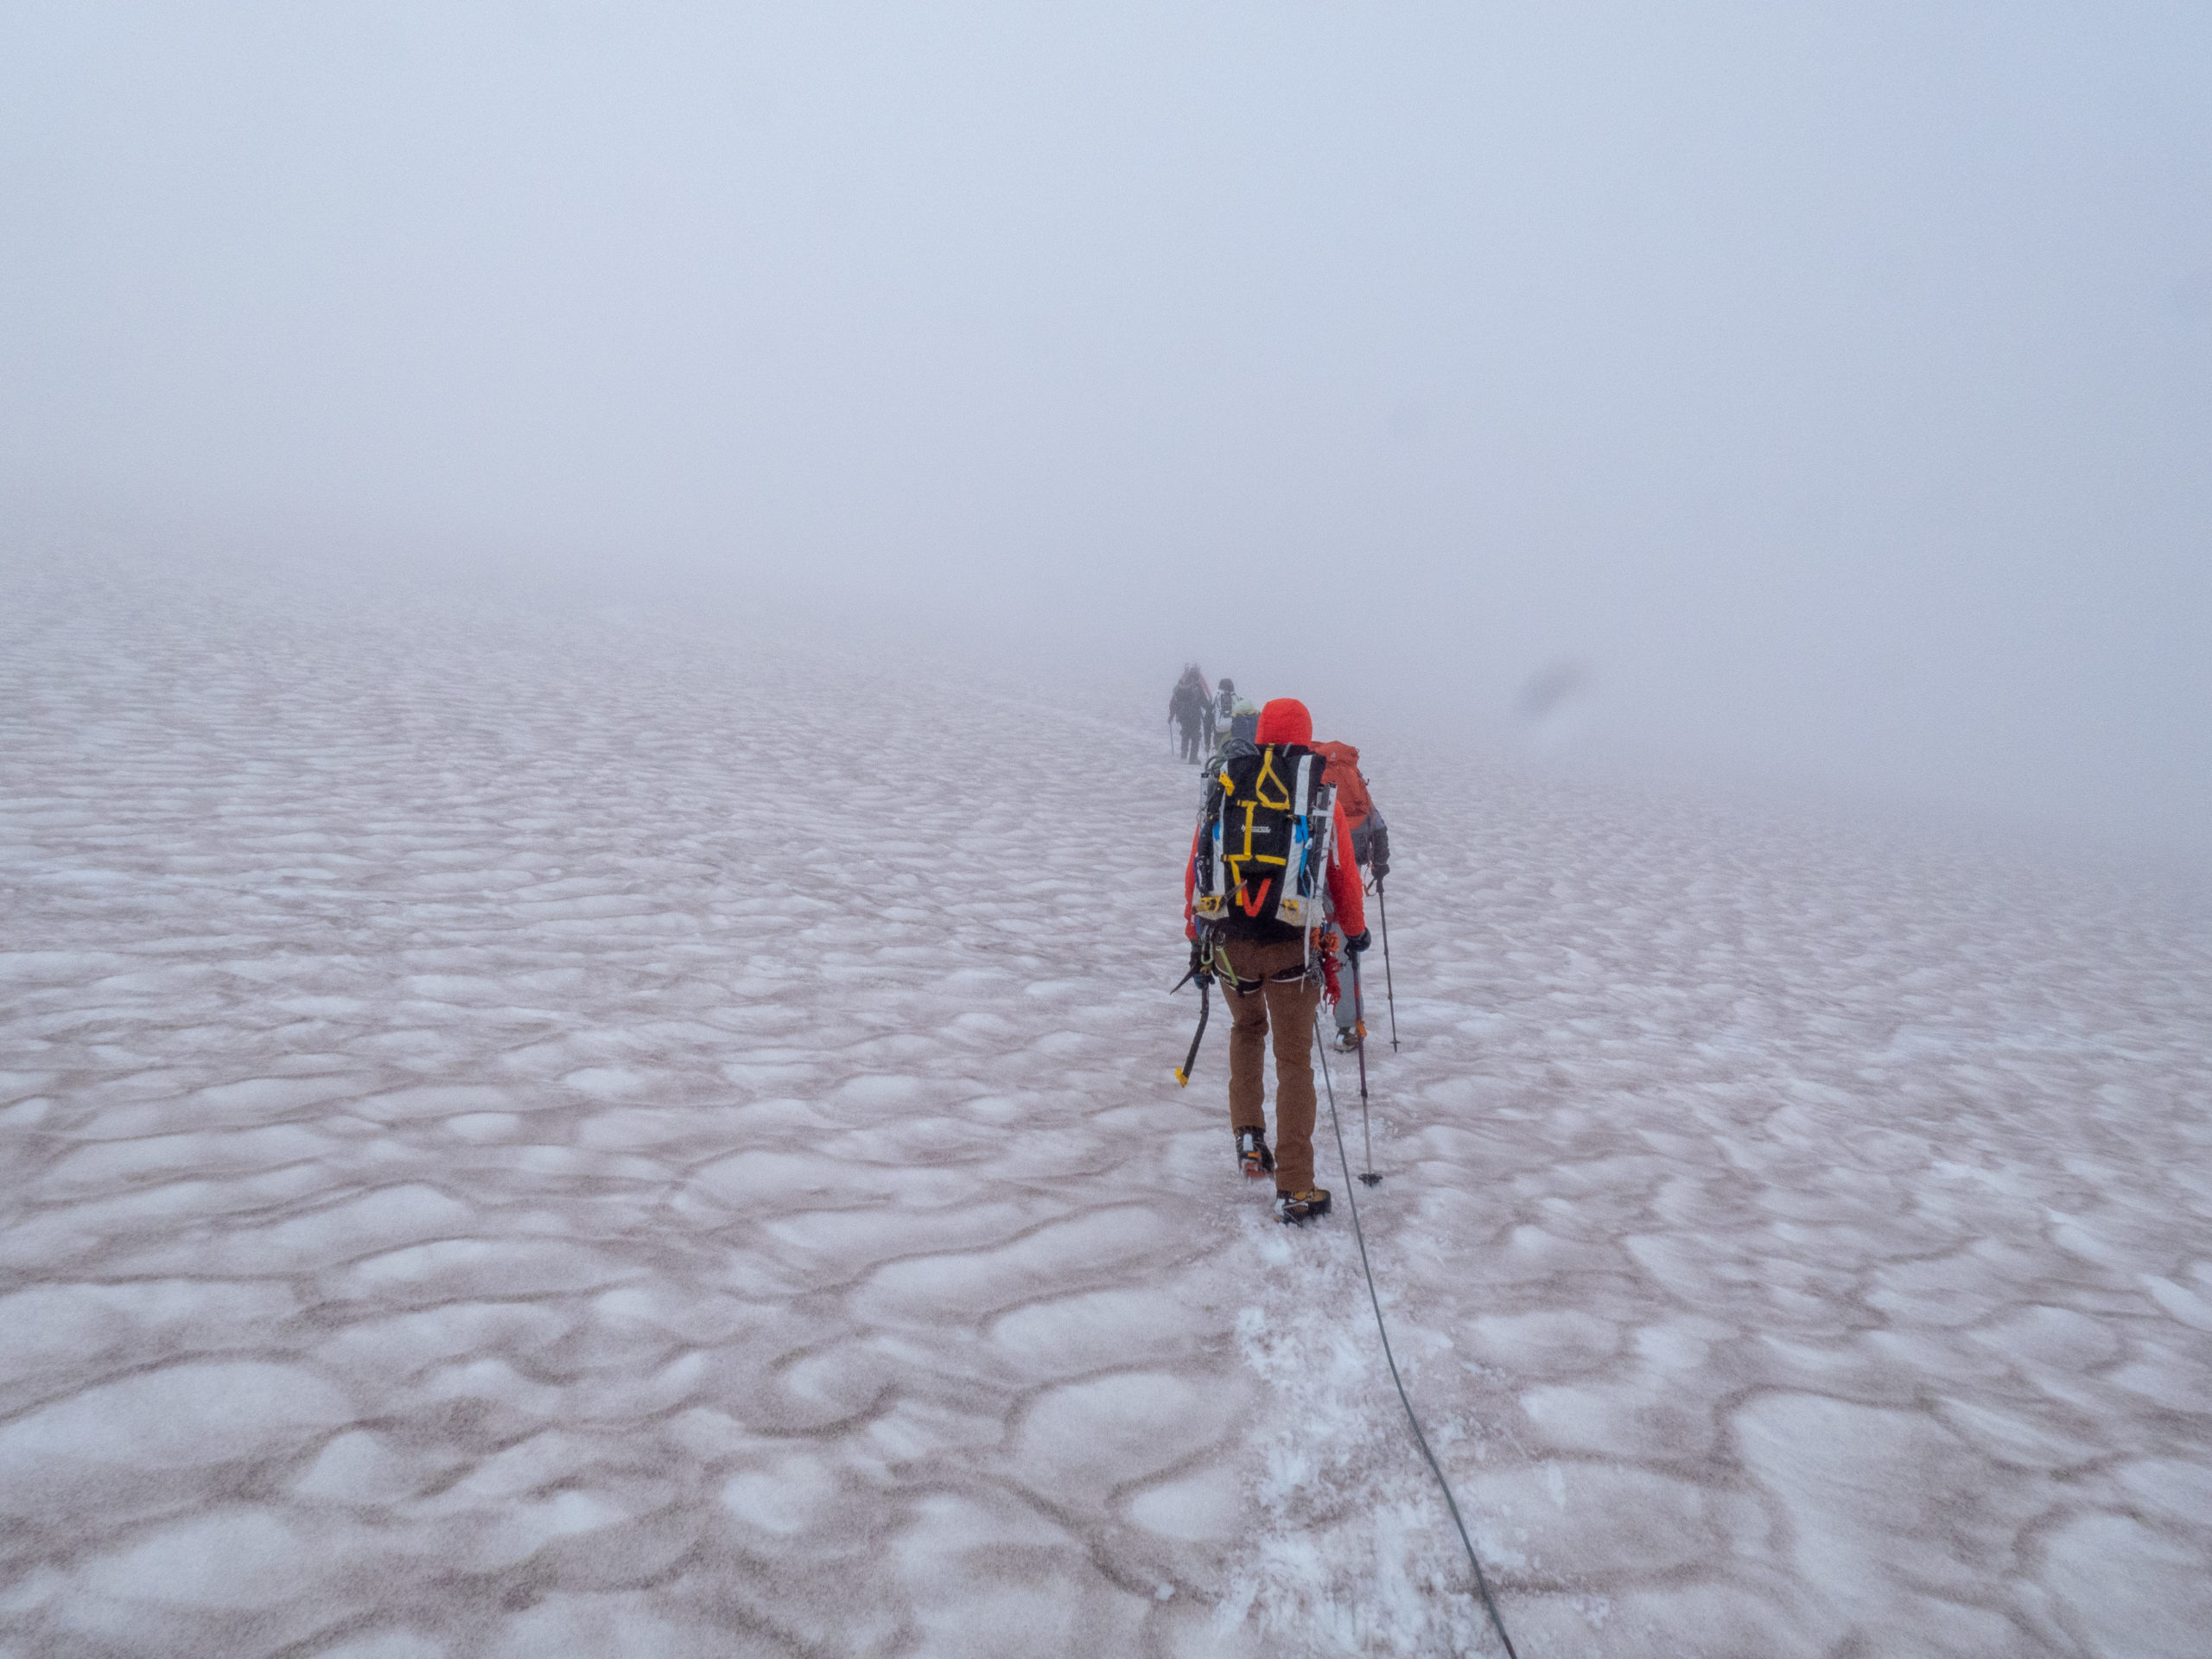
Day 6 – The long road down
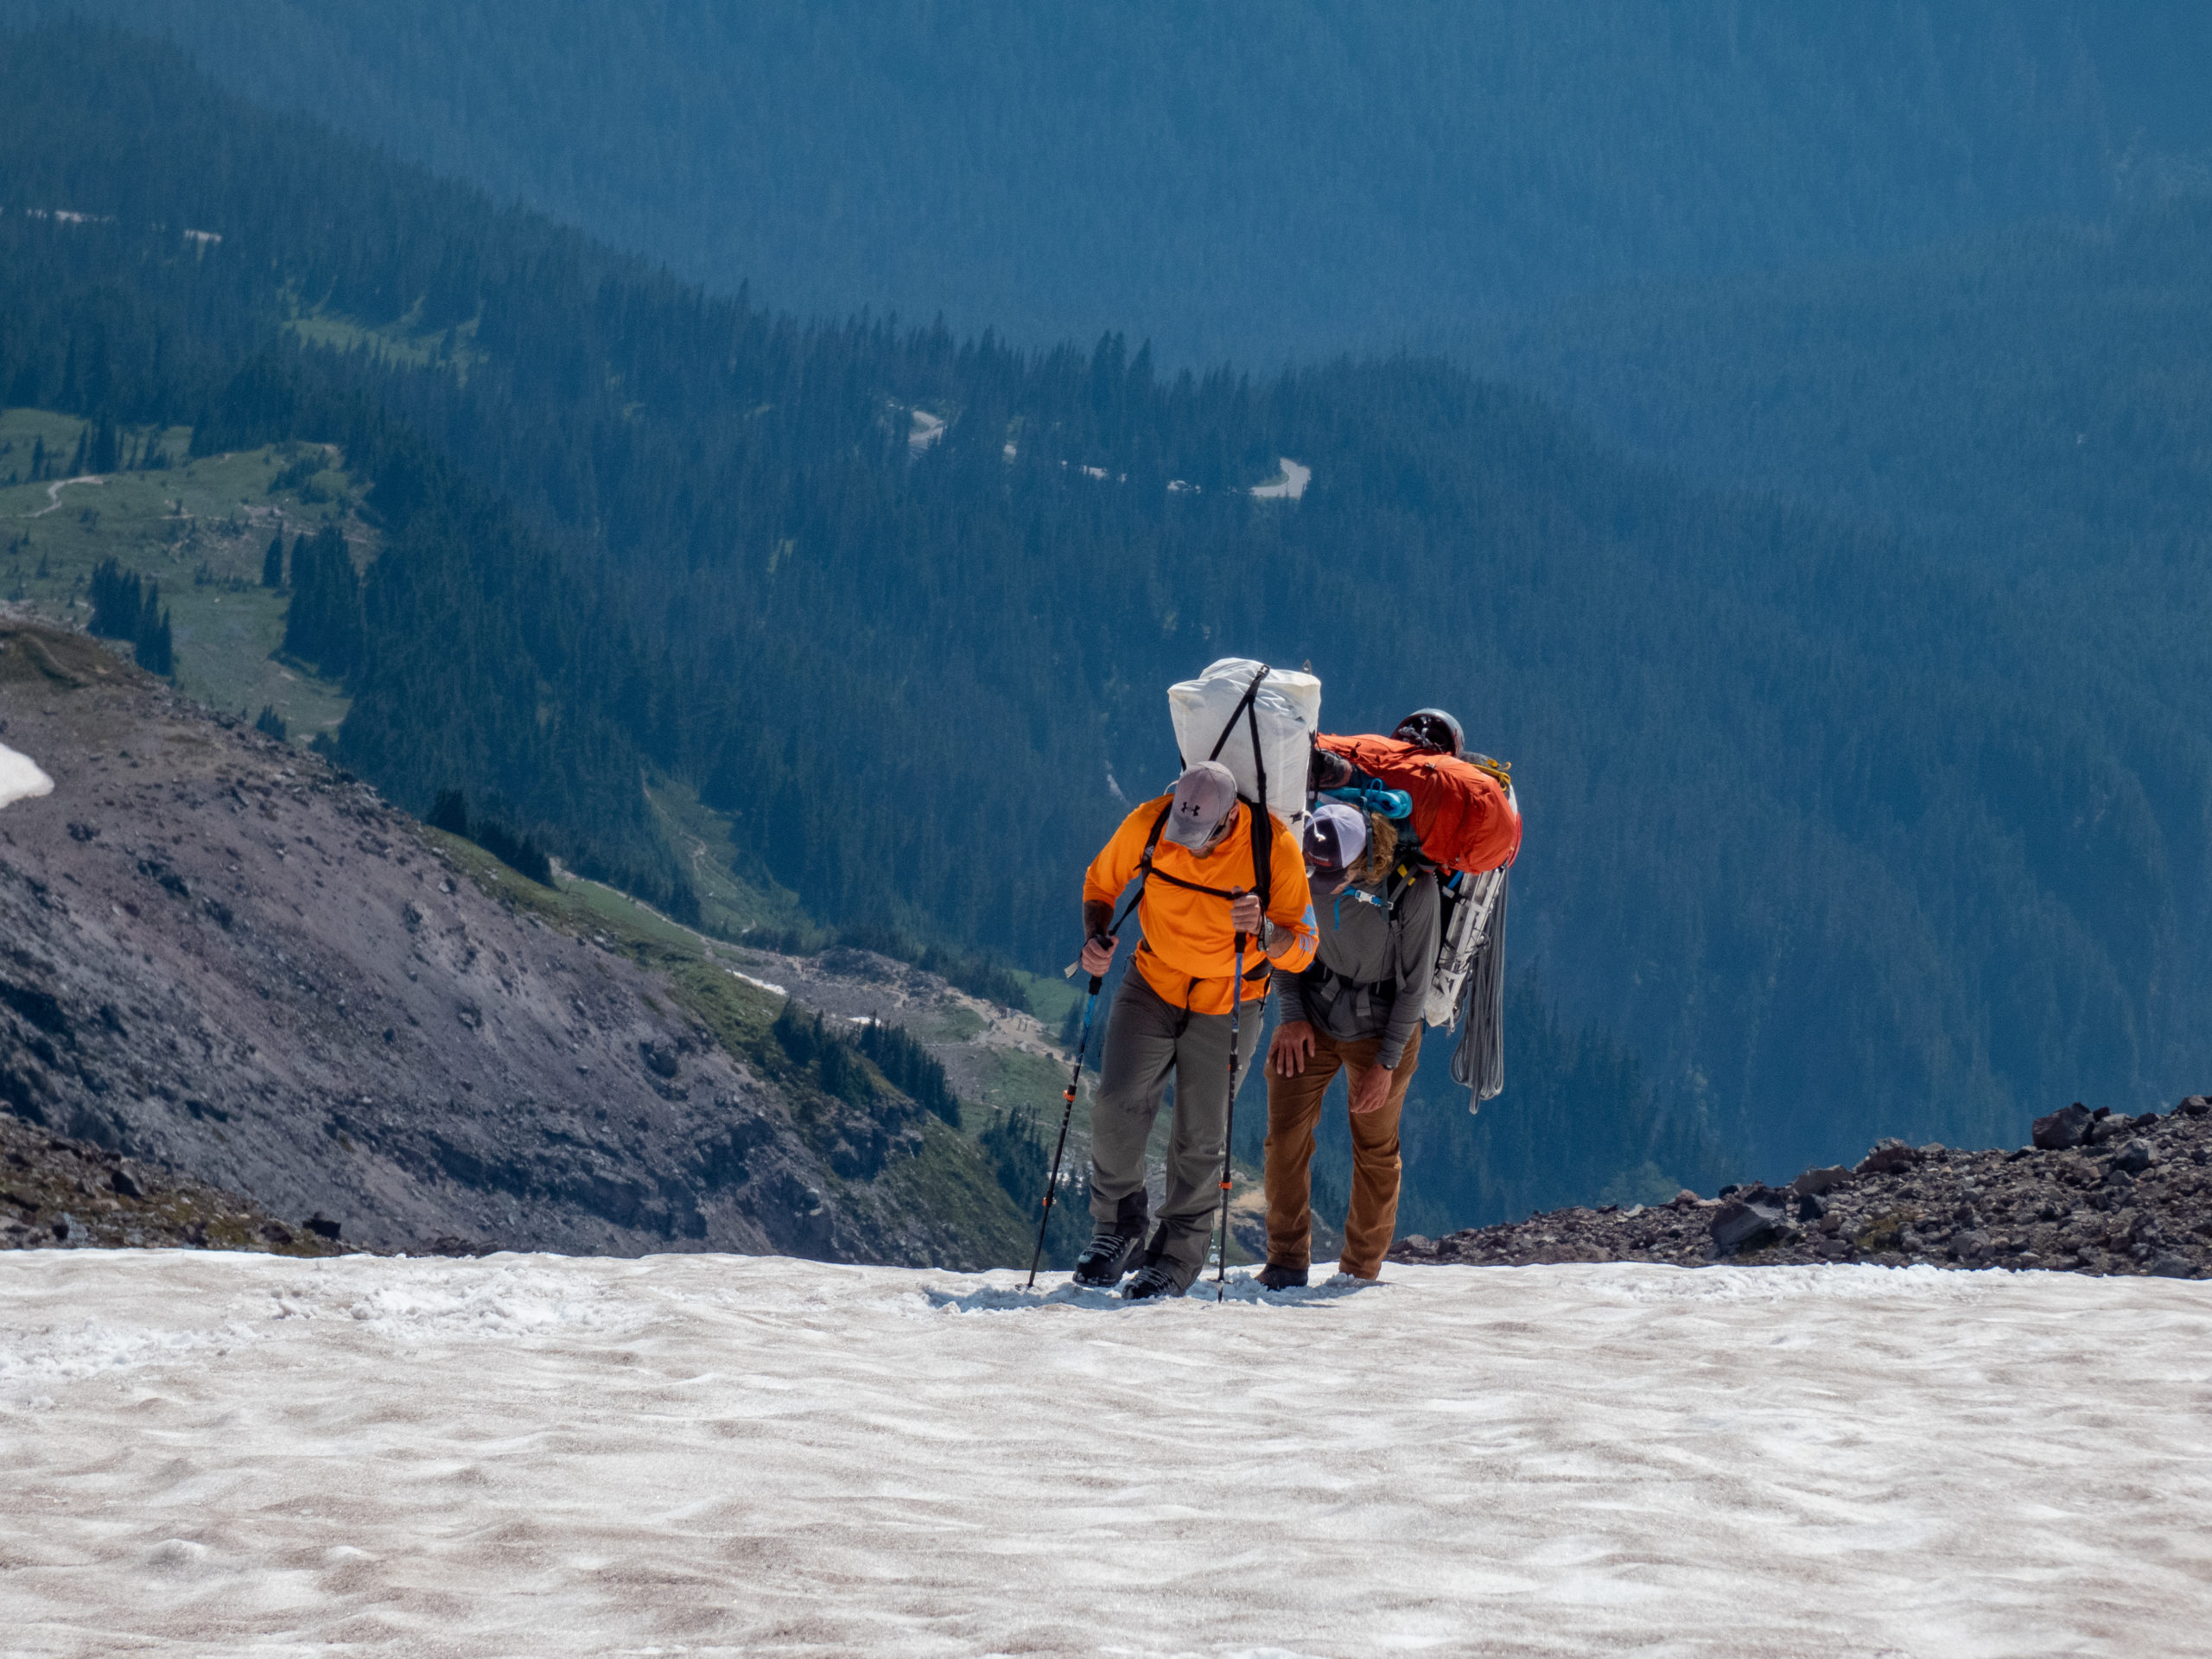
Shortly after the crew returned from Columbia Crest, we started down. Nothing dramatic happened so there isn’t much to tell. The biggest news, it’s a LONG way to the bottom. We headed all the way back down to Paradise traversing the same sketchy areas. We arrived at Paradise at about 4:30PM, 16 hours after we left High Camp. Everyone was wiped (except maybe some of the guides). We took the van back to IMG, debriefed, and went our separate ways. It was a quick ending to our partnership that had been around for over 6 days. What a good group of people.
That night, I drove up to Covington to spend a few nights with Tanya’s family. It was nice to sleep in a warm bed, take care of my feet, shower and have a real bathroom. Sometimes it’s the little things that make the difference!
Return Road Trip from Mount Rainier – Day 1
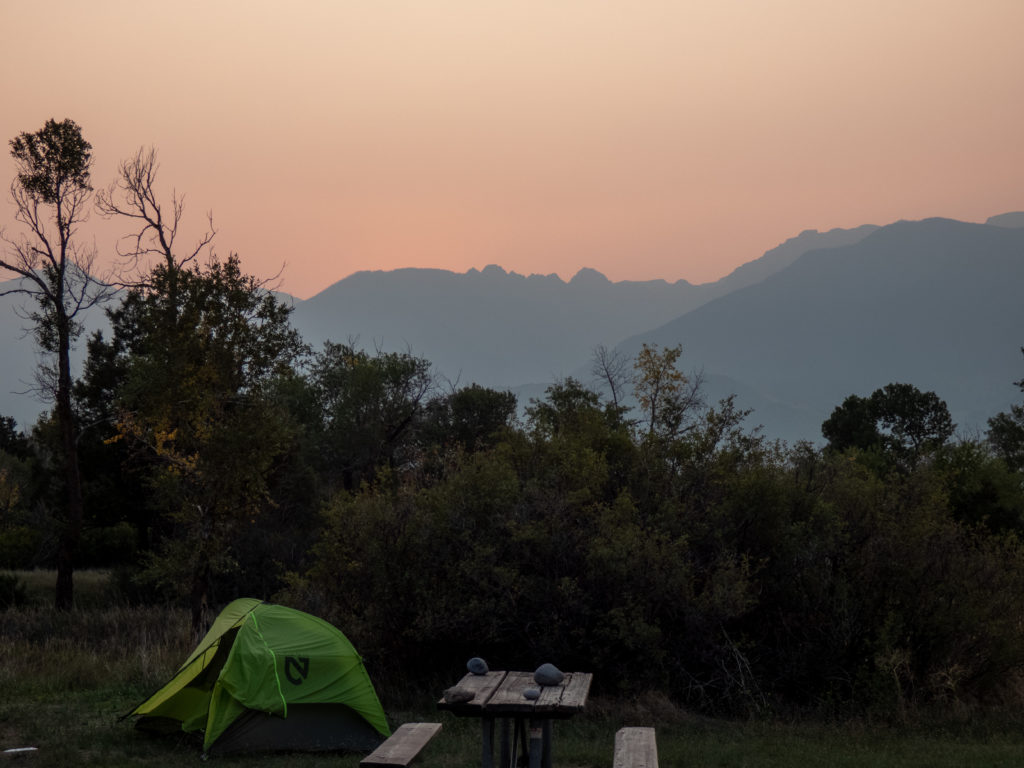
Early Sunday I headed back home. My plan was to go through Montana to visit Yellowstone and Grand Teton National Parks. Originally I’d mapped out a dispersed campsite 3 miles or so off US 89 on Big Creek Road. After 10+ hours of driving, I really didn’t feel like scouting out a place. I came across Mallards Rest and drove into it to see if there were spots. There was only one left. I didn’t want to risk not having a place to camp so I snagged it.
The campground is a little too close to the road to get a peaceful night’s rest. It was good enough, however, and the sunrise provided a nice picture.
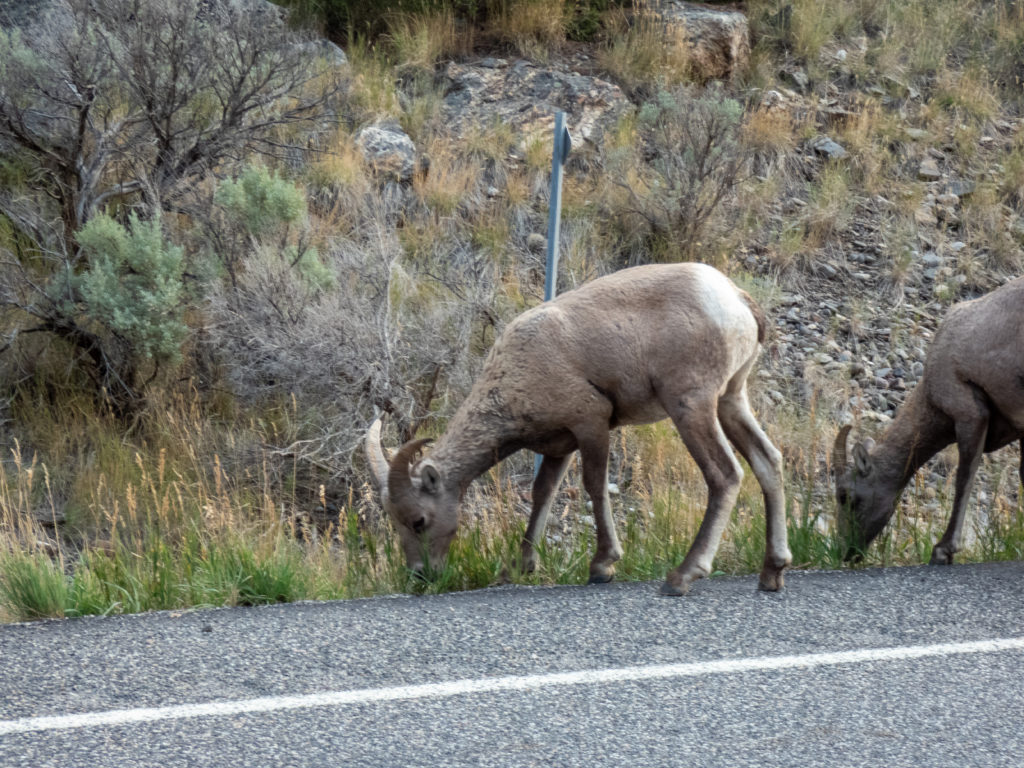
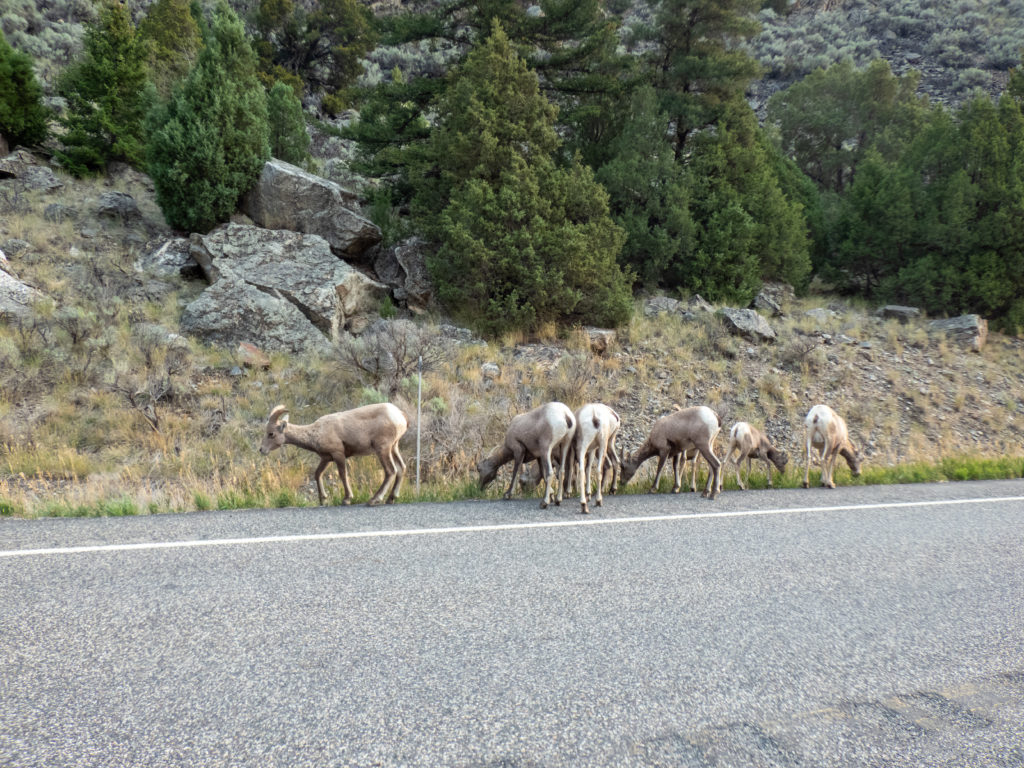
Between the campground and the entrance to Yellowstone, I came across a herd of sheep grazing by the road. The day seemed to be off to a good start!
Return Road Trip from Mount Rainier – Day 2, Yellowstone National Park
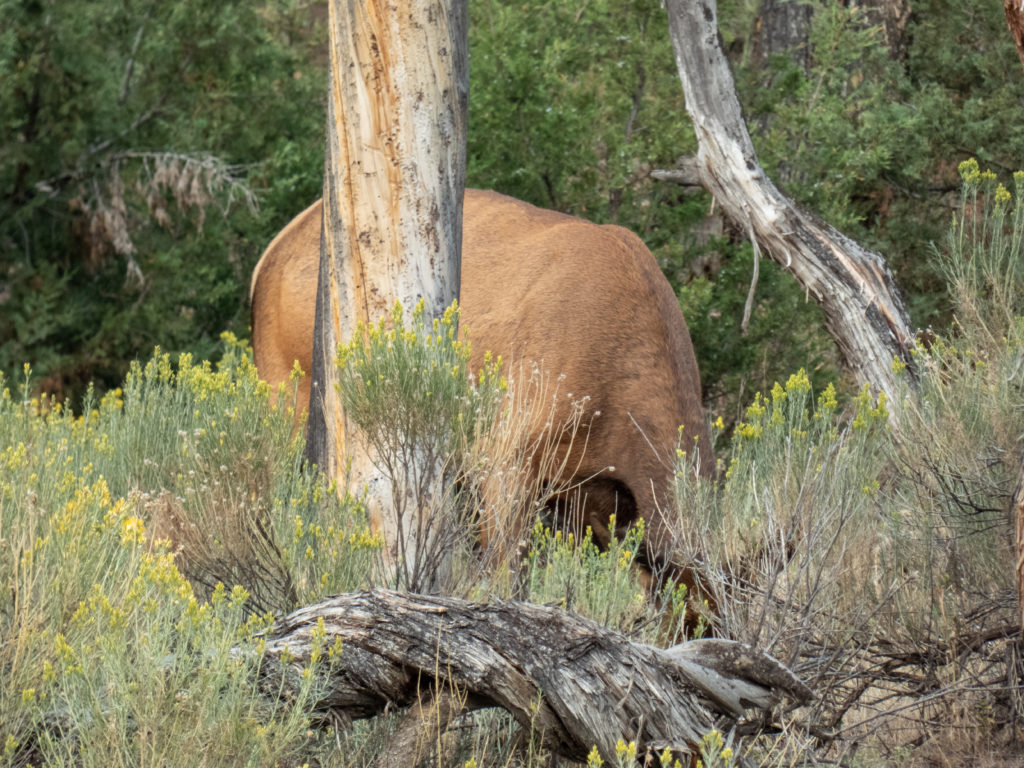
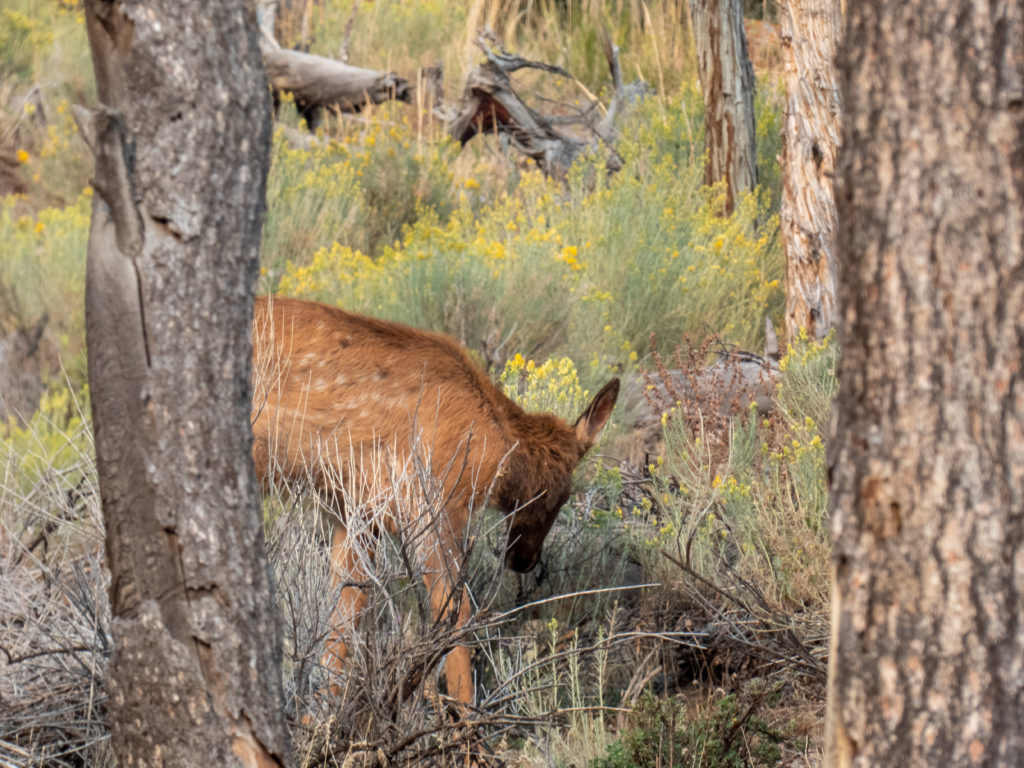
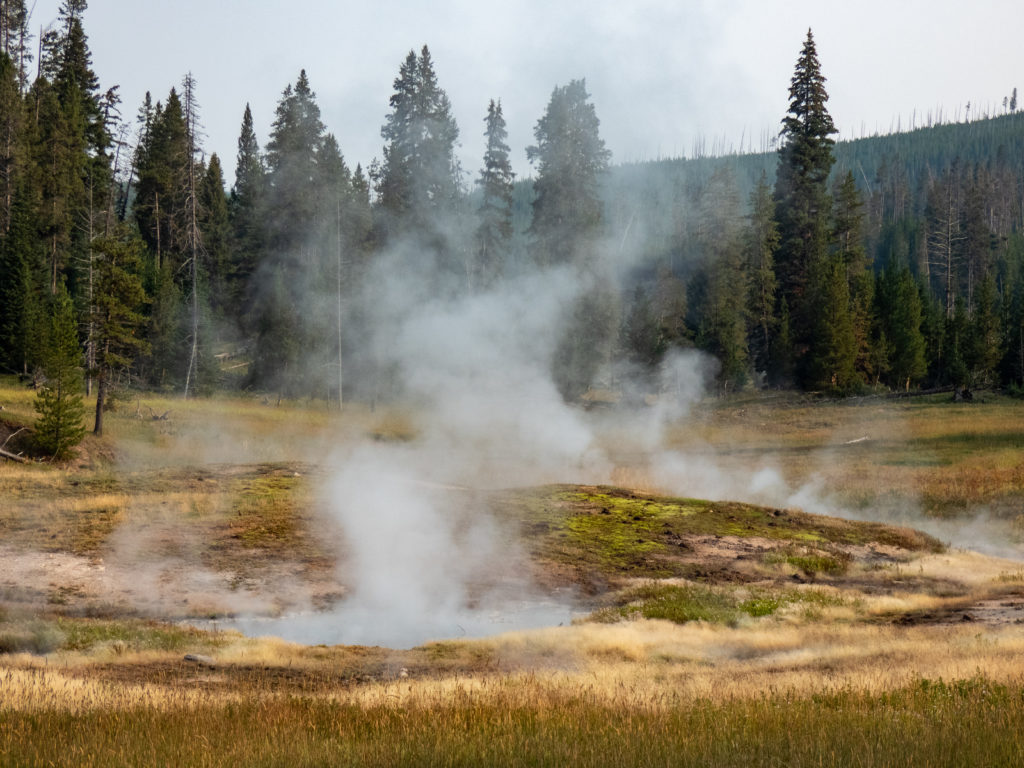
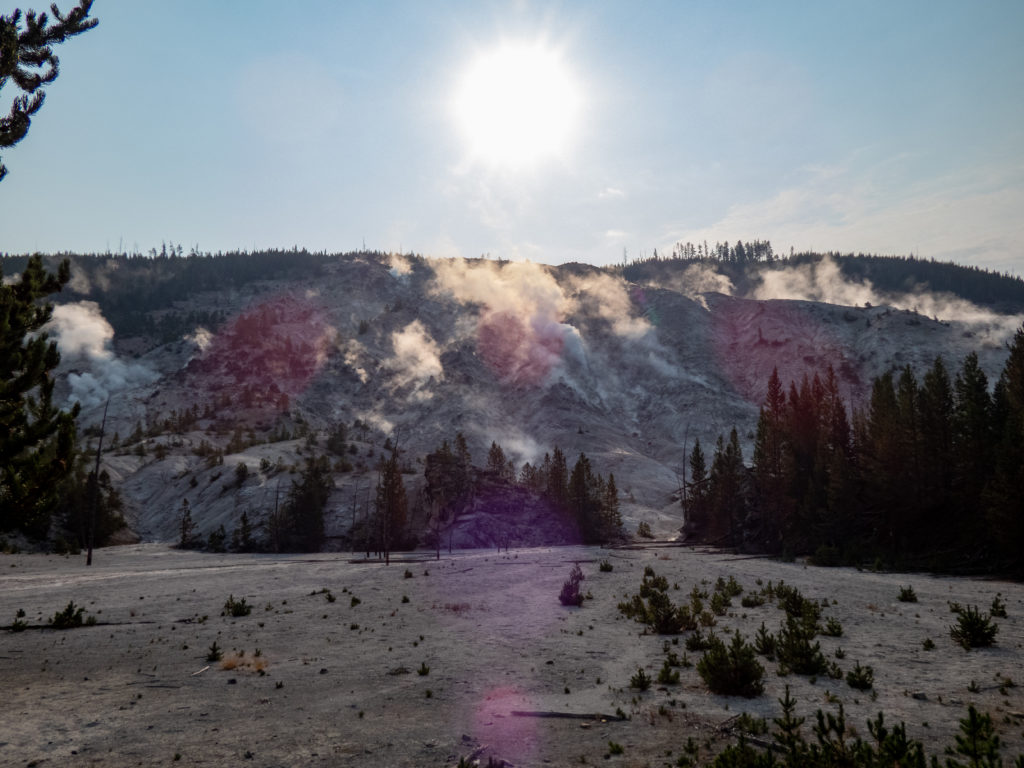
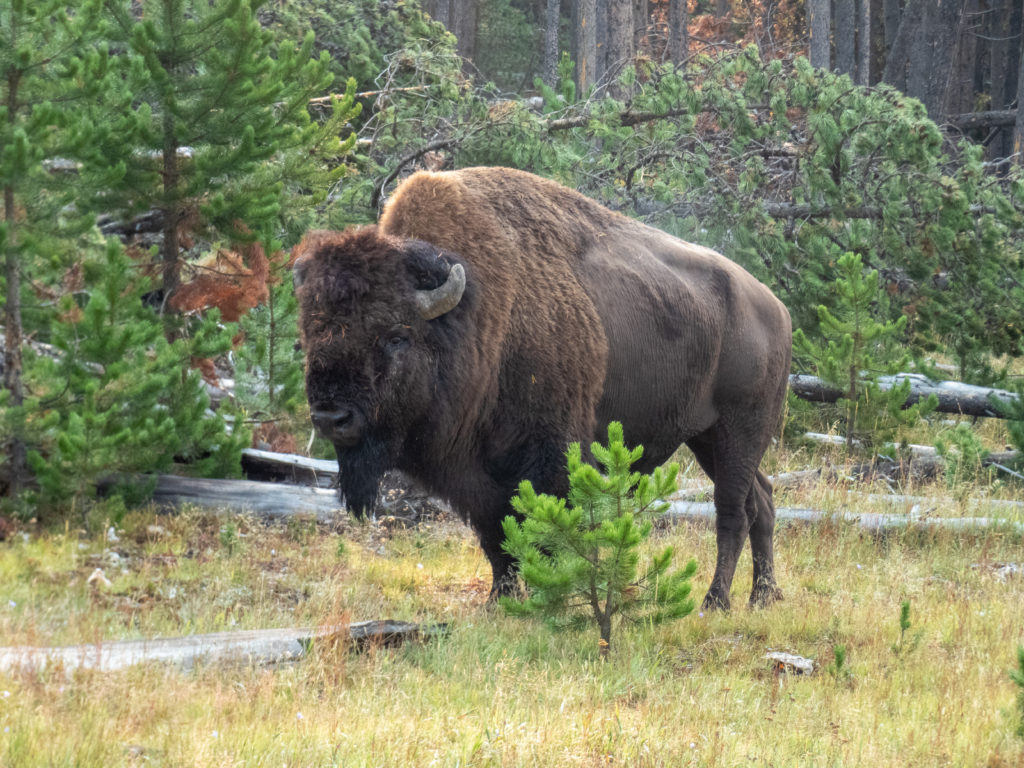
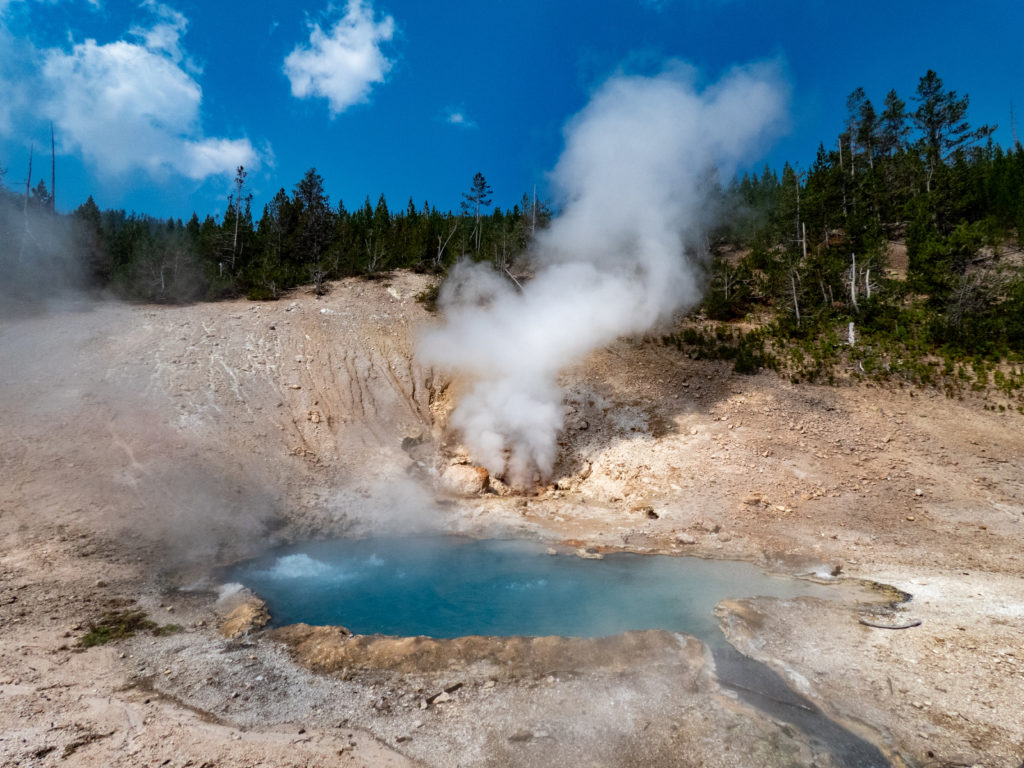
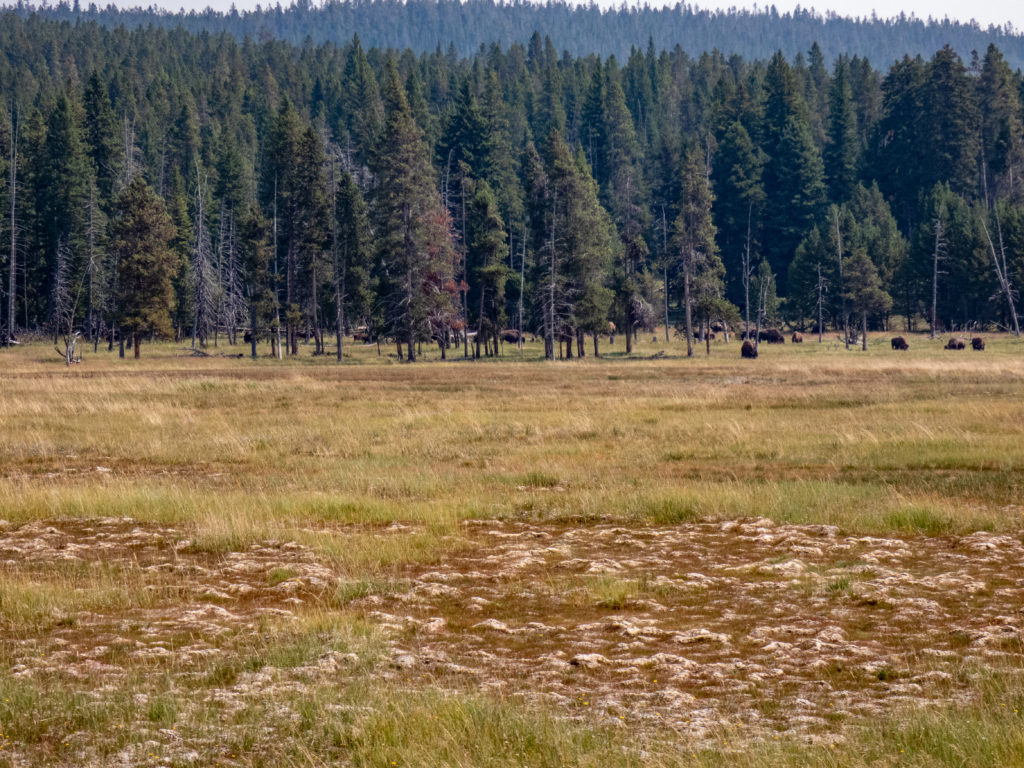
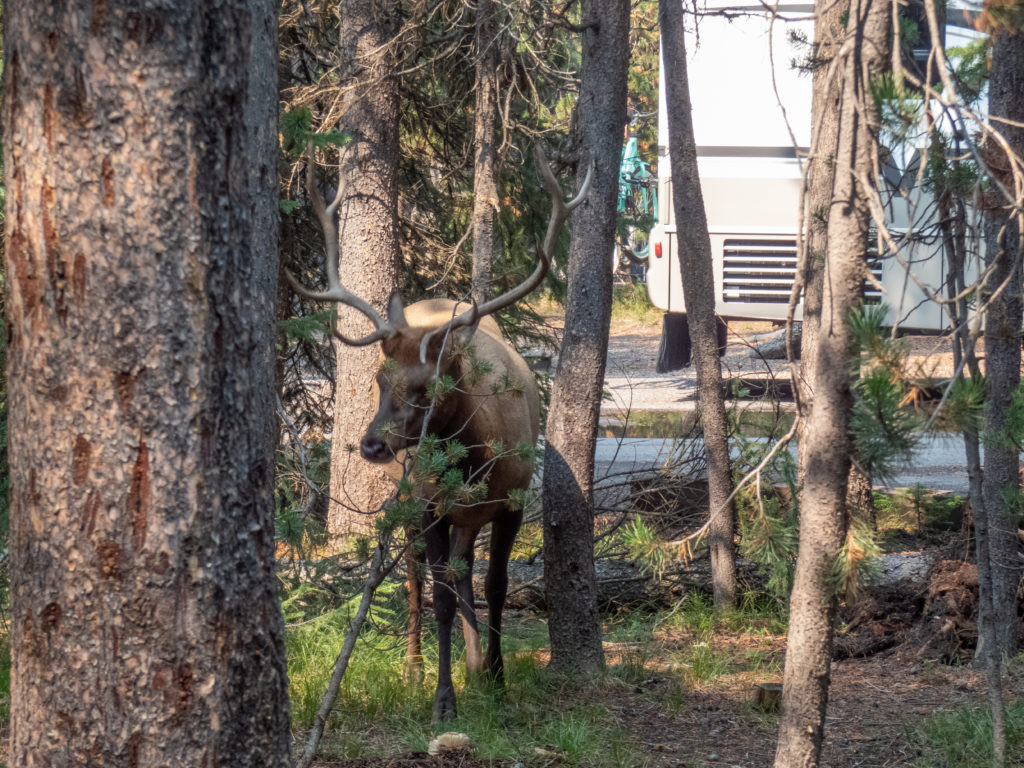
I was excited for the day since I’d never been to Yellowstone National Park. Shortly after getting past the entrance, I saw a few elk in the trees. I stopped for the shot. She never raised her head and the shot of her youngster wasn’t that great either. Oh well, I kept moving on. The meadows along the road were amazing. Mists were rising from the warm waters into the cooler air. Then, a bison just happened along. I also stopped by Roaring Mountain and Frying Pan Springs. Lots of good picture opportunities!
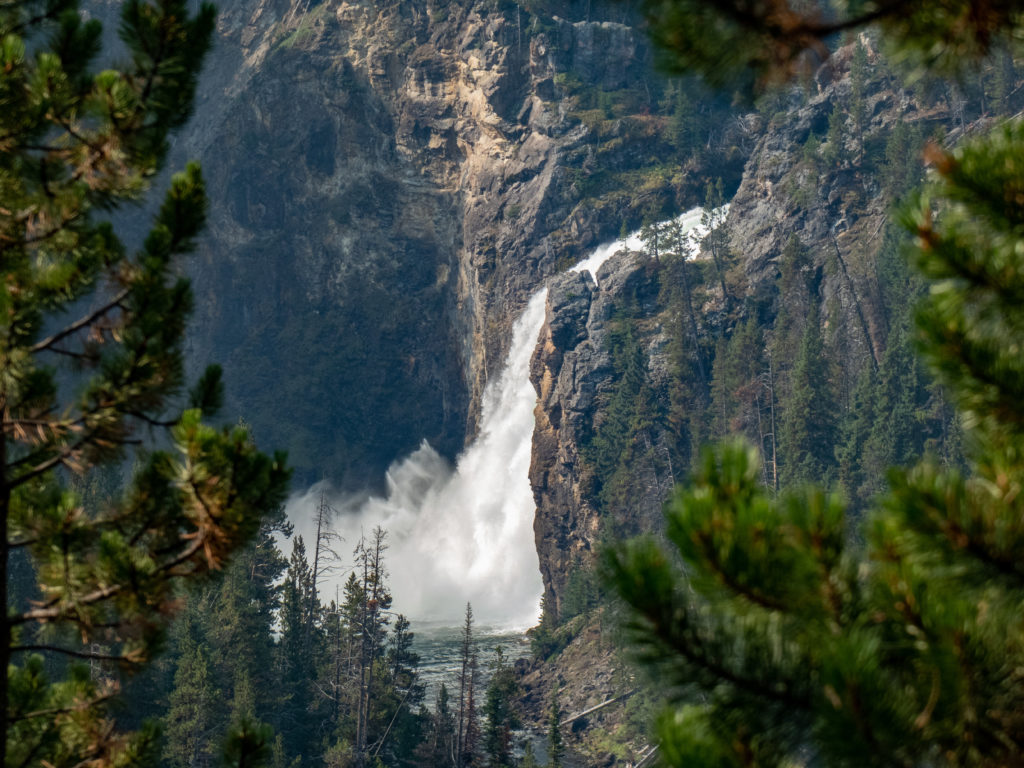
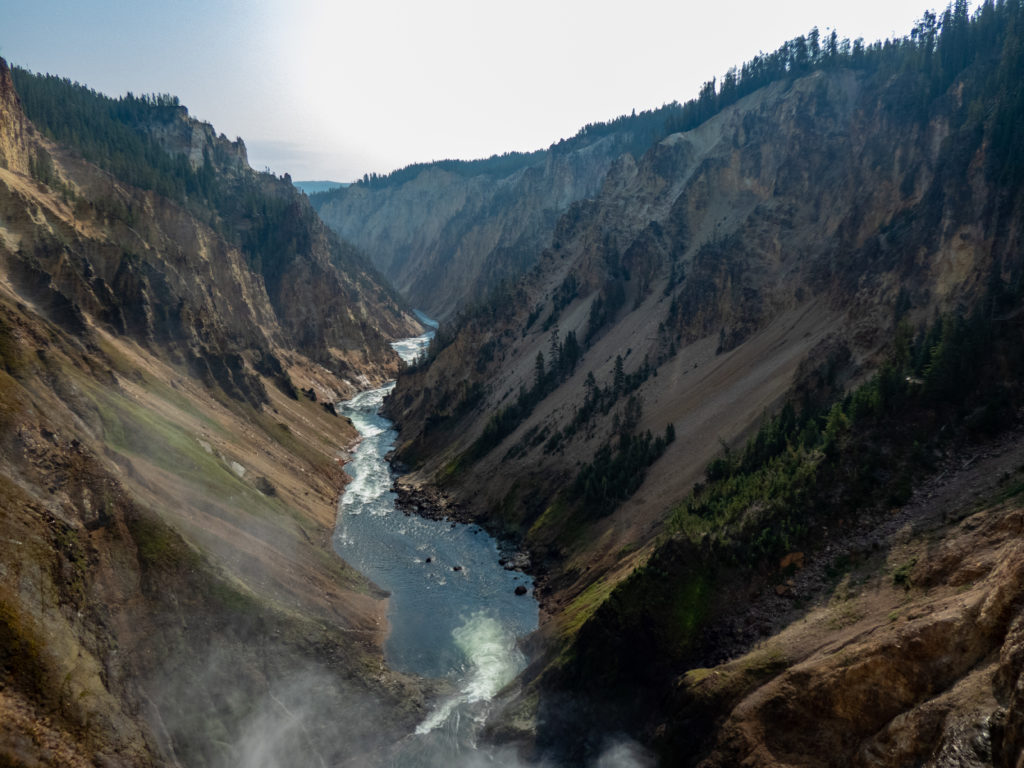
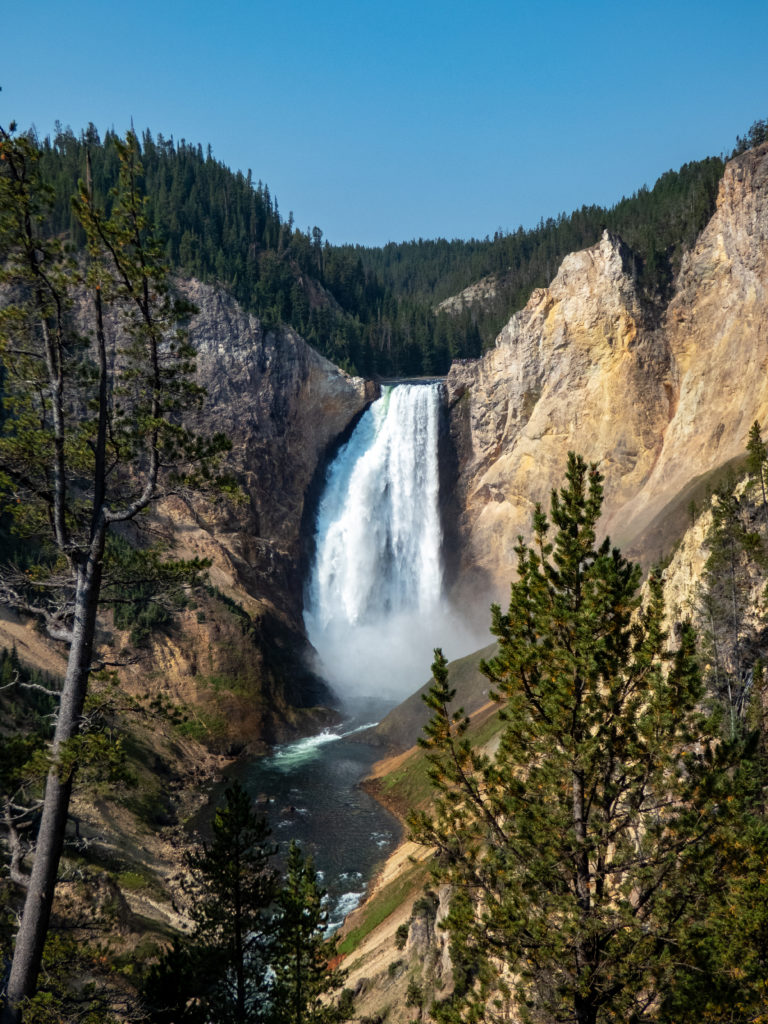
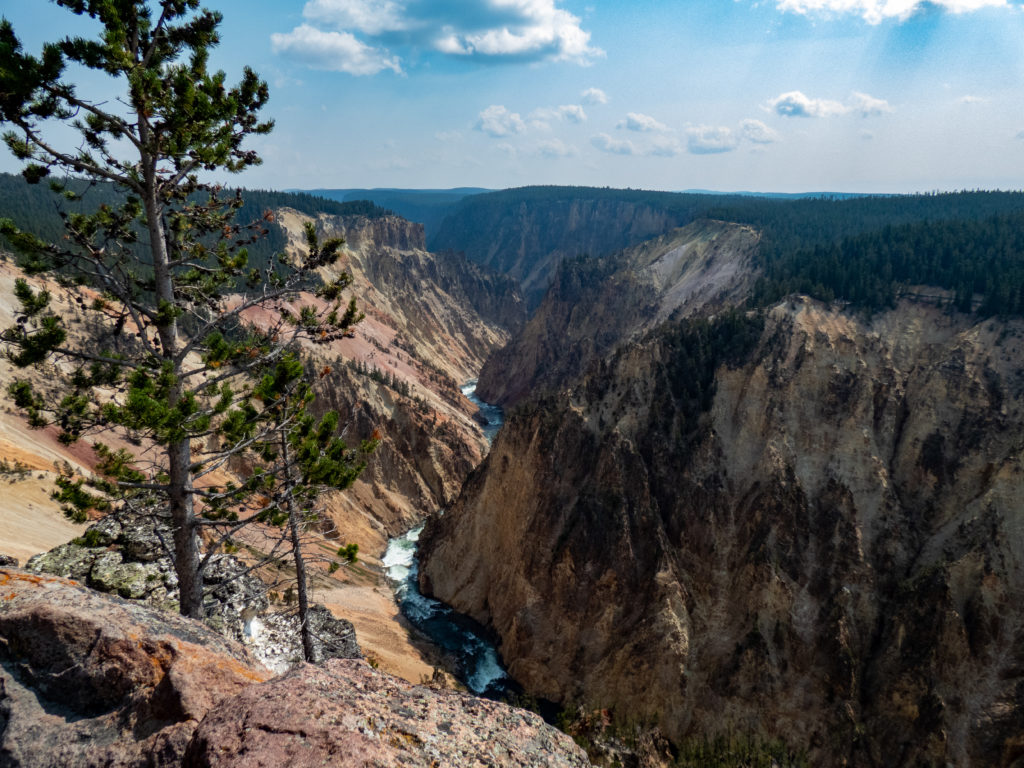
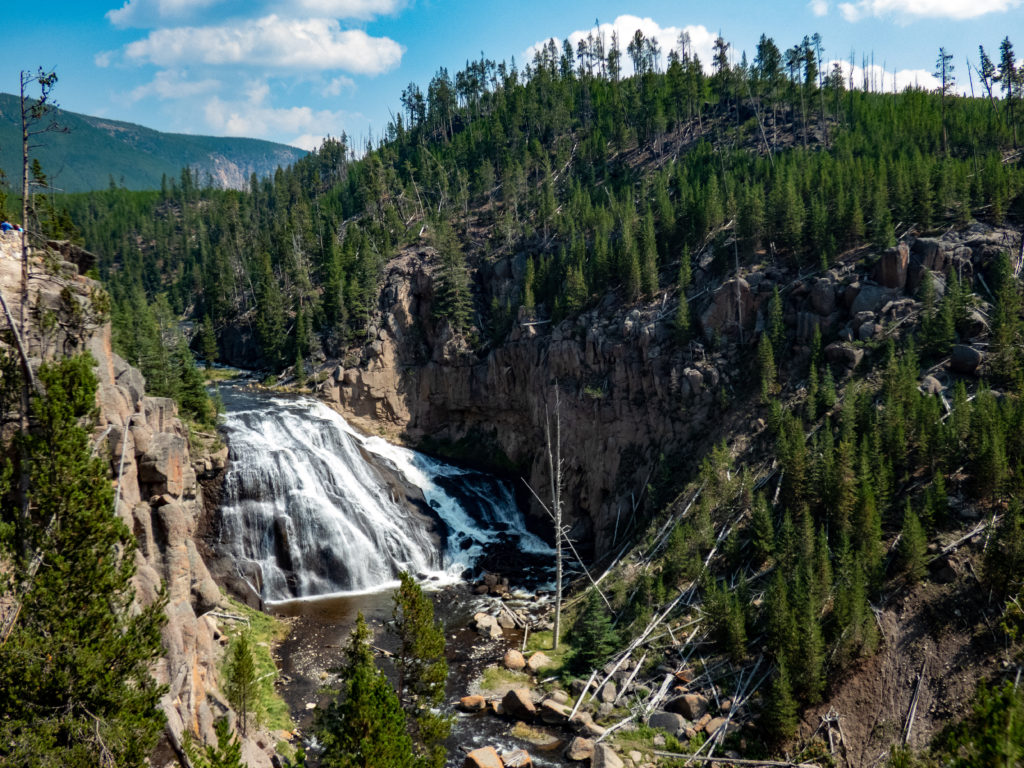
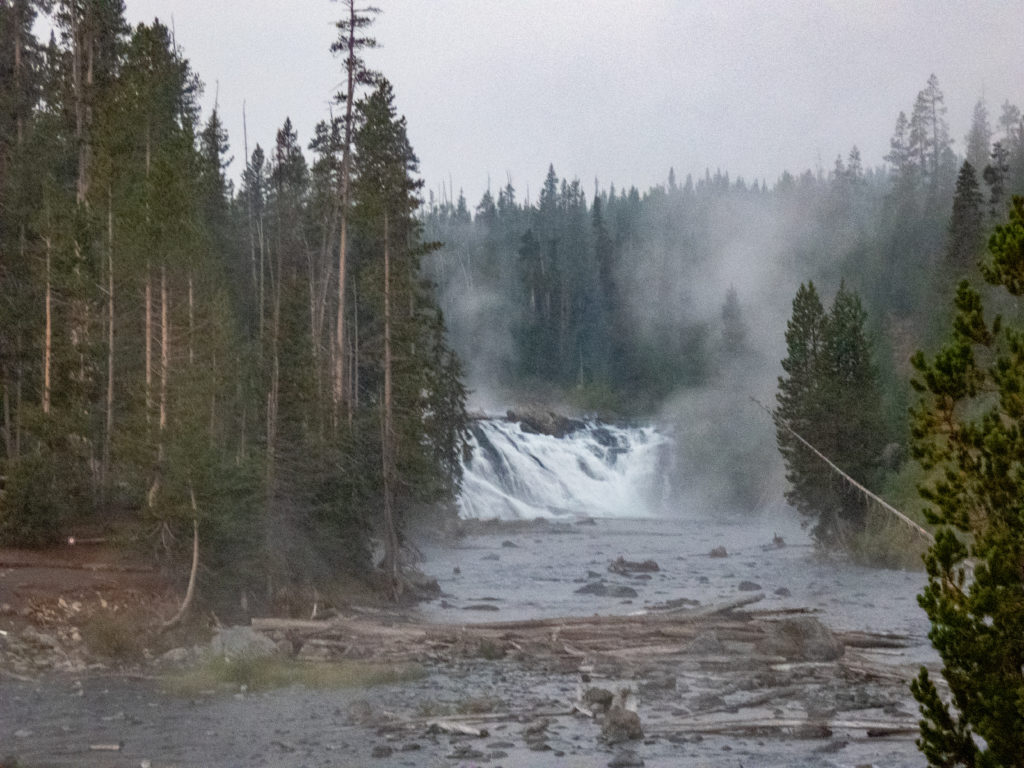
The first longer stop of the day was the Grand Canyon of Yellowstone. The falls here provide the classic shots we all know of Yellowstone. I hiked the trails to the lower falls, upper falls and overlooks. This was, by far, my favorite part of the park despite the crowds.
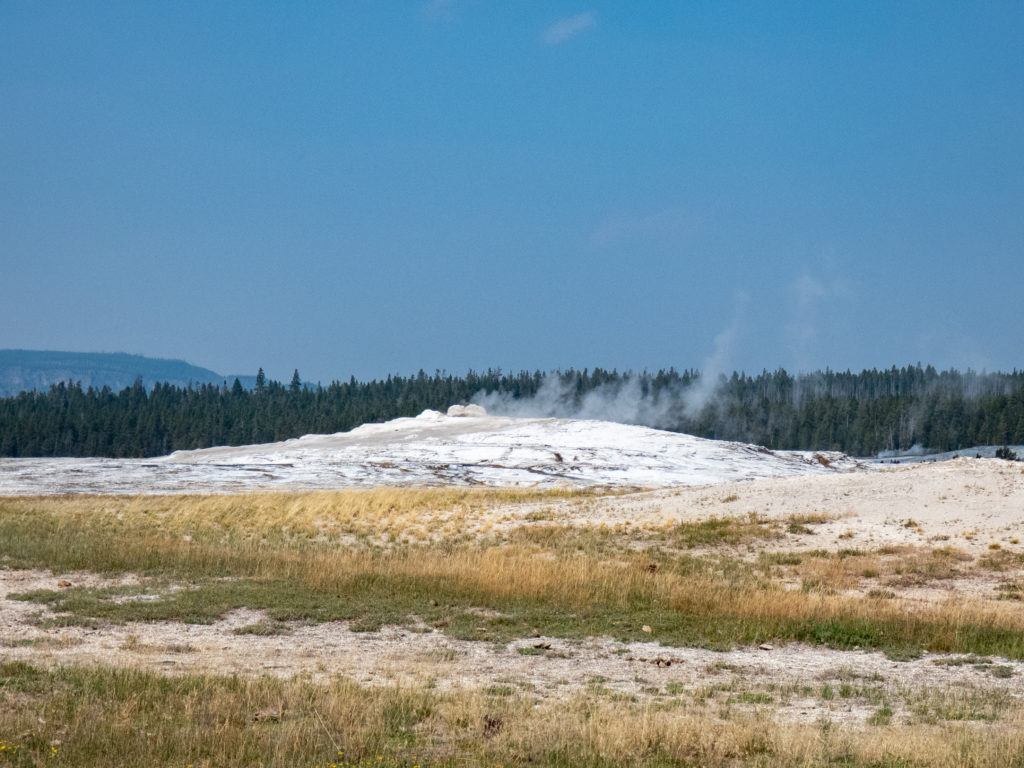
Gibbons falls made a nice stop on my way to Old Faithful…after all, how can you go through Yellowstone without seeing Old Faithful? As I approached Old Faithful, the crowds in the park became apparent. I was stopped in the road due to a traffic jam about a mile long. It turns out it was caused by a herd of bison near the road which I snapped a pic of while driving. My ability to deal with crowds was beginning to get tested and I looked forward to being in my tent again. But first, Old Faithful. A gorgeous video would be located below…however some idiot forgot to hit the record button. Sorry, I’m not going back just to get the video for you.
At the end of the day, I knew a few things about my trip. First, my feet and ankle told me I’d be skipping the hike I planned in the Grand Tetons the next day. Second, I was ready to be home and see my sweetie. I decided I’d get an early start to the last day and finish up this road trip.
Return Road Trip from Mount Rainier – Day 3, Grand Teton National Park and Home
I’d slept pretty well in the Grant Village Campground. When I woke up, it felt a little chilly. I didn’t think much about it, put on my headlamp, and packed up for the final time. When I started the Jeep, it said it was 35, a little cooler than I’d expected. I headed south, anxious to be on my way home. The pictures I stopped for along the way were nothing great since the sun wasn’t completely up yet. After a little over 9 hours, I was home at 3:15PM, and glad to be there!

Few conclusions on Mountaineering
I’d mentioned in my opening paragraph that I’d originally planned this class as step one towards summiting Aconcagua and Denali. My ambitious, and perhaps foolish, schedule would have been to do both Aconcagua and Denali in the next 9 months. I began to have doubts about this plan when I was hiking Maroon Bells/Snowmass. I had a lot of time to think on that hike, and began to wonder if I really wanted to spend a month on a mountain. And, as always, I had significant doubts about my ability to physically handle those peaks.
Then, earlier in August, Tanya and I were able to take a trip around Colorado. That trip was very special and a great time. This added to those doubts about taking on the peaks. These trips with Tanya were definitely a better time.
Heading into the training, I didn’t think I’d be going for those other mountains. I’d say that the course confirmed my thinking. While I feel more confident about the physical part, I don’t think I want to spend the money or time necessary to summit Aconcagua and Denali. I’d rather spend it taking trips with my sweetie. Another big reason is that I don’t think I’d ever get over feeling like a tourist. Yes, I walked up Mt. Rainier, but it was tied to a guide who led the way (and I’m glad they did!!). That’s not the same as those that have done it on their own. I certainly would not want to take on any glaciated peak without a guide or very experienced friends I trust. And in the end, I suspect I’d feel like the weak link along for the ride.
Maybe these feelings will change with time. In the meantime, I’ll continue to explore Colorado, my home.
GPX for Summit Day on Mount Rainier


Max elevation: 14173 ft
Min elevation: 5423 ft
Total climbing: 8258 ft
Total descent: -10951 ft
So glad you had such an interesting time. Glad you had this experience but better yet you returned home safely
I always appreciate your comments and am glad to be safely home.